
Summer Scalloped Lace Edge Construction
How I Make a Summer Bralette – Step-by-Step
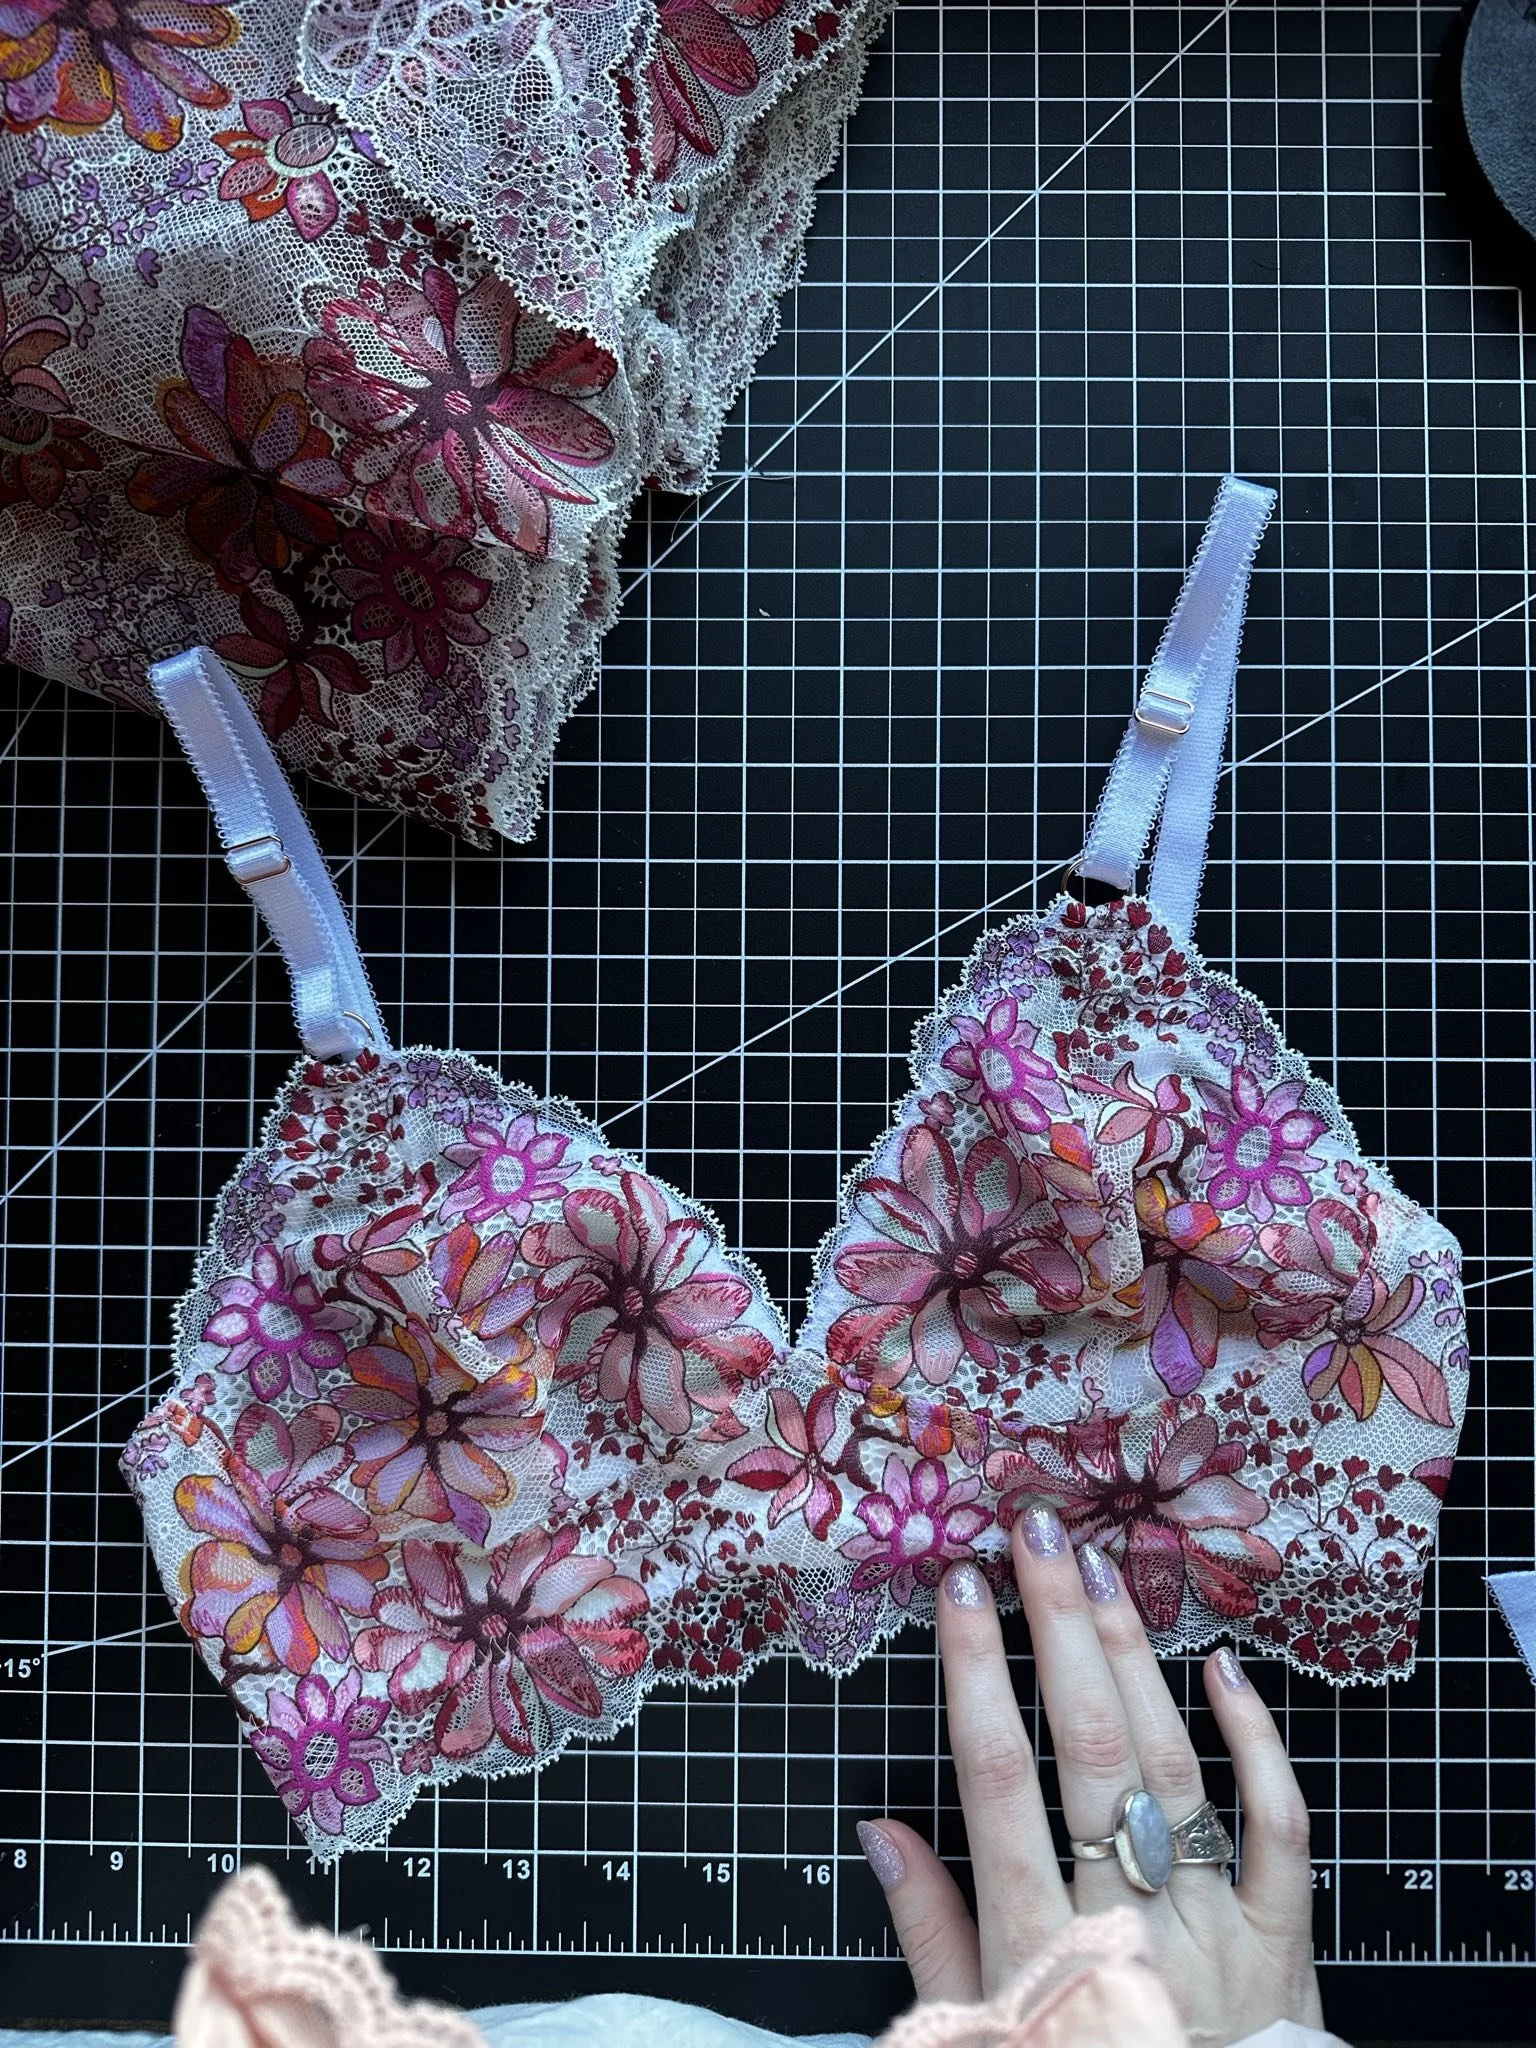
There’s something so satisfying about sewing a light, frilly bralette perfect for warm days. I wanted to share my process for making one of my favorite summer styles. This version features soft stretch lace, supportive lining made from power mesh, and cute picot elastics.
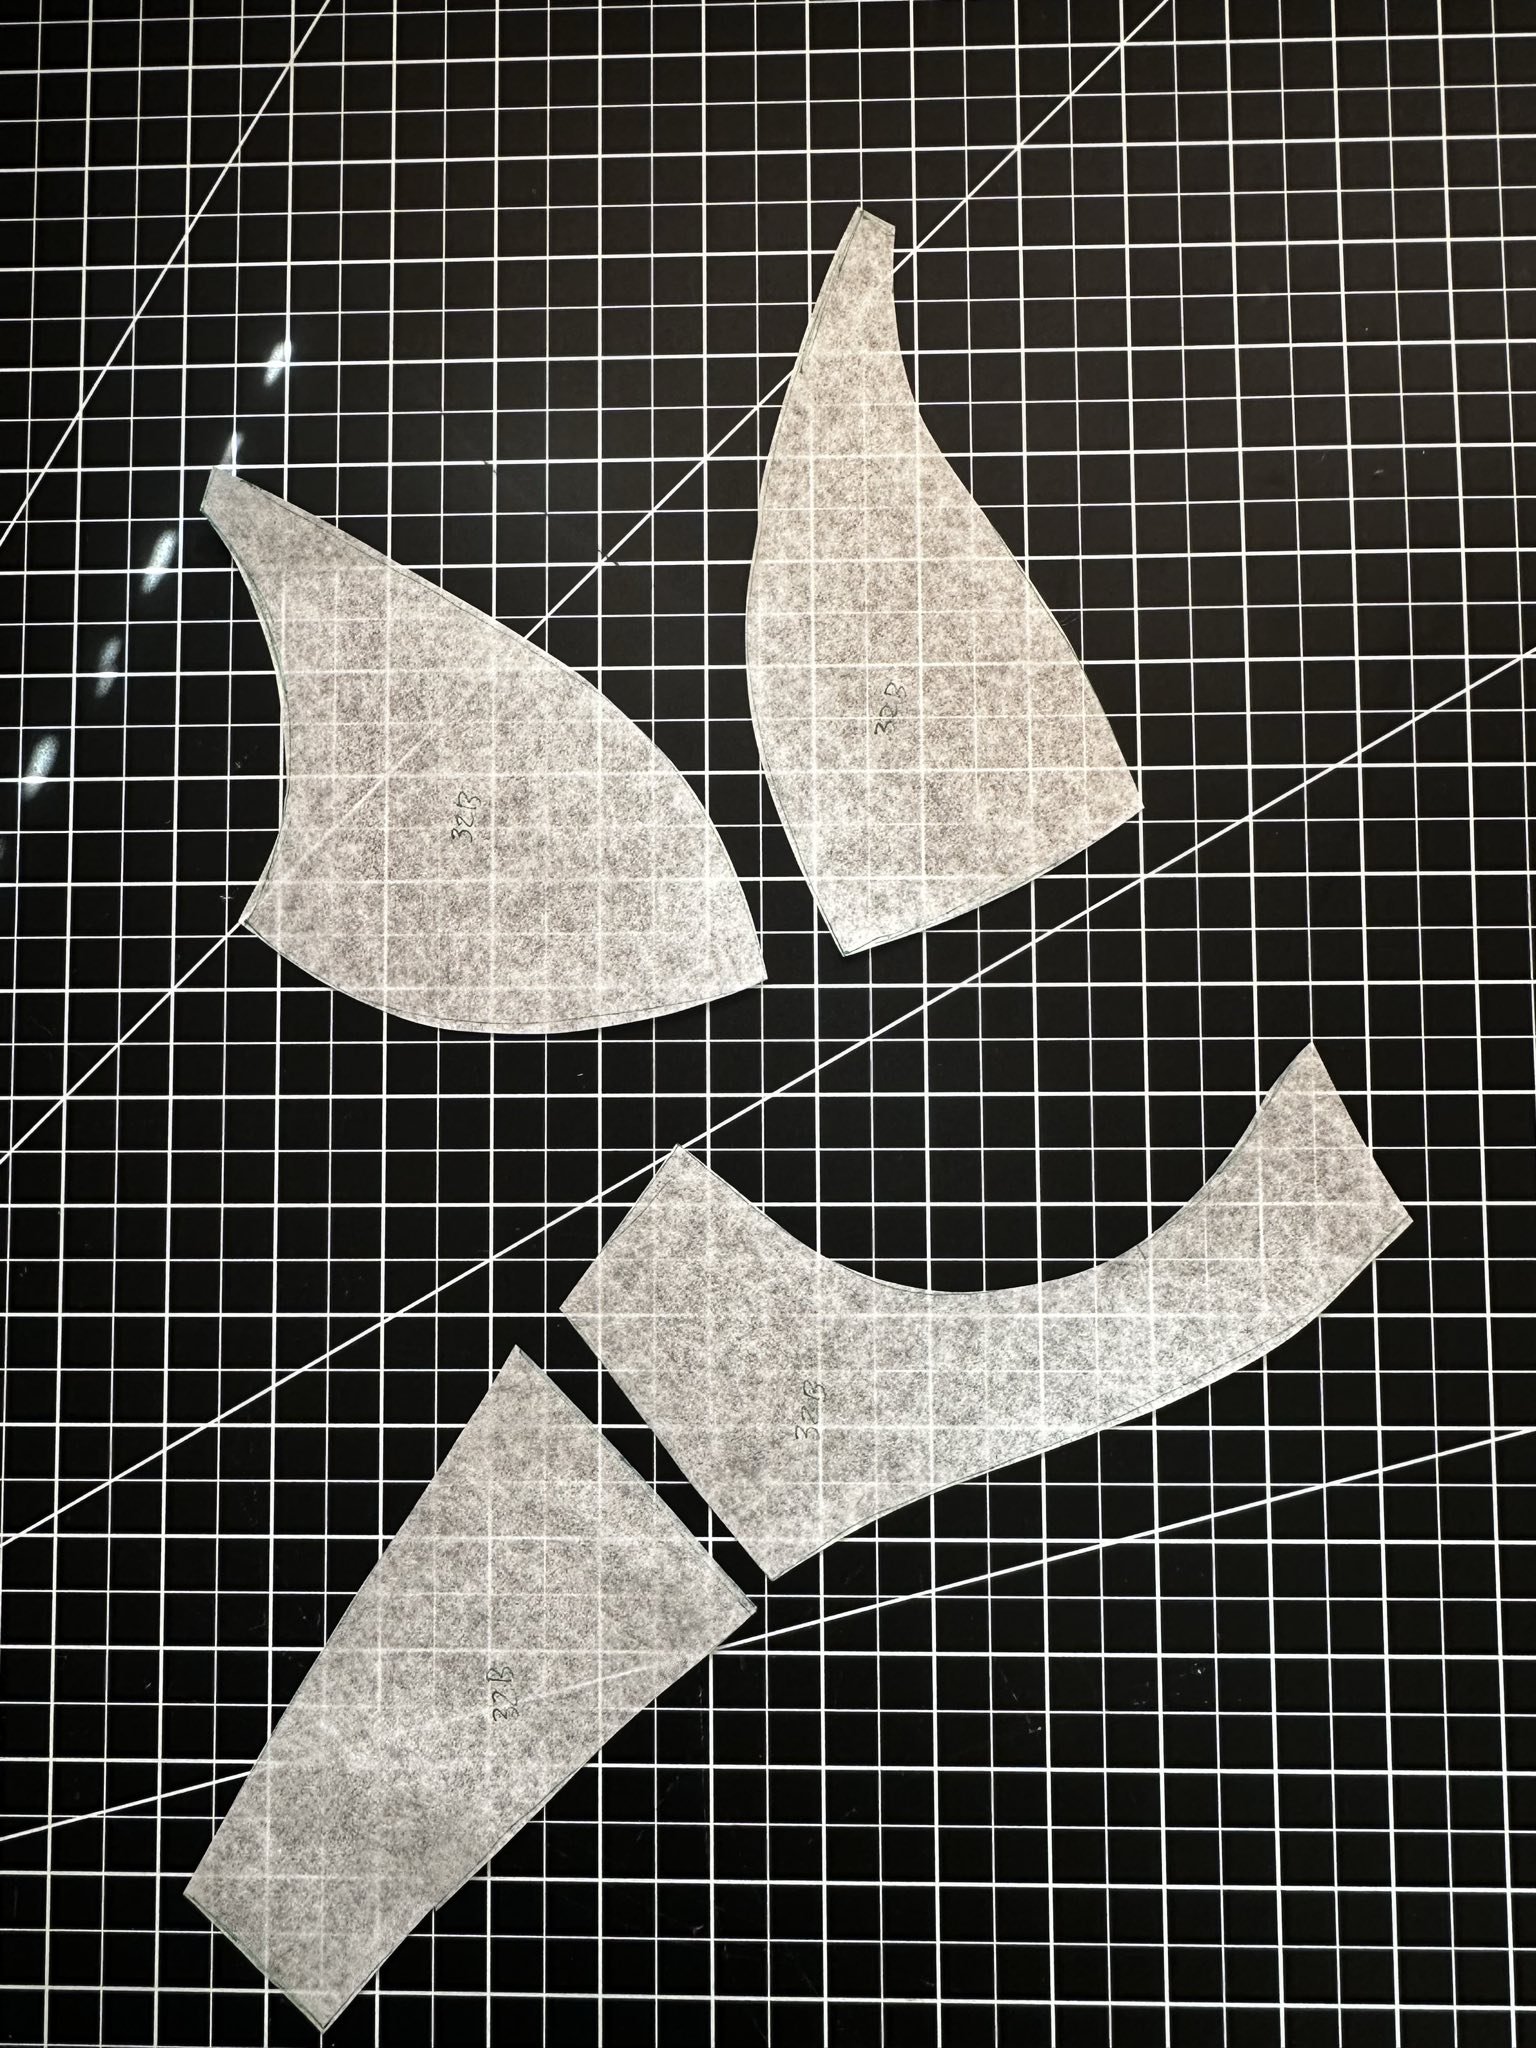
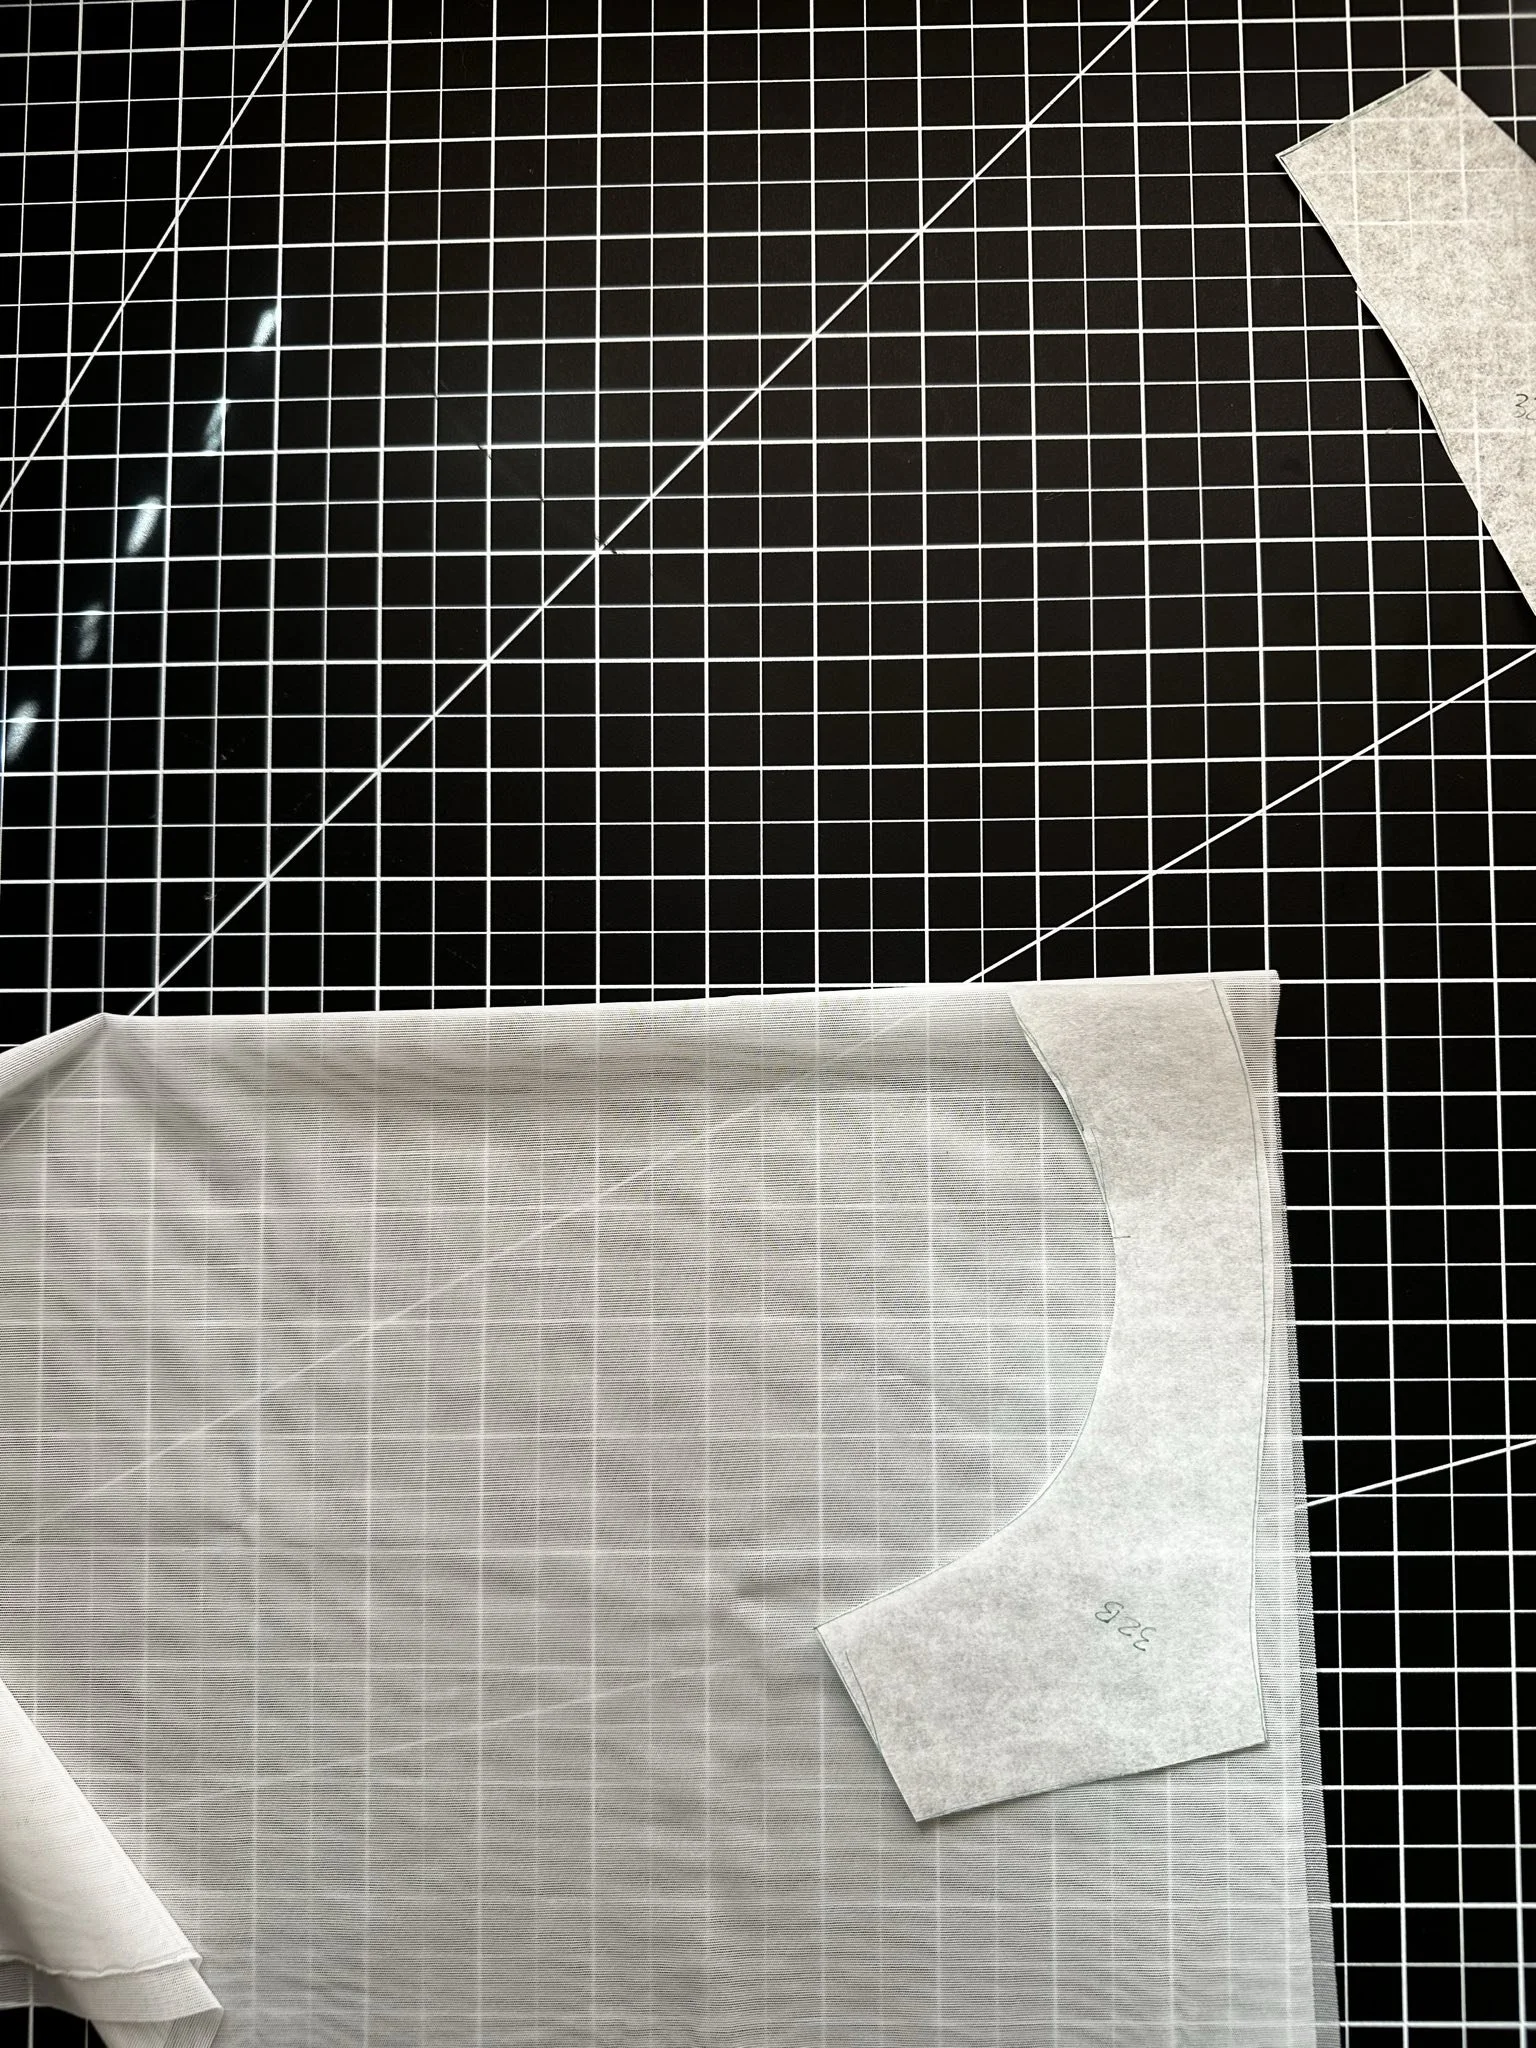
1. Cut Your Pieces
First, I cut out all my pieces. A quick note here: add seam allowance to the top of the side cradle, since that’s where the lace edge of the cup will meet the picot elastic on the back band. Without that allowance, you wont have enough lace to attach the elastic to.
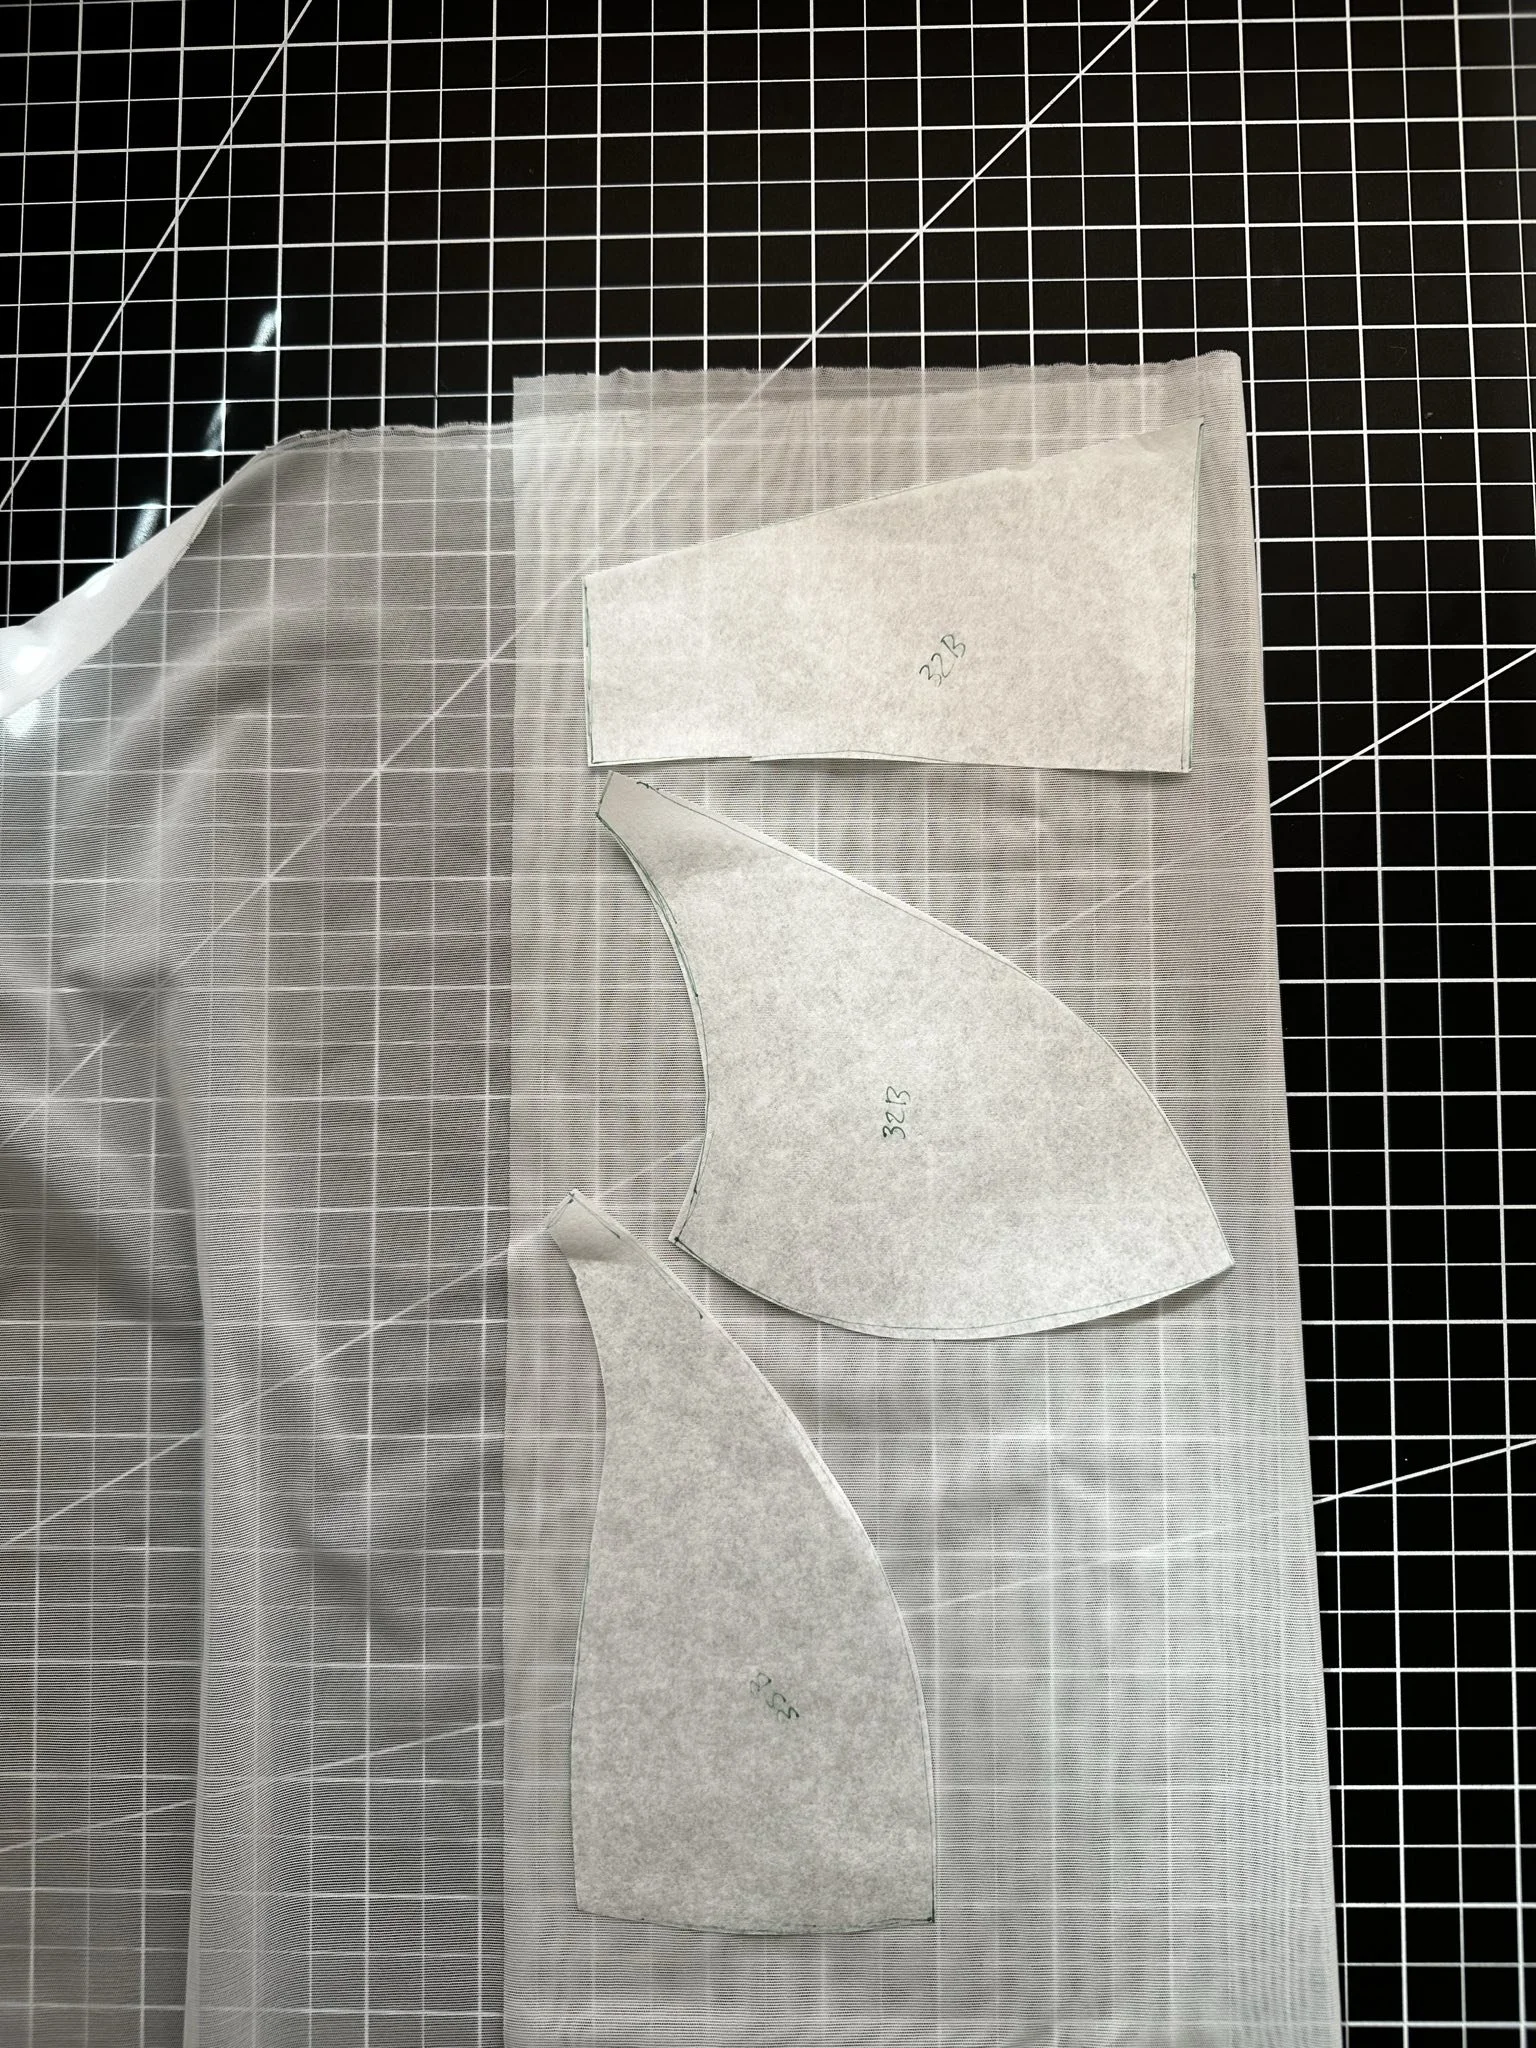
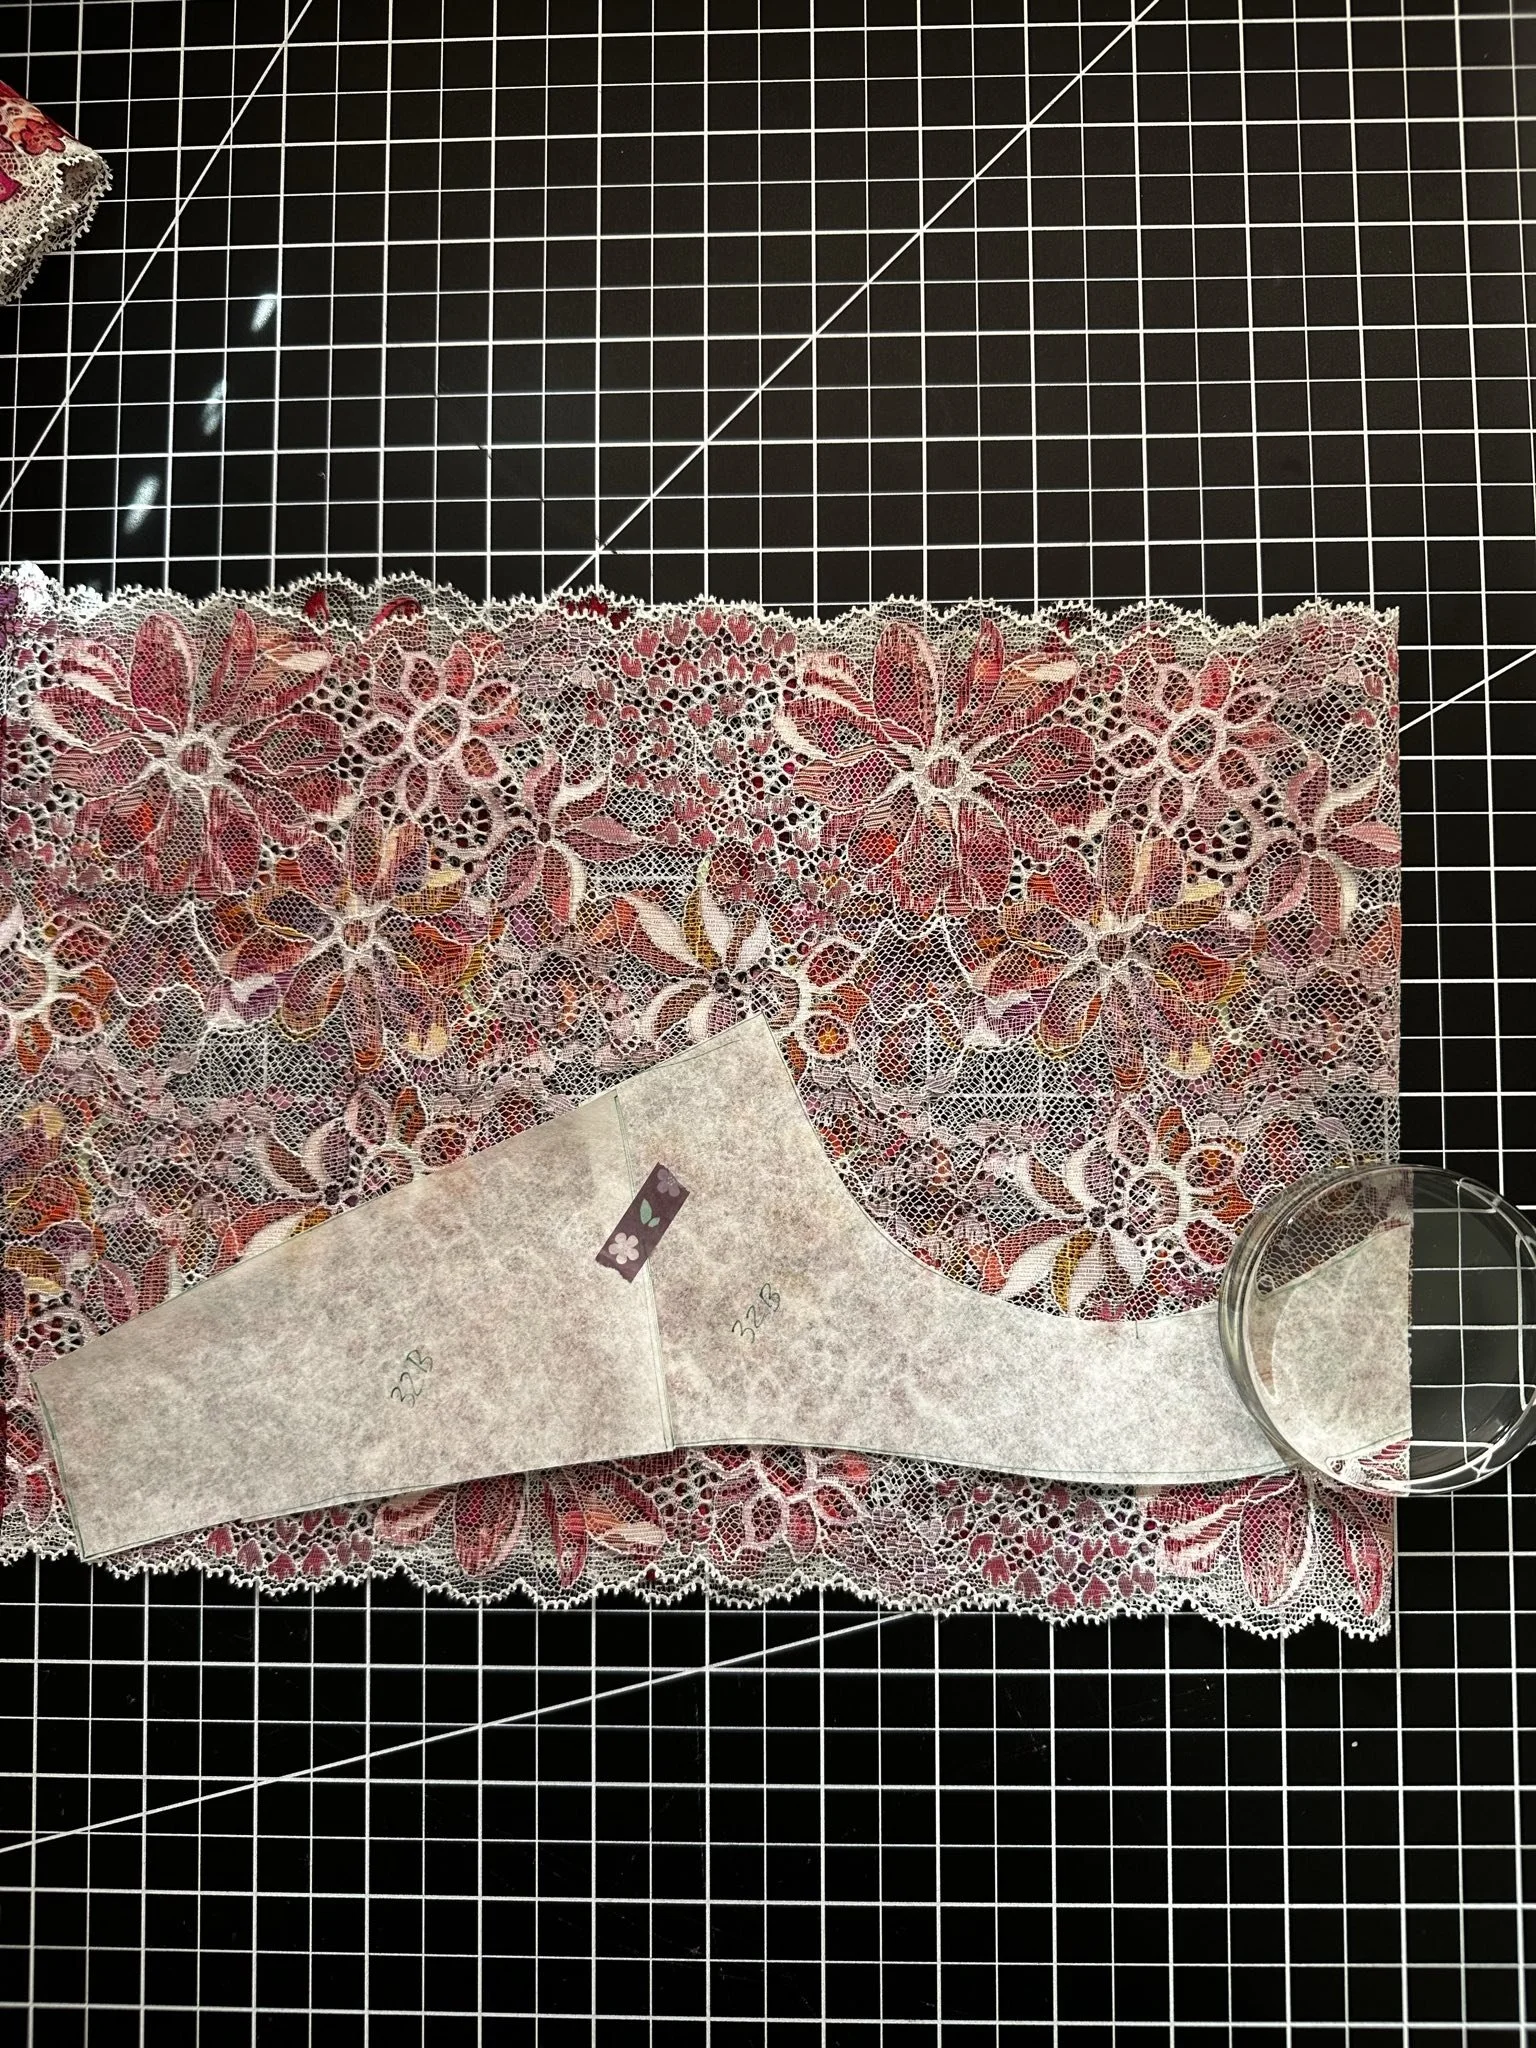
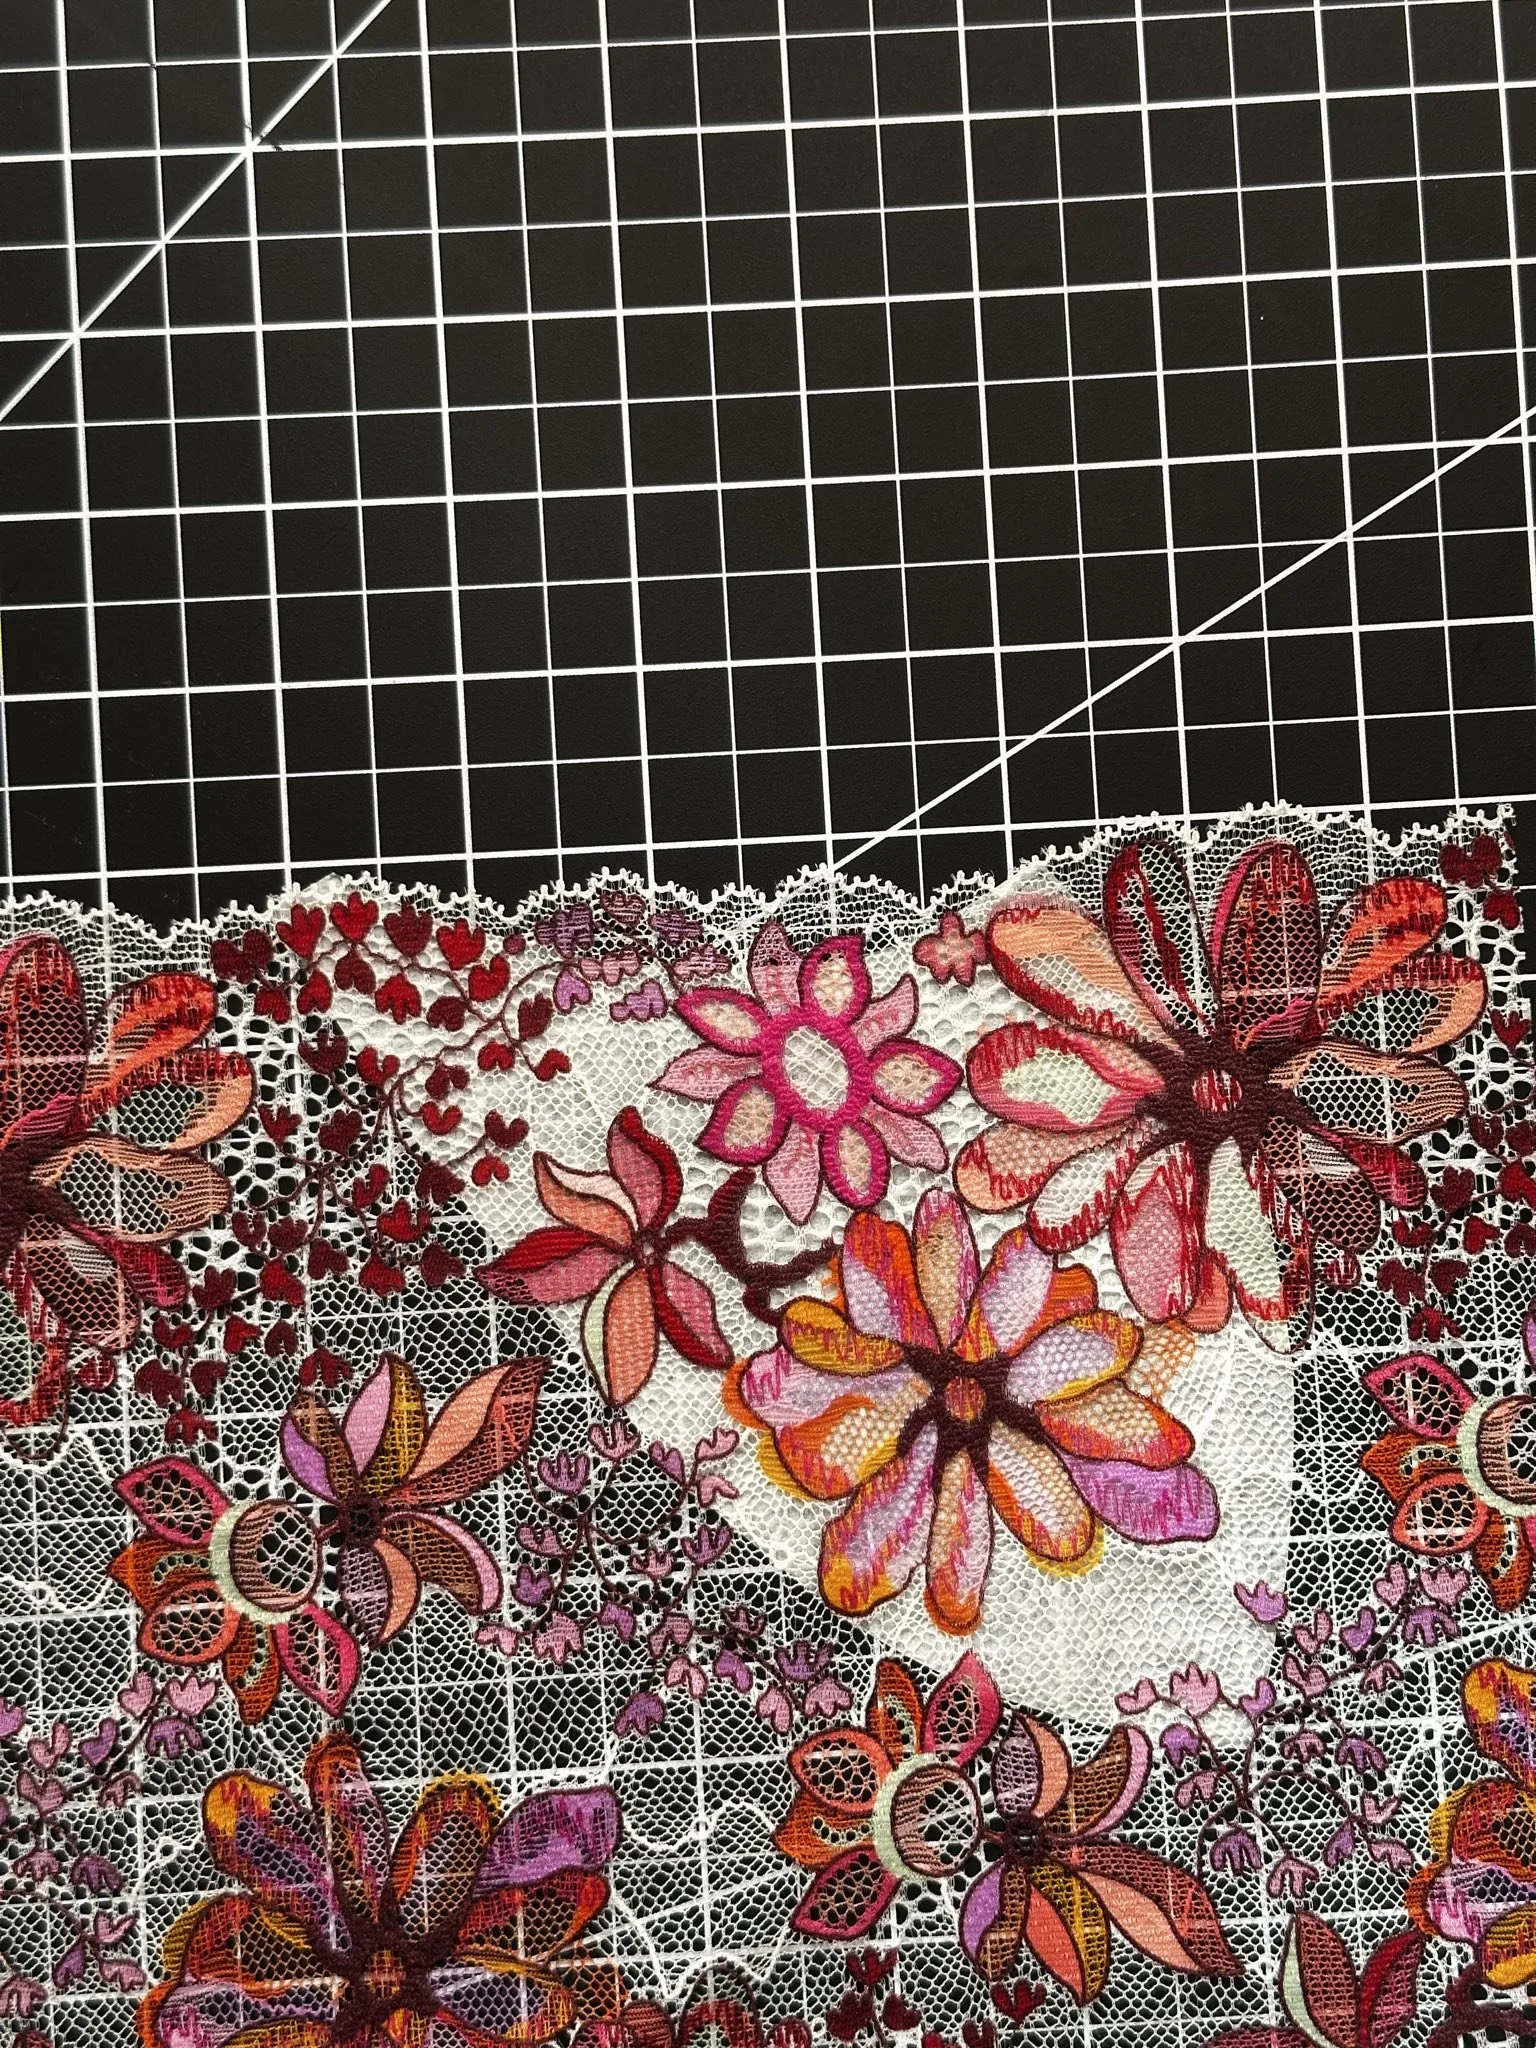
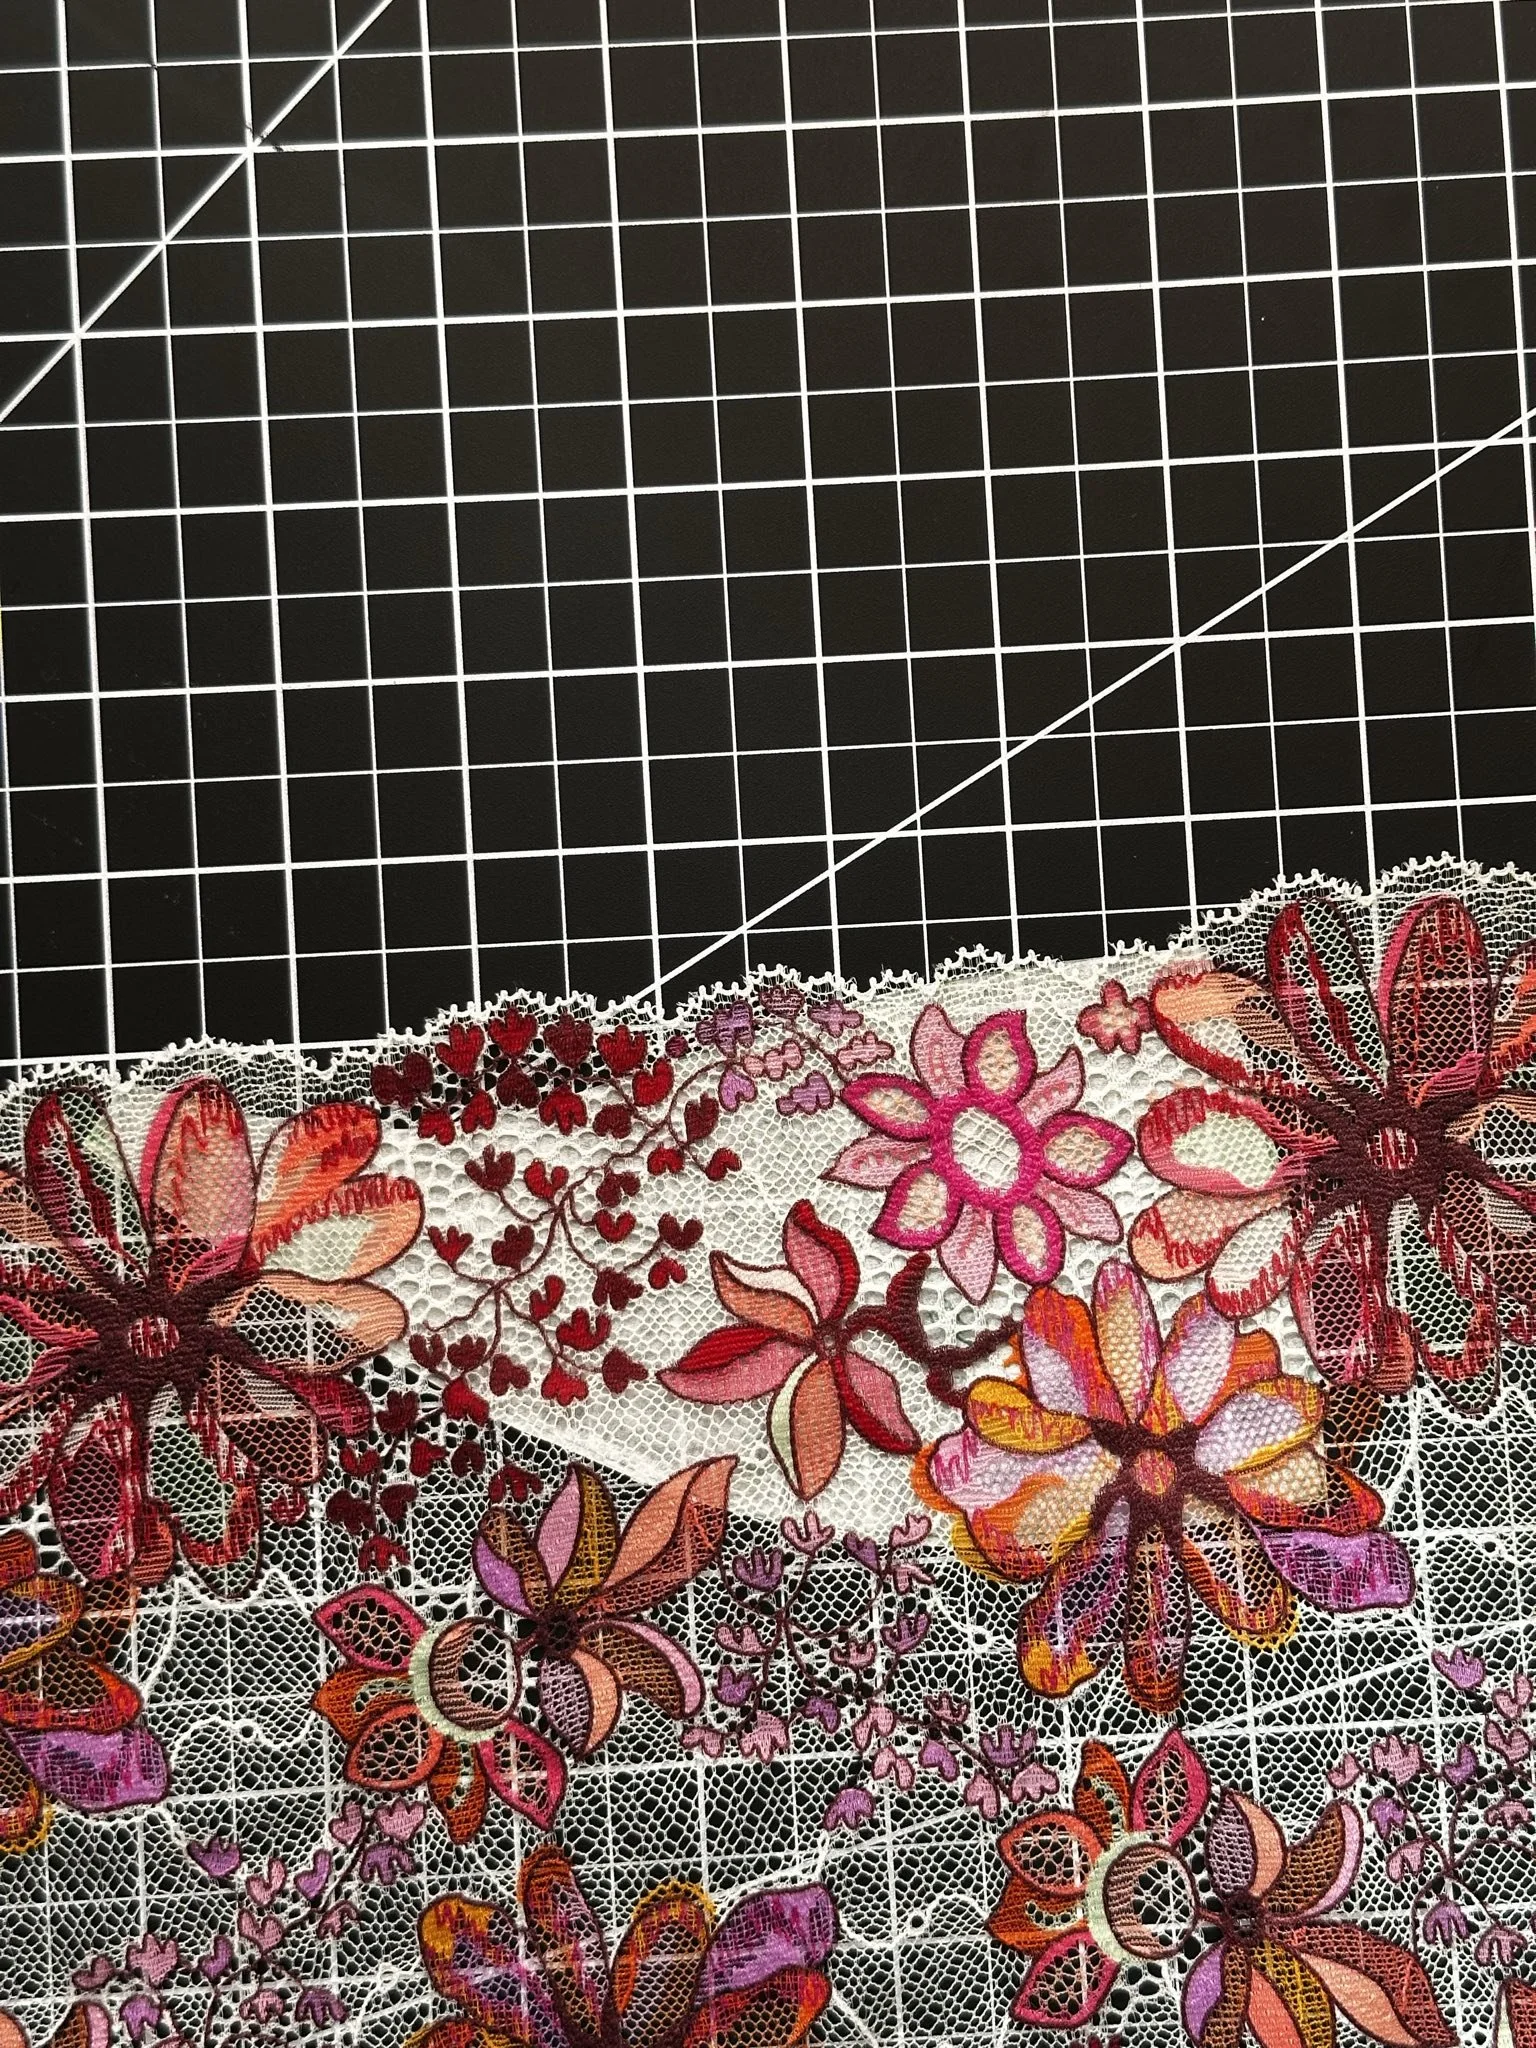
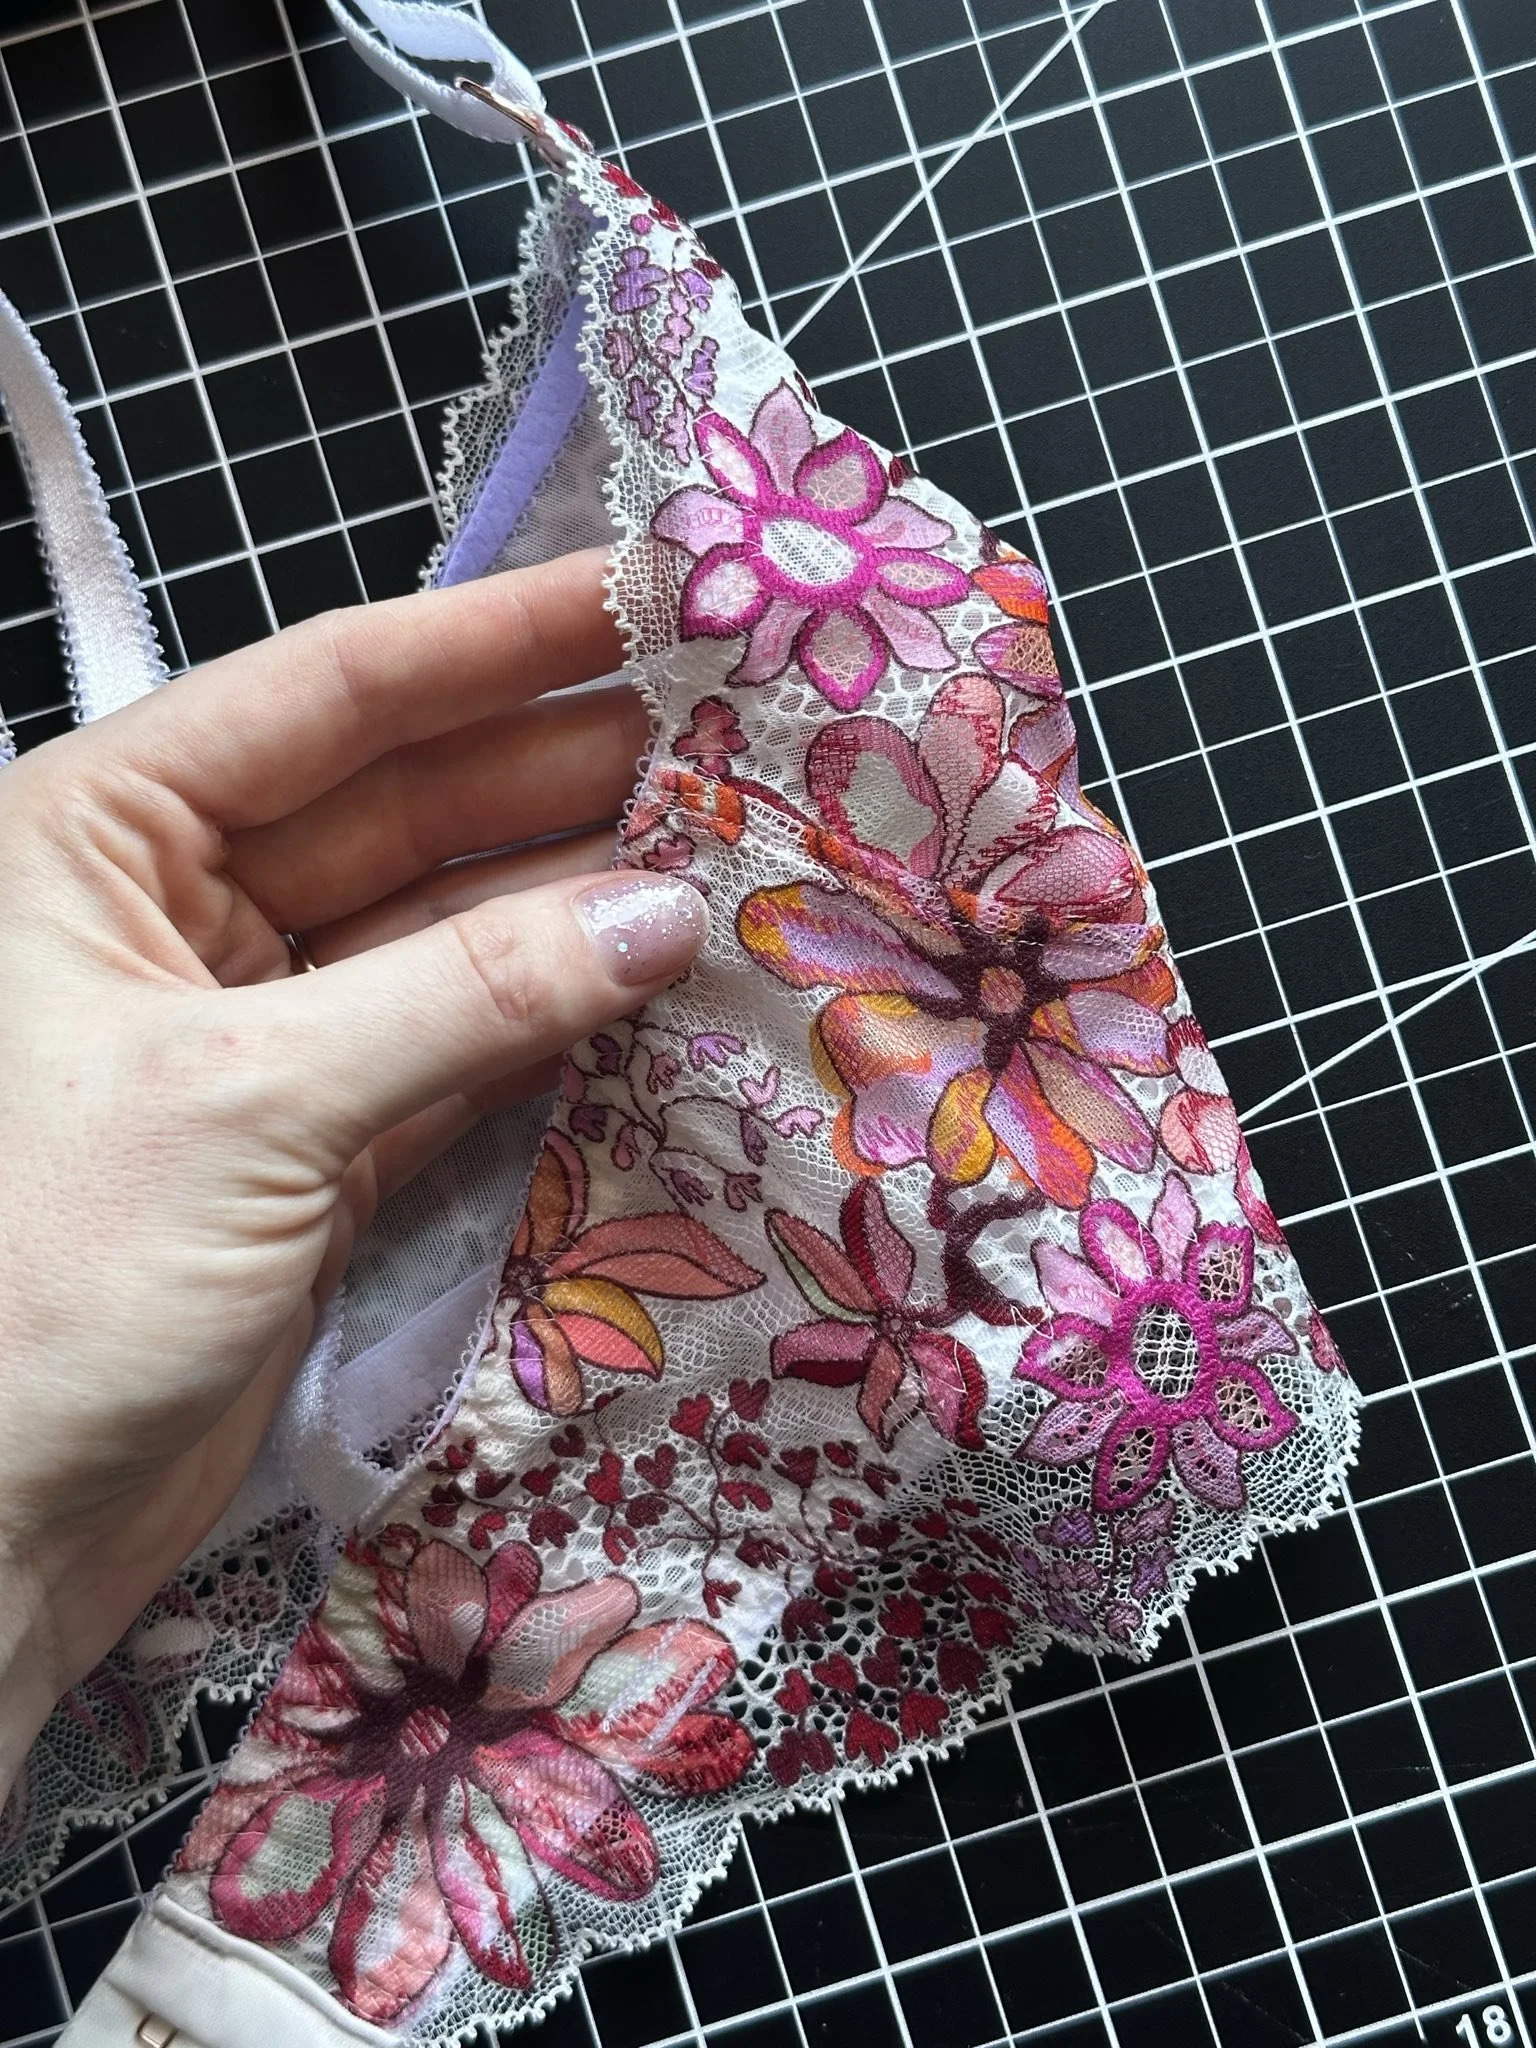
When cutting the cups out of lace, always line up the lowest point of the scallop 1/4 away from the edge of the pattern piece. this is where my seam allowance starts.
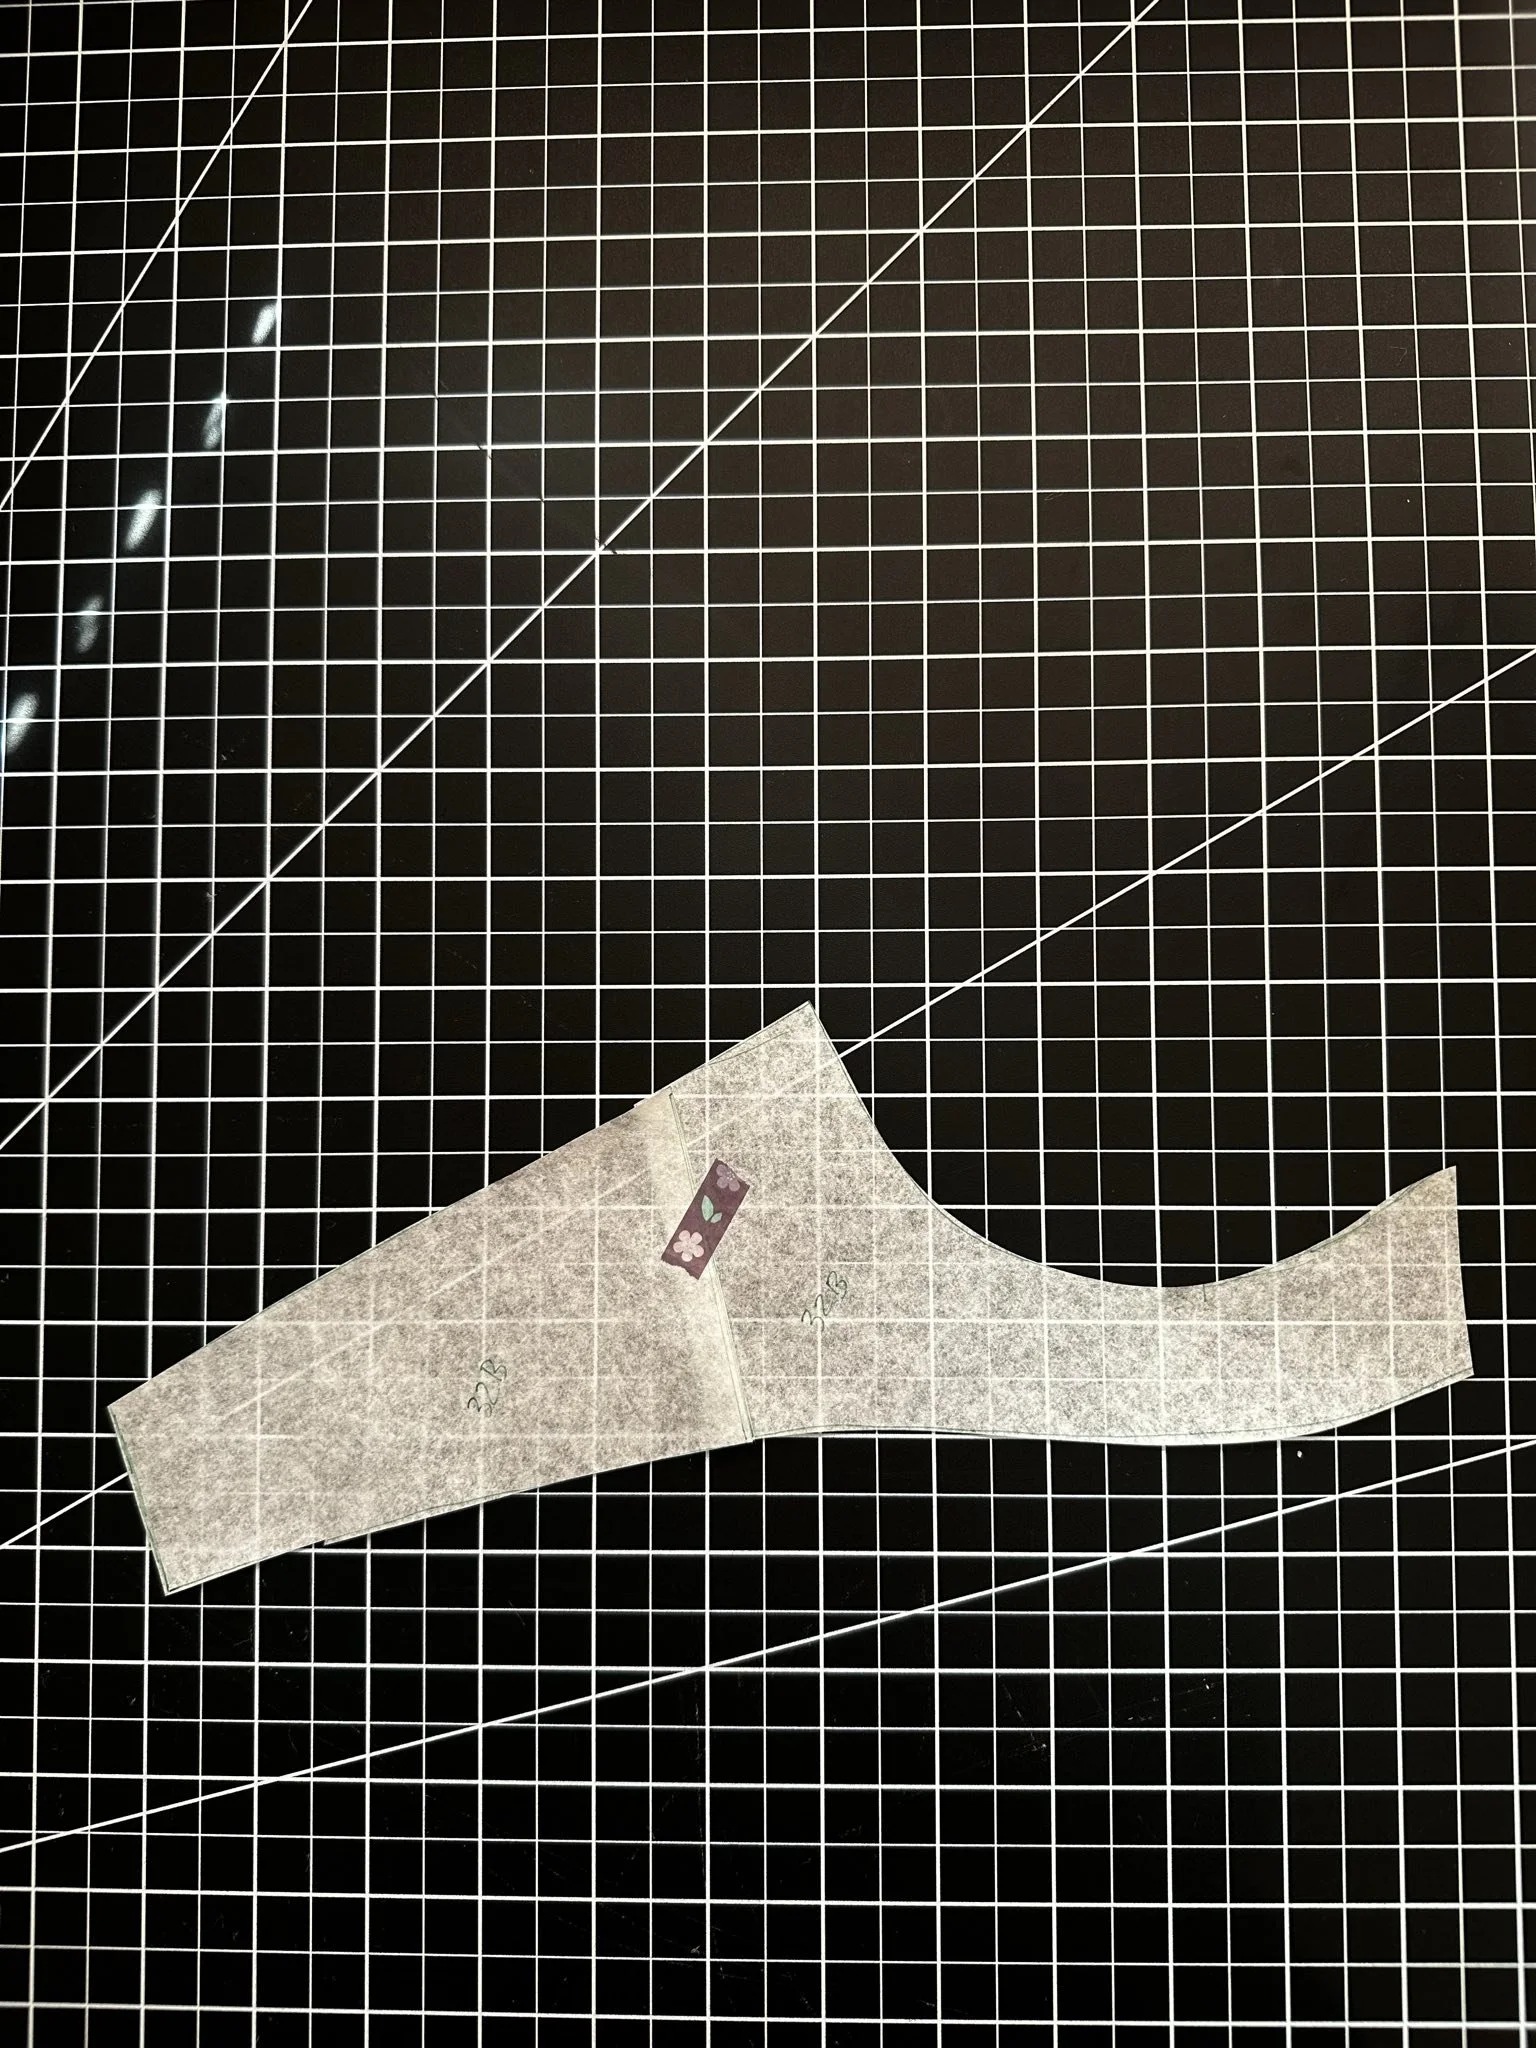
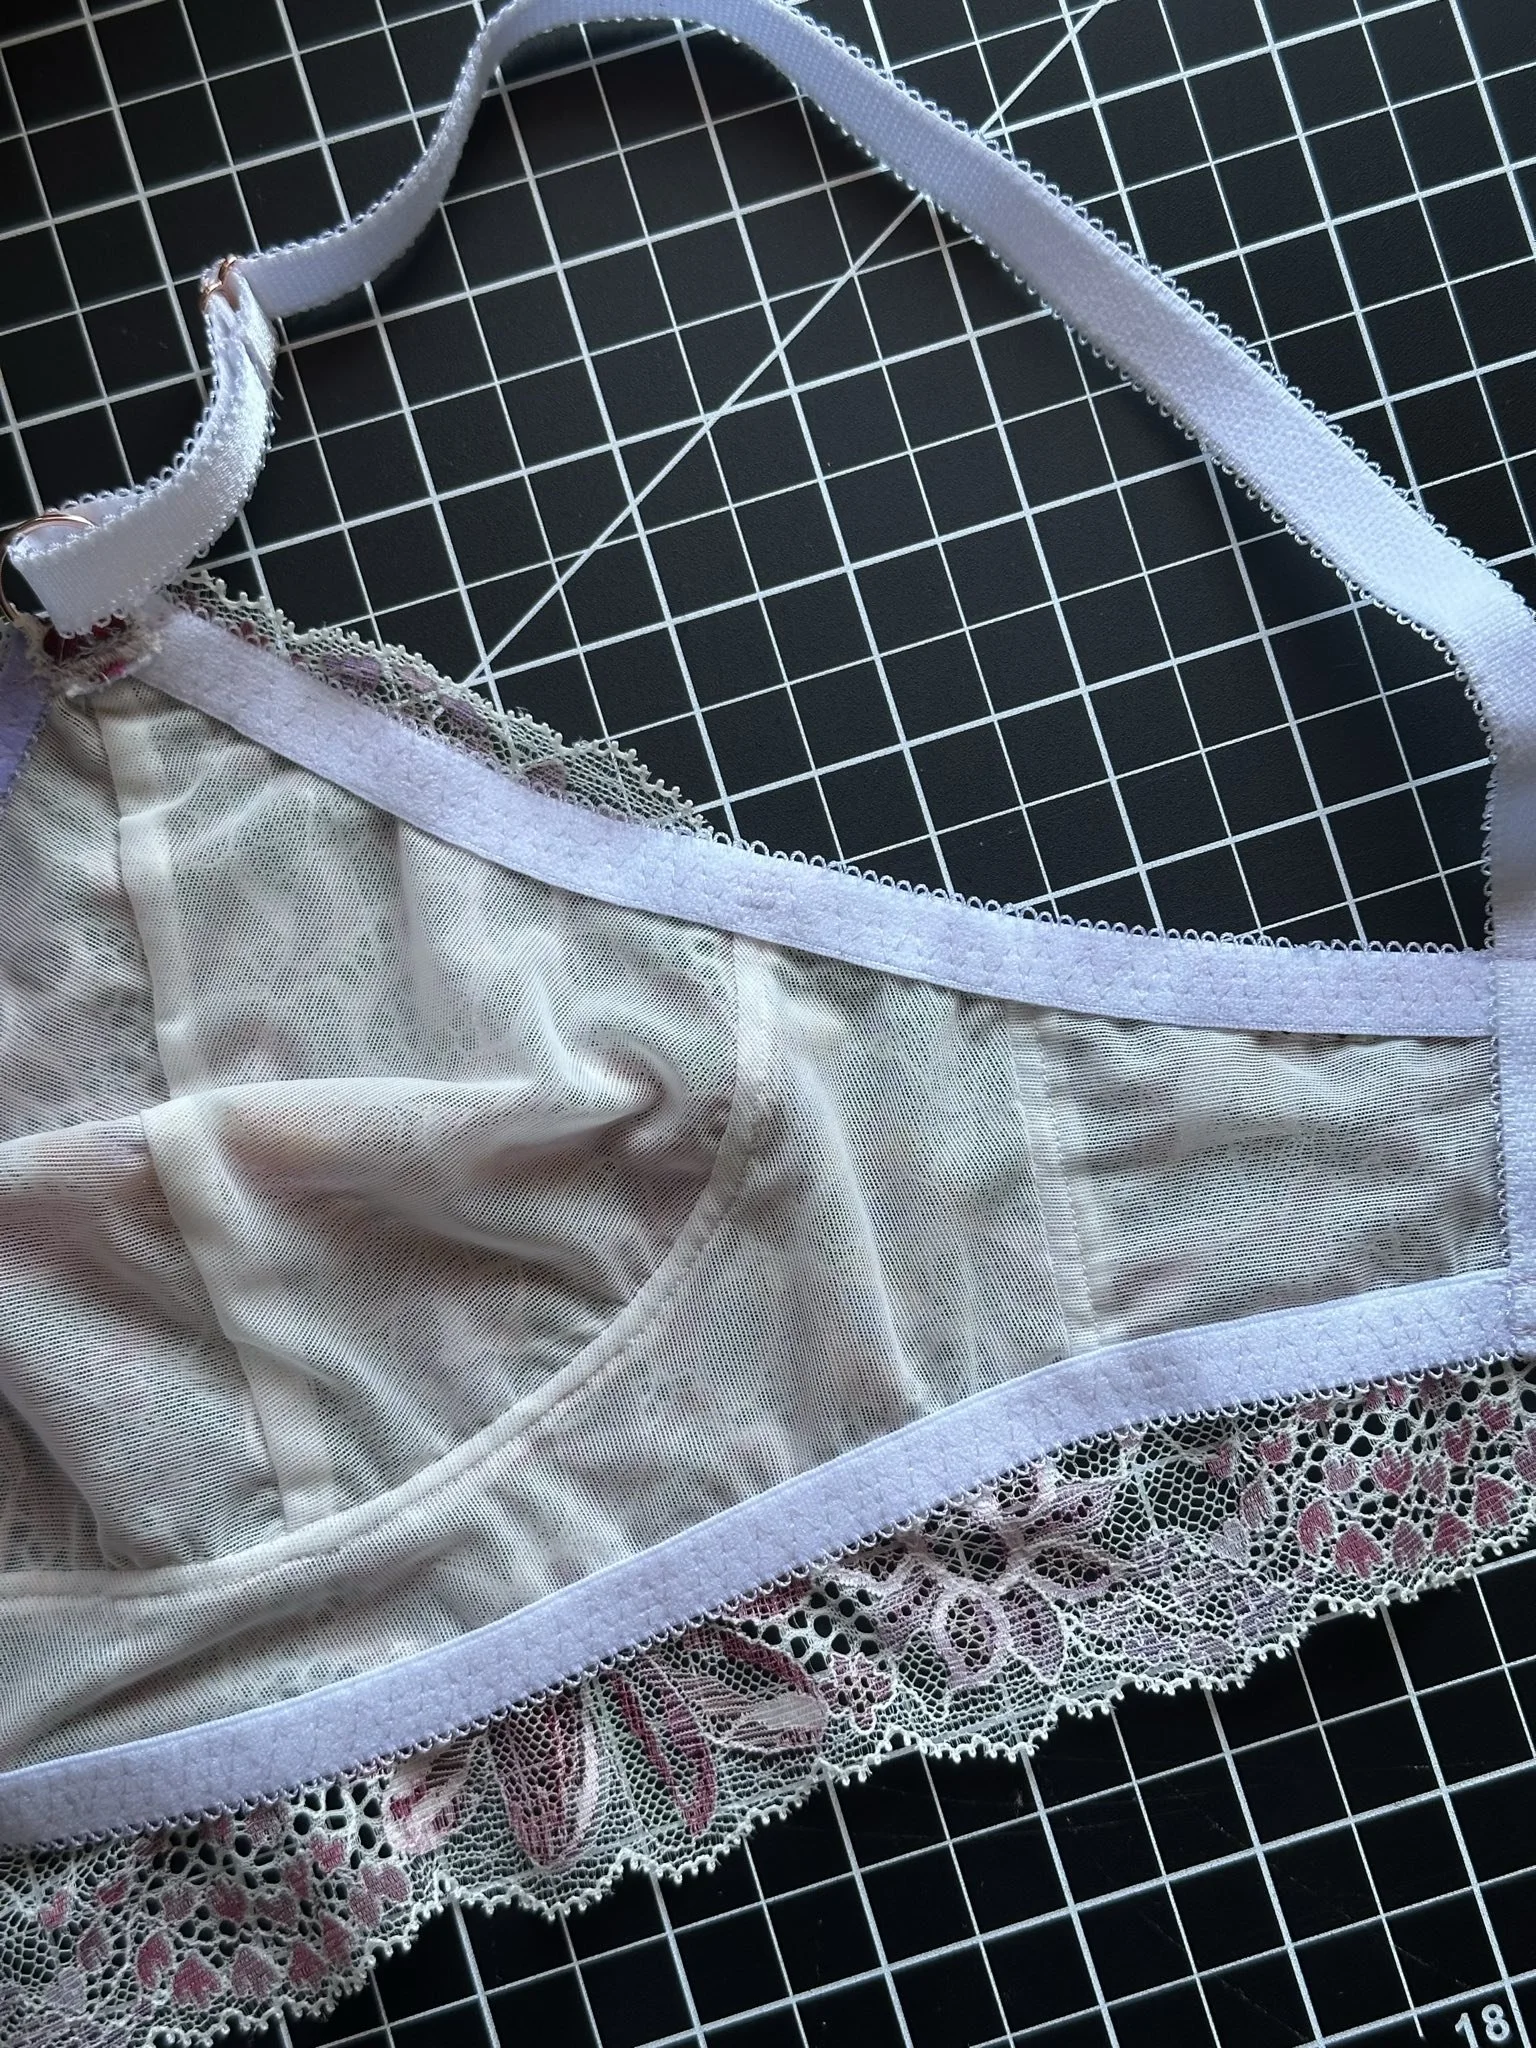
2. Join Front and Back Band for Lace
For the lace layer (front cradle + back band), I tape the cradle and back band pattern pieces together, overlapping at the seam allowance. Then, I fold the lace and cut on the center fold. You’ll notice the back band sits a bit lower than the middle of the cradle but that’s intentional! It allows for a beautiful, continuous lace edge from front to back.
3. Assemble the Cups
I baste the lace and lining layers of the cups together first. Then, I sew the inner and outer cups together using a 2–2.5mm straight stitch, with seams enclosed and pressed toward the armpits to enclose the layers. It’s always nice to have a nice looking inside.
After that, I apply the upper cup elastic with a bit of tension using a 3-step zigzag stitch—set to the width of the elastic and a stitch length of 1–2.5—sewing with the wrong side of the fabric facing up. I follow the edge of the lining, not the lace, so it stays structured and flat.
4. Connect Cradle and Back Band
I straight stitch the cradle lining to the back band, right sides together.
Then, I baste the assembled cups to the lace front, and baste the cradle lining over them to enclose all the seams. If everything lines up well, I go back and secure stitch it all down.
5. Topstitching
Flip the whole thing right side out, then topstitch just under the cups and just above the cradle.
Now, baste the top and bottom of the back band, following the lining edge and making sure everything lies flat.
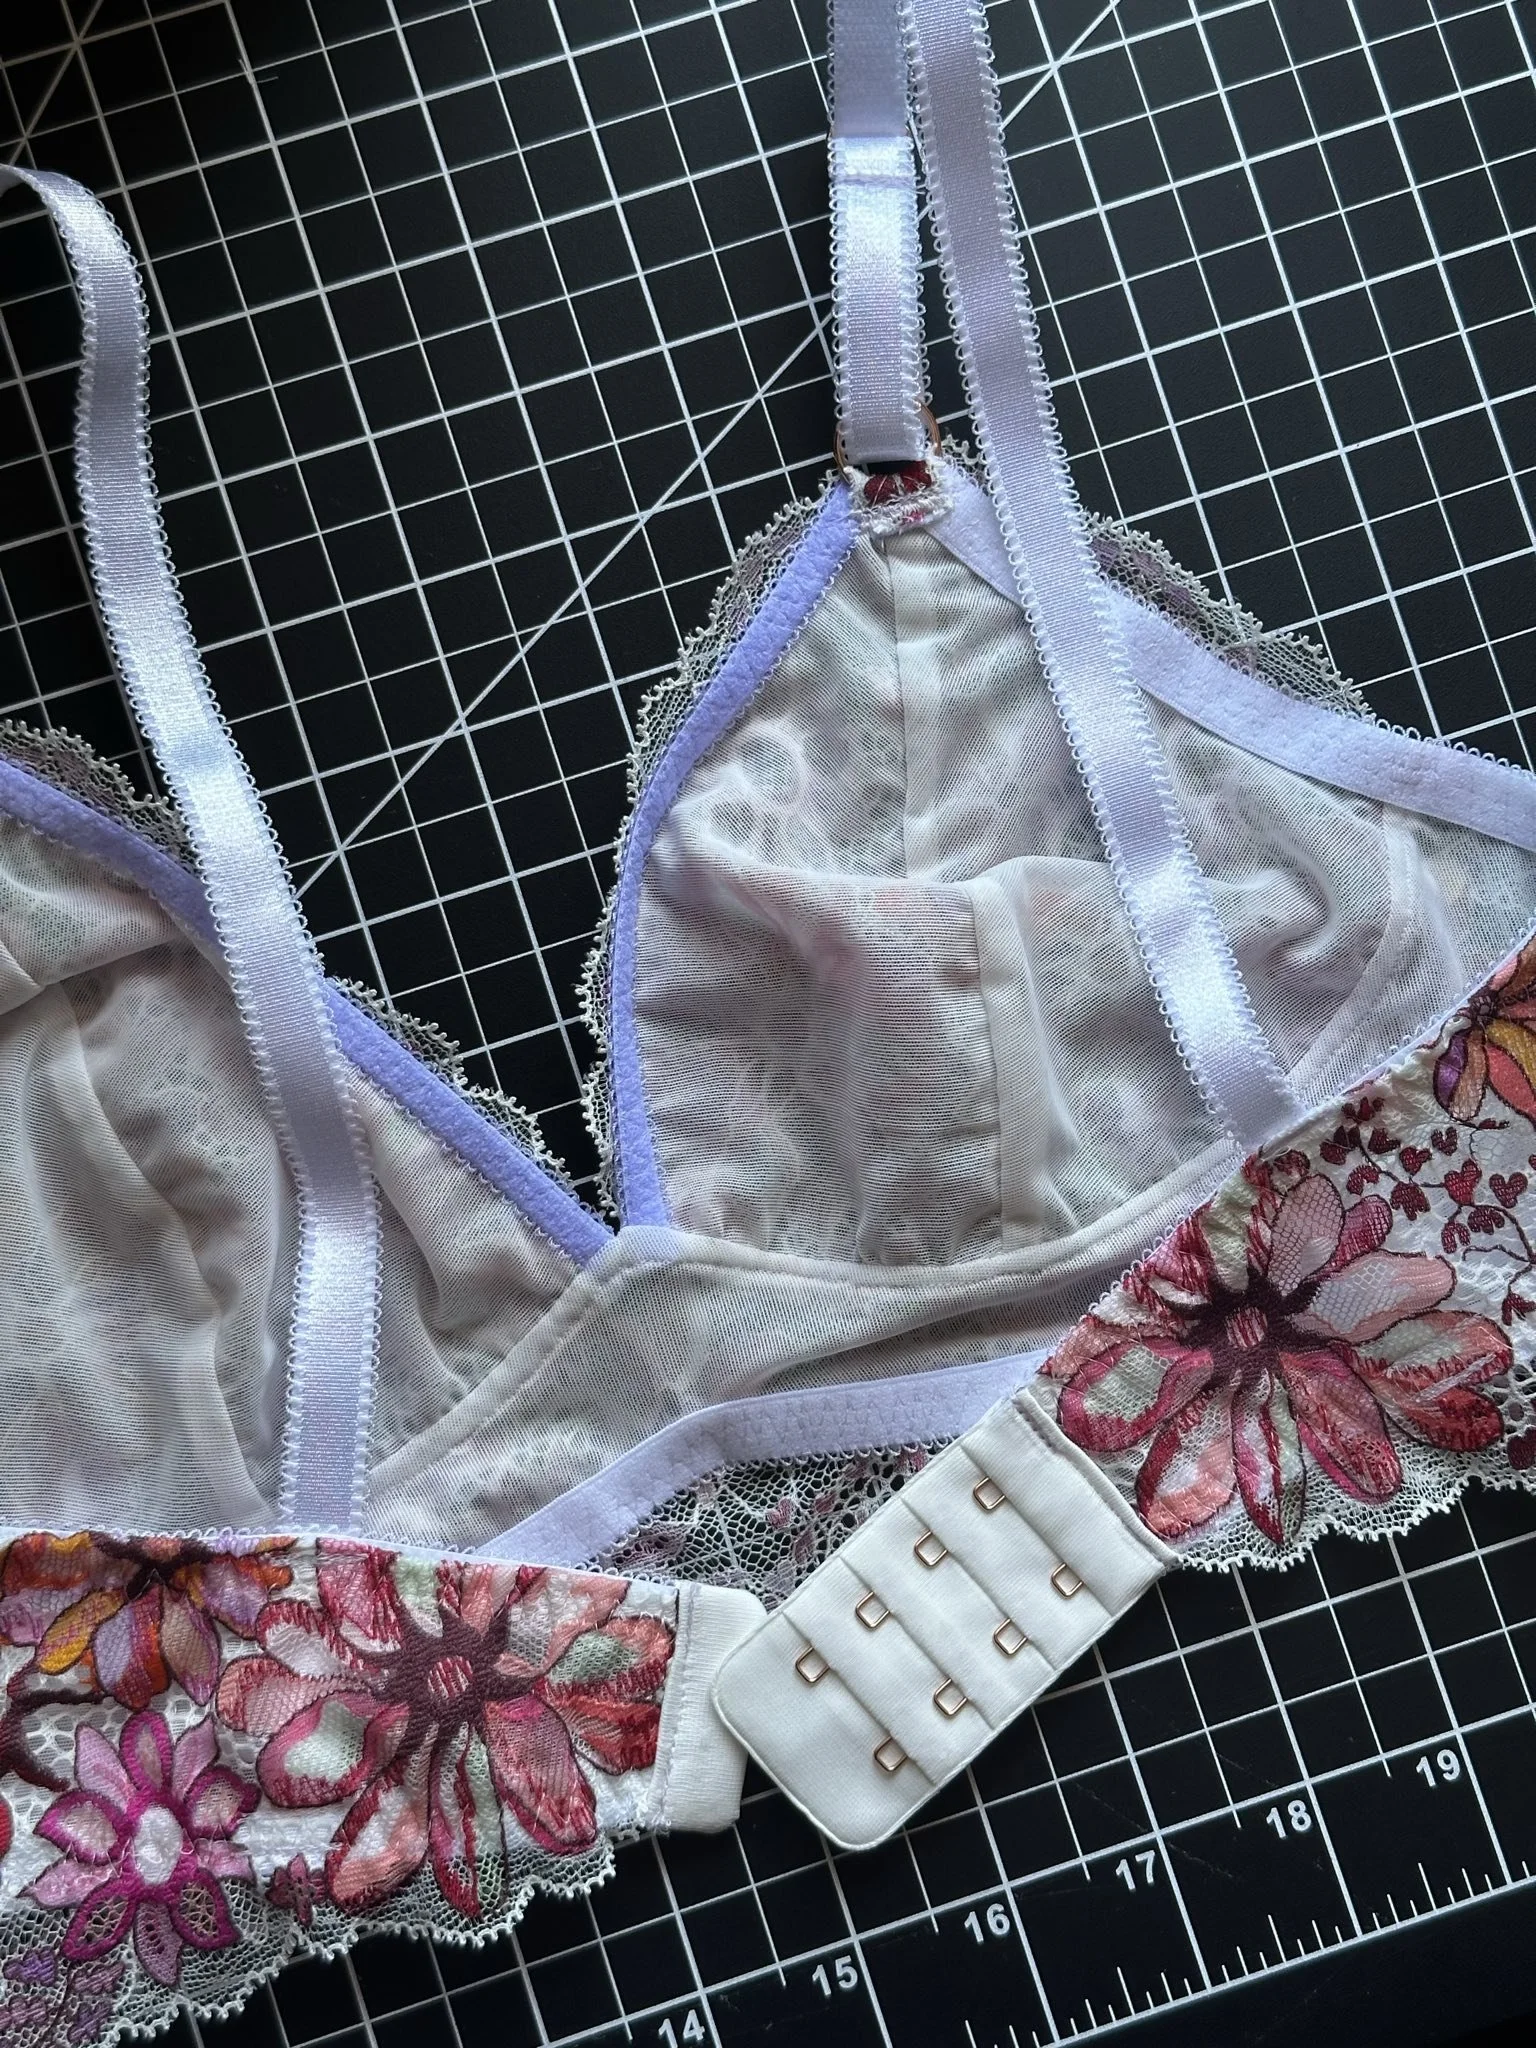
6. Prep for Hook & Eye
I check that the upper band seam allowance is the right width for the hook & eye. If it’s too wide, I trim it down. If it’s too short, I just fold slightly less than the full seam allowance when applying elastic.
When sewing elastic, I always do one pass only, wrong side facing up. This helps me follow the lining guide accurately, especially near the lace cup edges. Again, I’m following the cup lining, not the lace edge.
7. Sew Bottom Elastic
For the bottom band, I sew the elastic in one pass as well, wrong side up, using a 3-step zigzag stitch, widest width, 2–2.5 length. A bit of tension helps it sit snug, and I always follow the lining edge with the bottom layer of fabric laying flat.
8. Finish It Off
Finally, I:
Sew on the hook & eyes
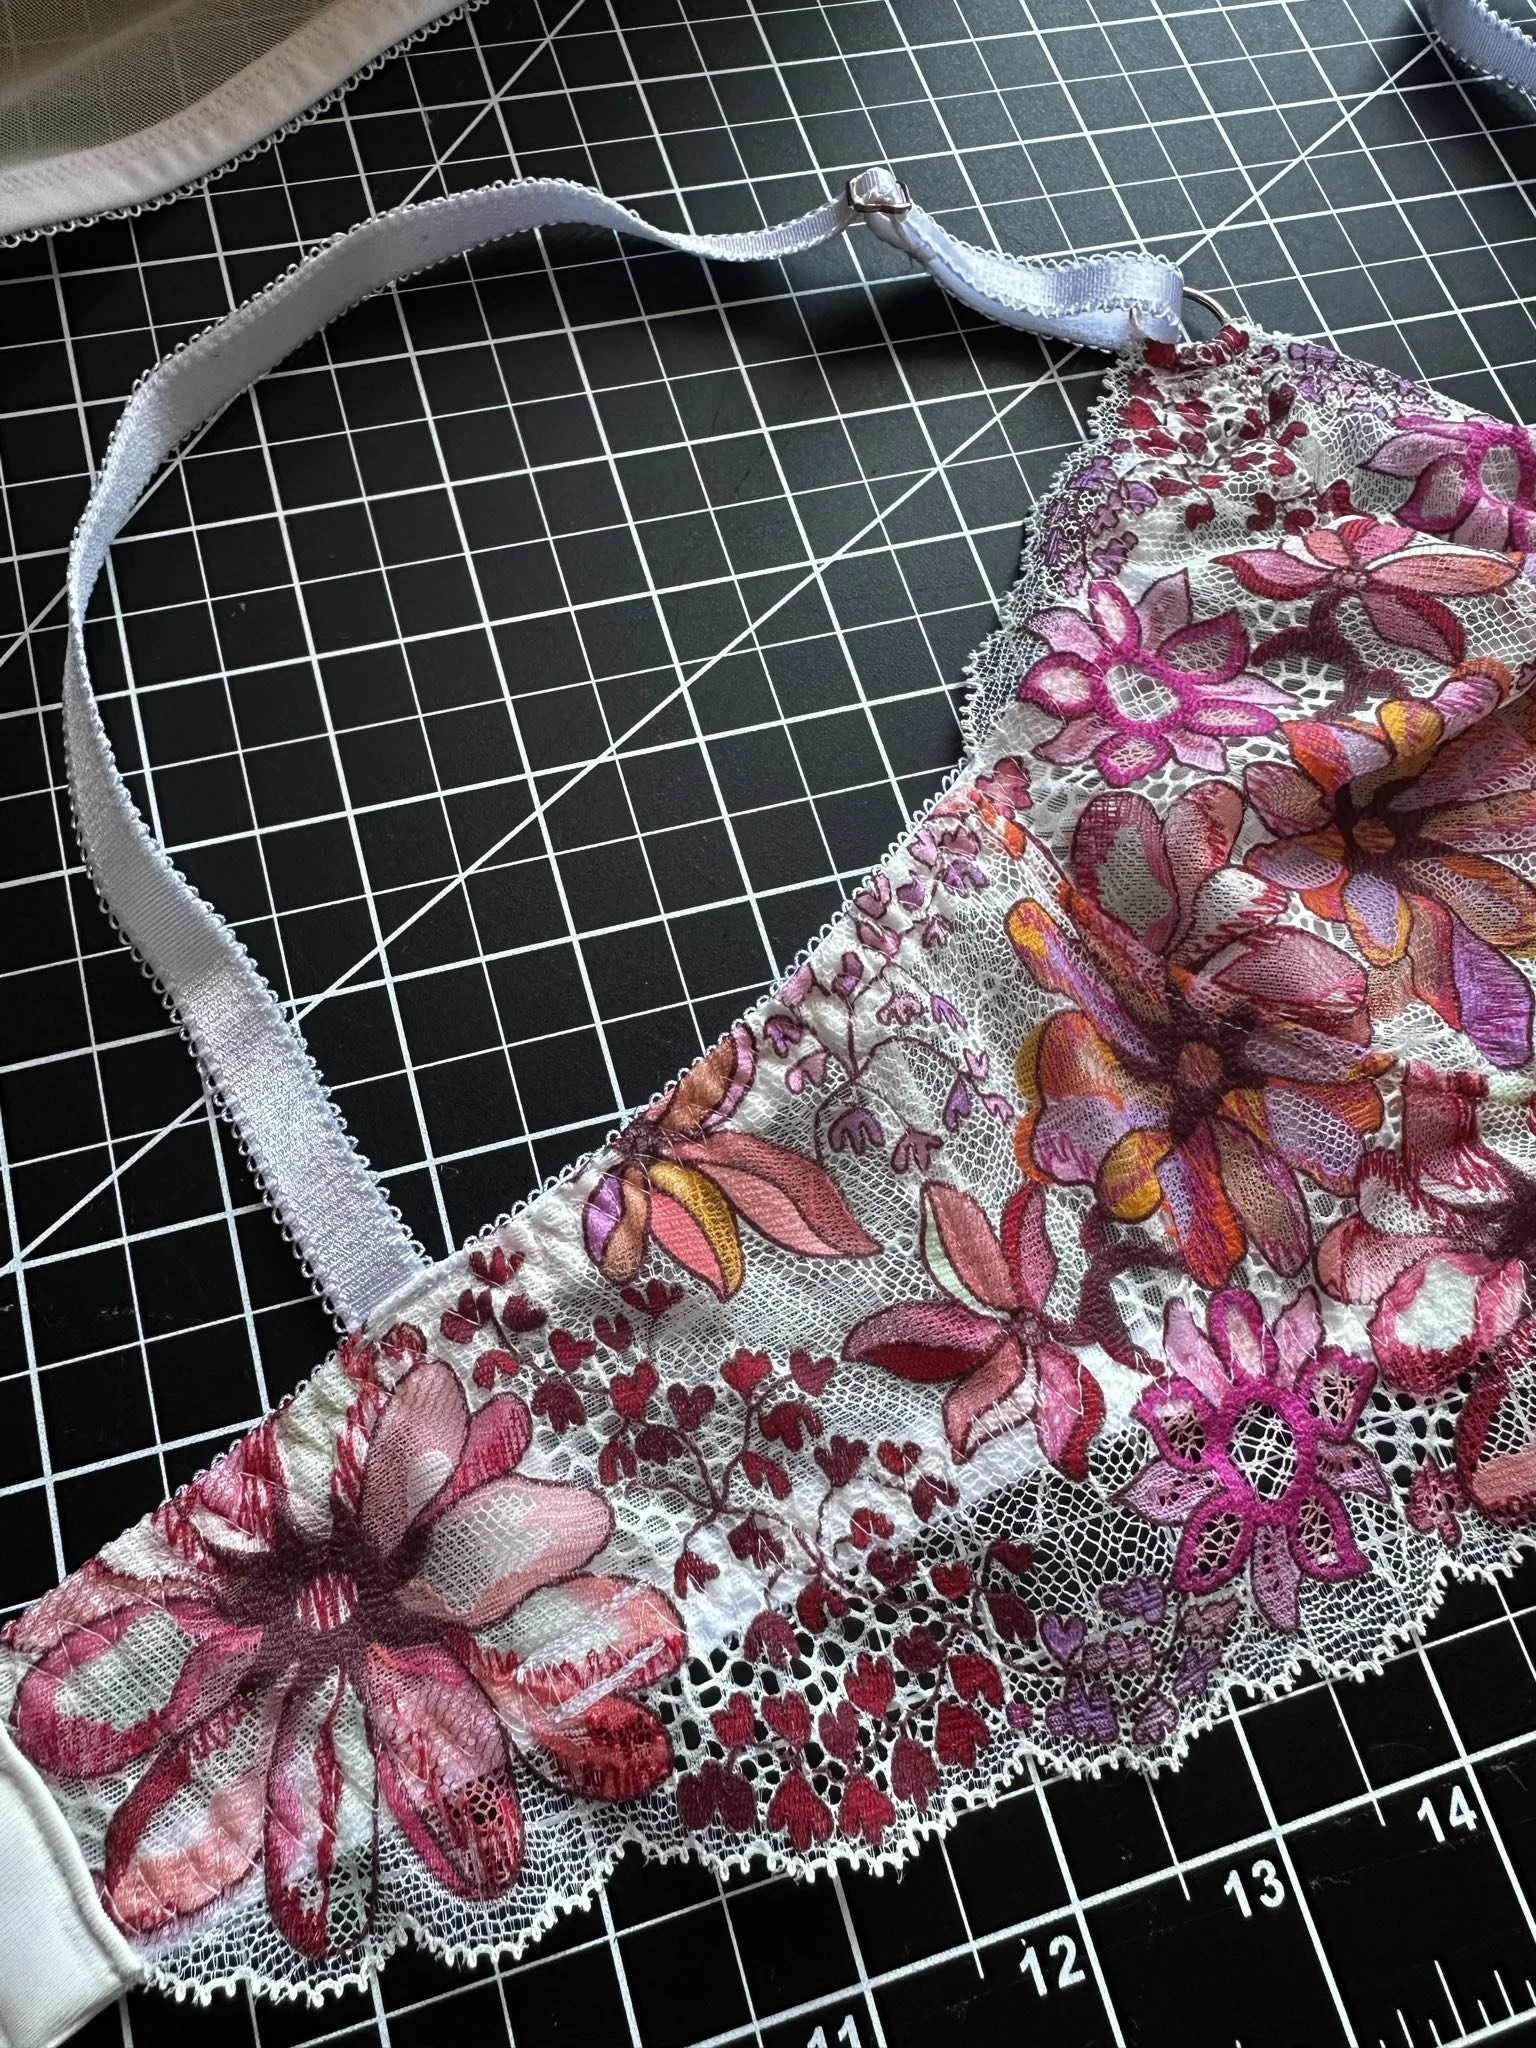
Add rings to the top cup points
Thread sliders onto the straps
And that's it! Bralette done and ready for summer 🌞