
No Mesh? No Problem! A Cheeky Lace Tanga Hack for the Luina Panty
Hello Lovelies!
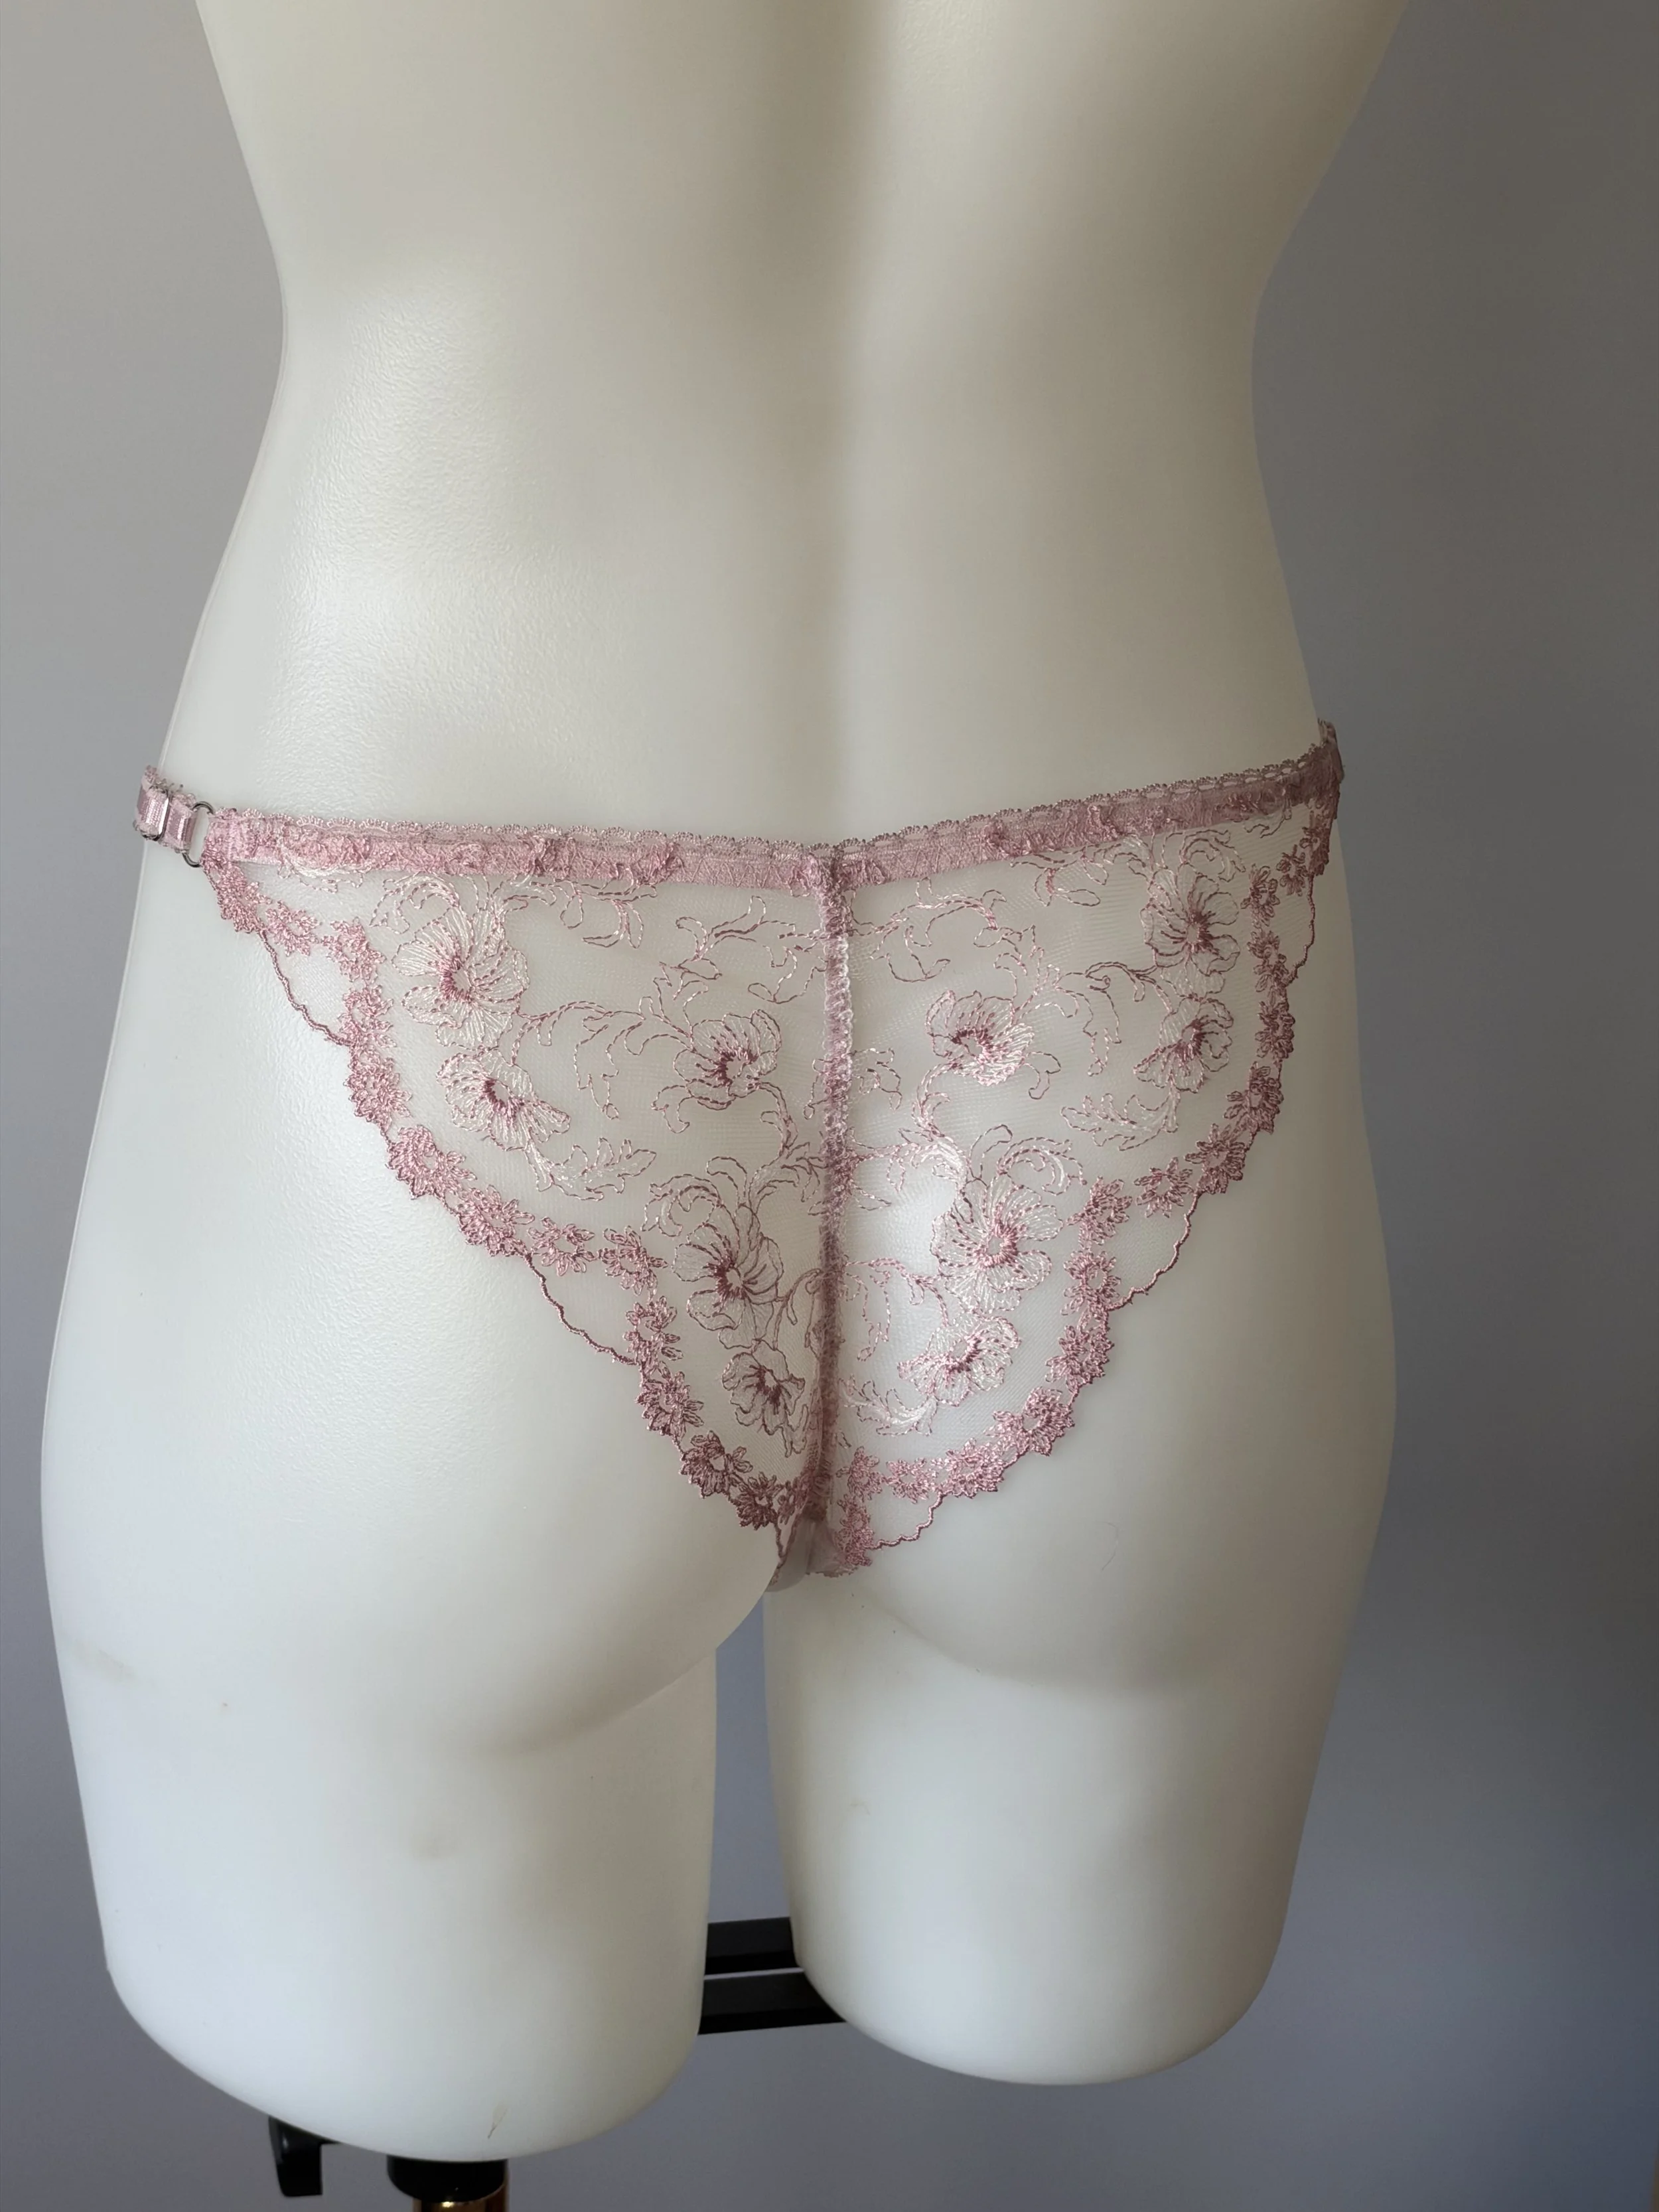
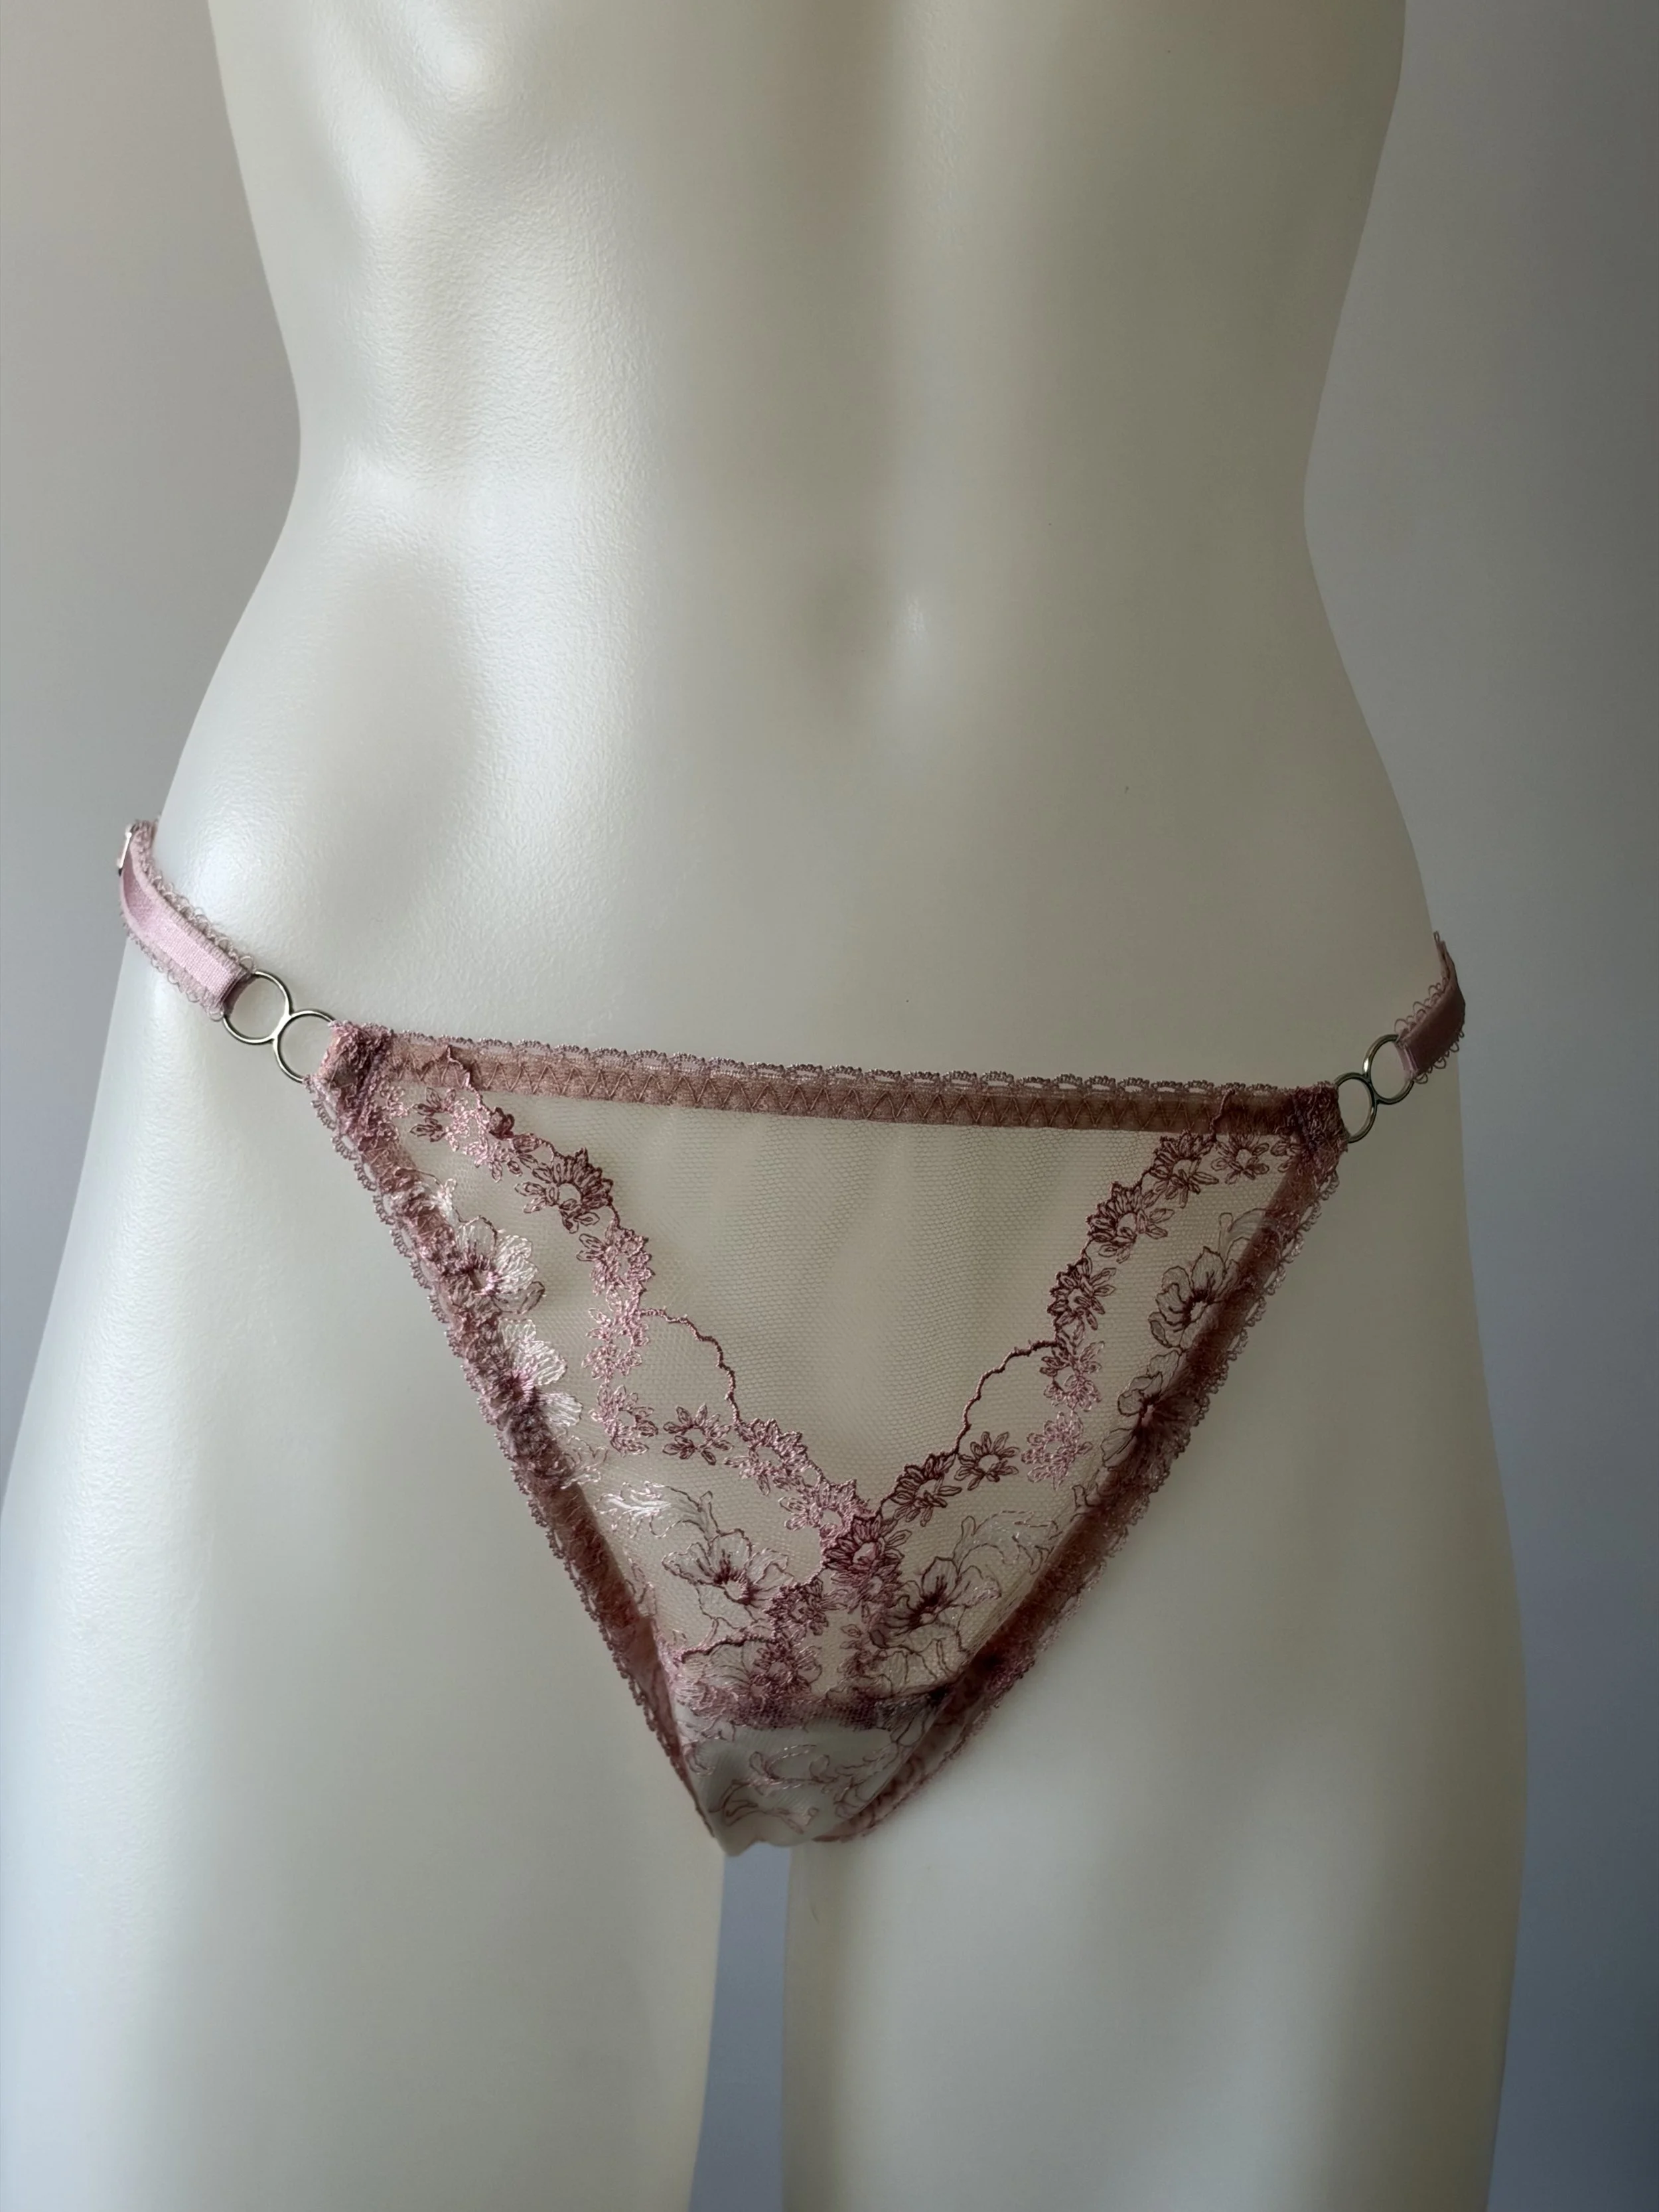
I recently ran into a dilemma: I ran out of my 90GSM panty mesh! So I got creative with my existing Luina Panty Pattern and made a cute, cheeky backside entirely out of rigid lace, with a rigid lace gusset too, so no mesh is needed. Here's exactly how I did it.
What You'll Need
Tools
Pencil
Tracing paper
Rotary cutter and cutting mat
Tailor's ruler (curved) and a regular ruler
Serger (optional)
Materials
Rigid lace
Elastic: narrow clear or thin, delicate elastic for the back seam, plus your usual waist and leg elastic
Rings and sliders for the straps
Pattern pieces from the Luina Panty Pattern: front, gusset, and the Thong Variation back piece.
Part 1: Draft the New Front
Step 1. Set up your tracing.
I place my pattern pieces under tracing paper so I can see the seam allowances and draw right over them.
Step 2. Reshape the front.
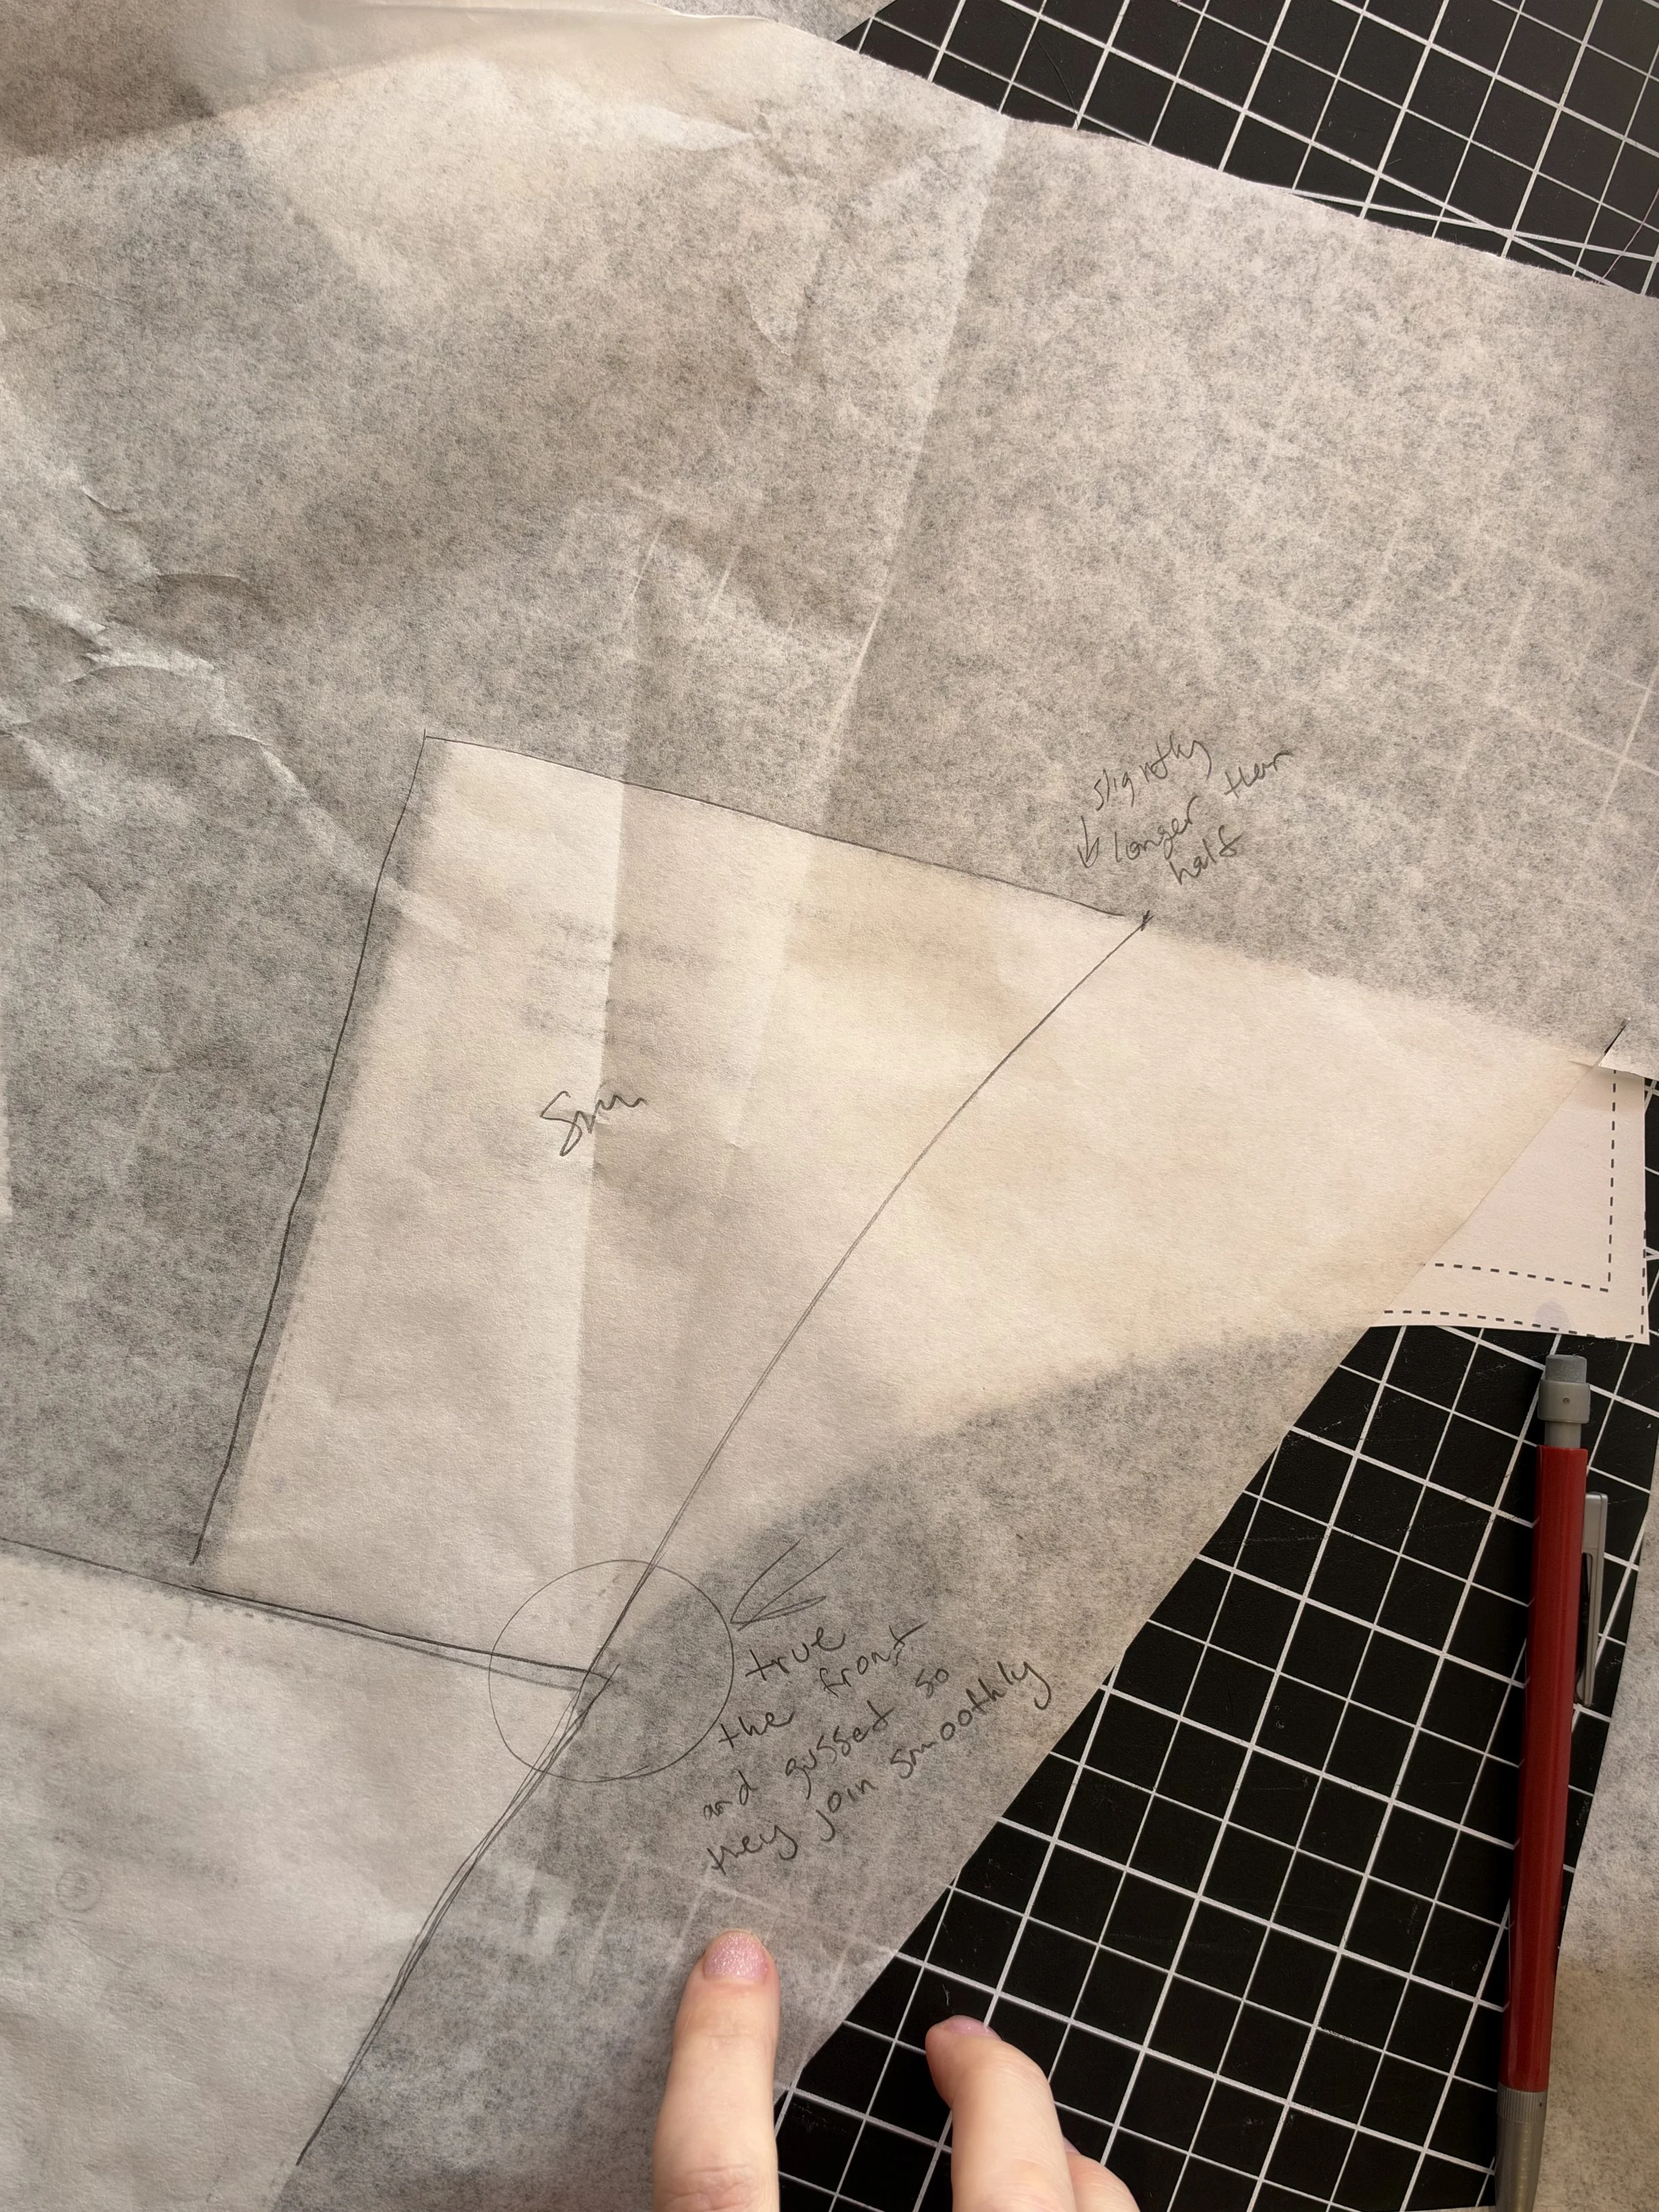
Line up the front piece and the gusset as if they were sewn together. Make the top waist of the front a little more than half its original width. You can customize this: I made mine smaller for more strappy details and a thong look at the front. Make it wider for more coverage, or narrower for something more scandalous!
Step 3. Draw the curve.
Use your tailor's ruler to draw a curved line from the gusset area up to the mark you made at the top waistband. Make sure the new line flows nicely into the gusset.
Step 4. Finish and cut.
Trace the rest of the sides of the front piece, label it, and cut it out! Use a regular lace edge or make it more intricate by following my other blog for a lace overlay variation!
Part 2: Draft the Lace Back
Step 5. Add the center seam allowance.
Place the Thong Variation piece under the tracing paper. Add ¼" seam allowance to the center fold and draw a line.
Step 6. Decide how far the lace goes over the cheeks.
I made mine about ¾" longer than the center. Mark the spot at the top waist where you want the lace to stop at the side back.
Step 7. Remove the elastic seam allowance and draw the scallop edge.
Mark where the darted line starts at the very bottom of the back piece and where the gusset attaches. Connect the two dots with a straight line using your ruler. This is where the scallop edge of the lace will fall.
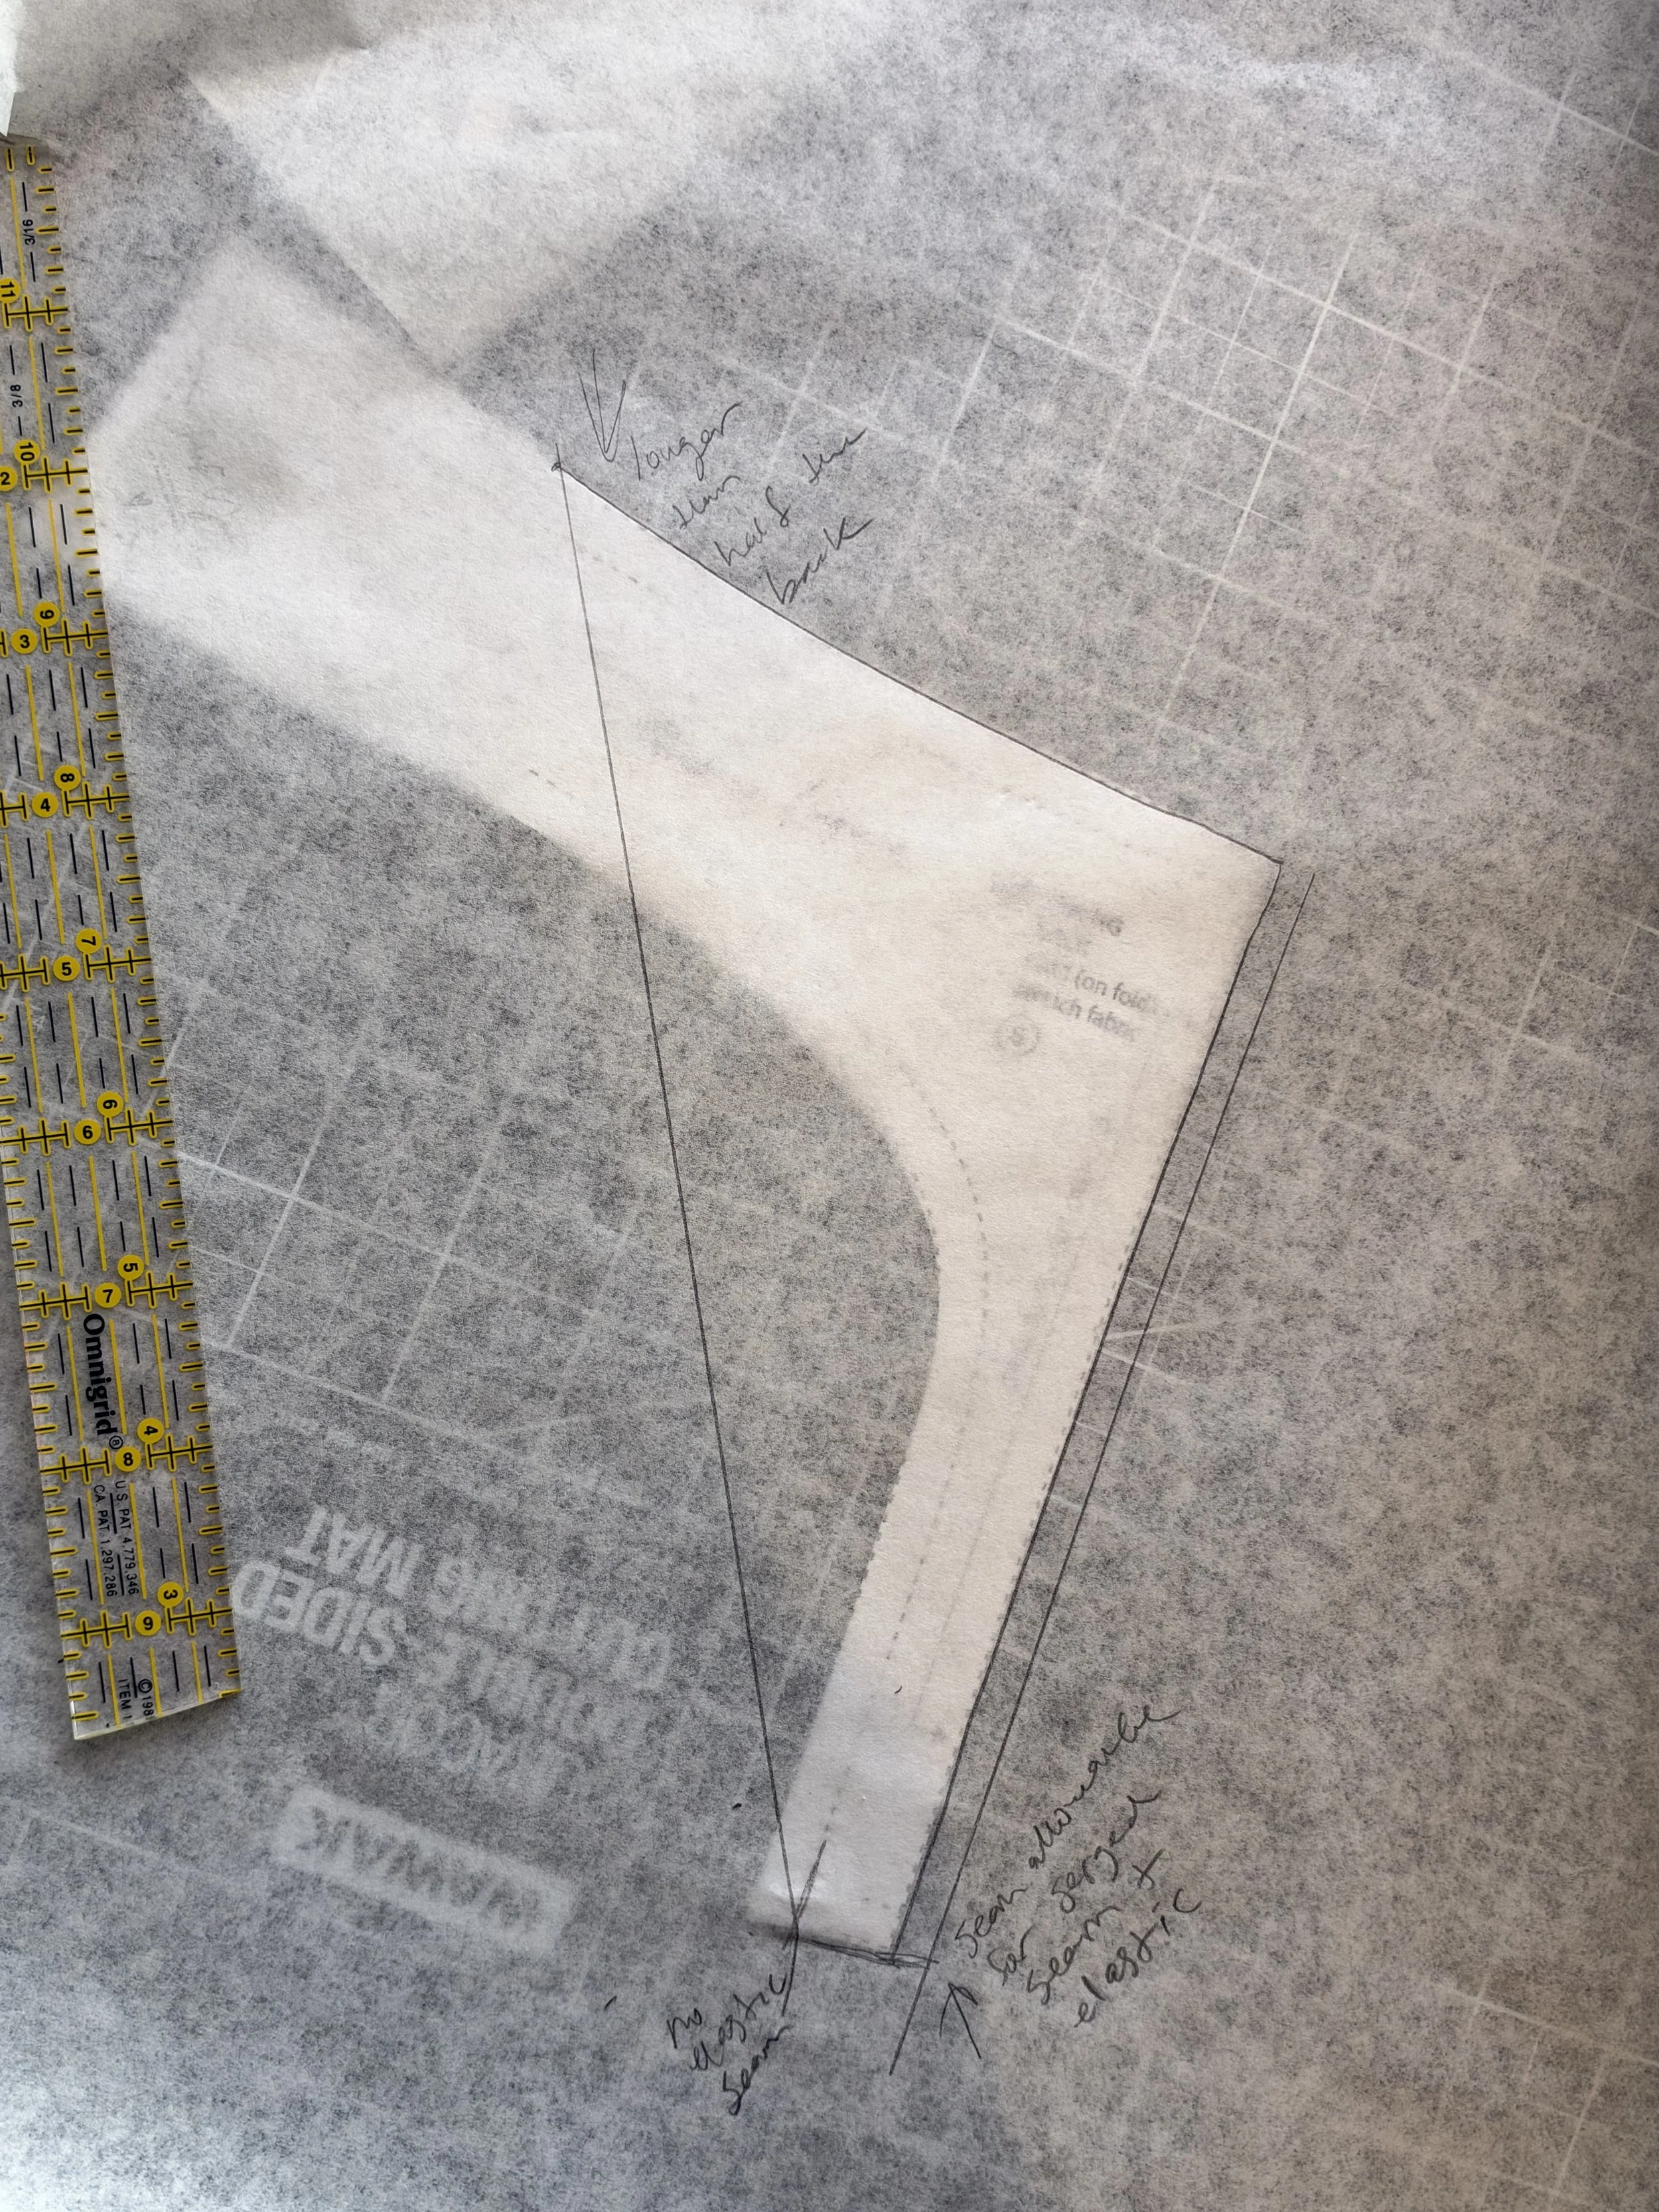
This is a helpful tip! But double check that there is enough gusset seam allowance for when you sew on the elastic that will stop at the edge of the embroidery! Double check that everything will meet perfectly!
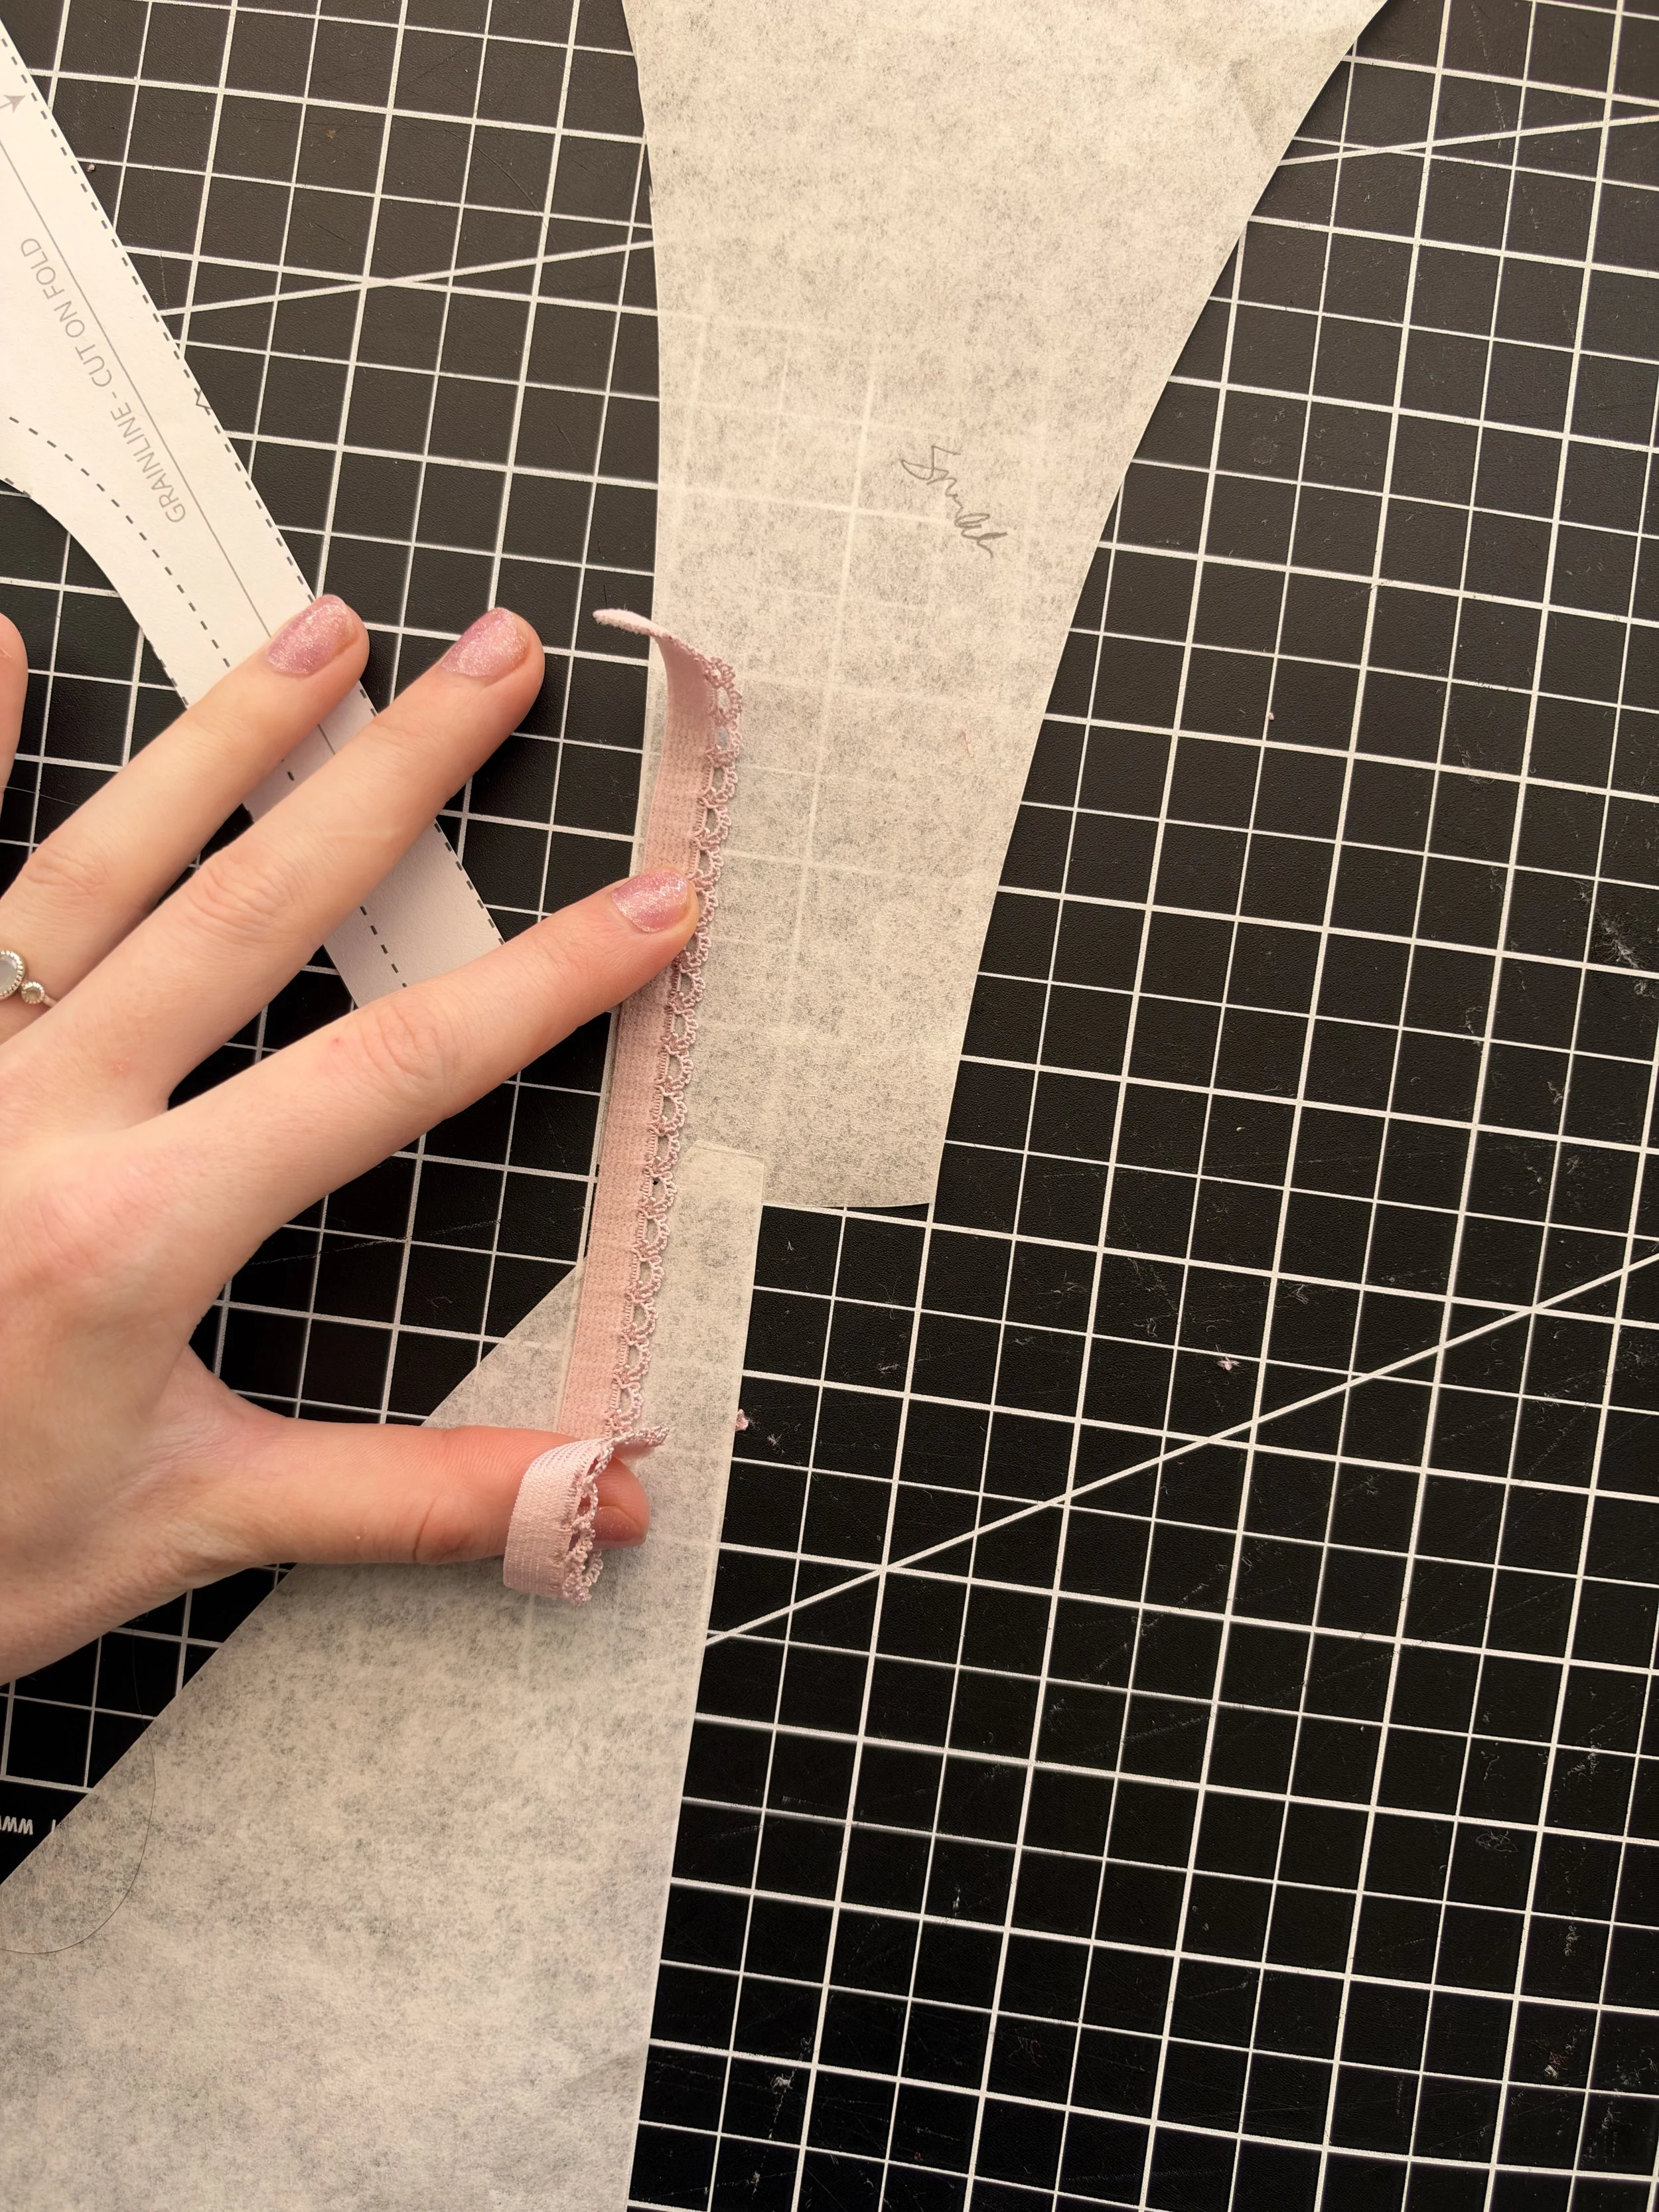
Make sure that there isn’t too much or too little seam allowance! your elastic should stop right where the edge of the scallop is sewn into the gusset. :)
Part 3: Cut and Measure Your Elastic
Step 8. Cut your pieces.
Cut the gusset pieces and the lining (with the seam allowance removed). Cut the rigid lace with seam allowances included.
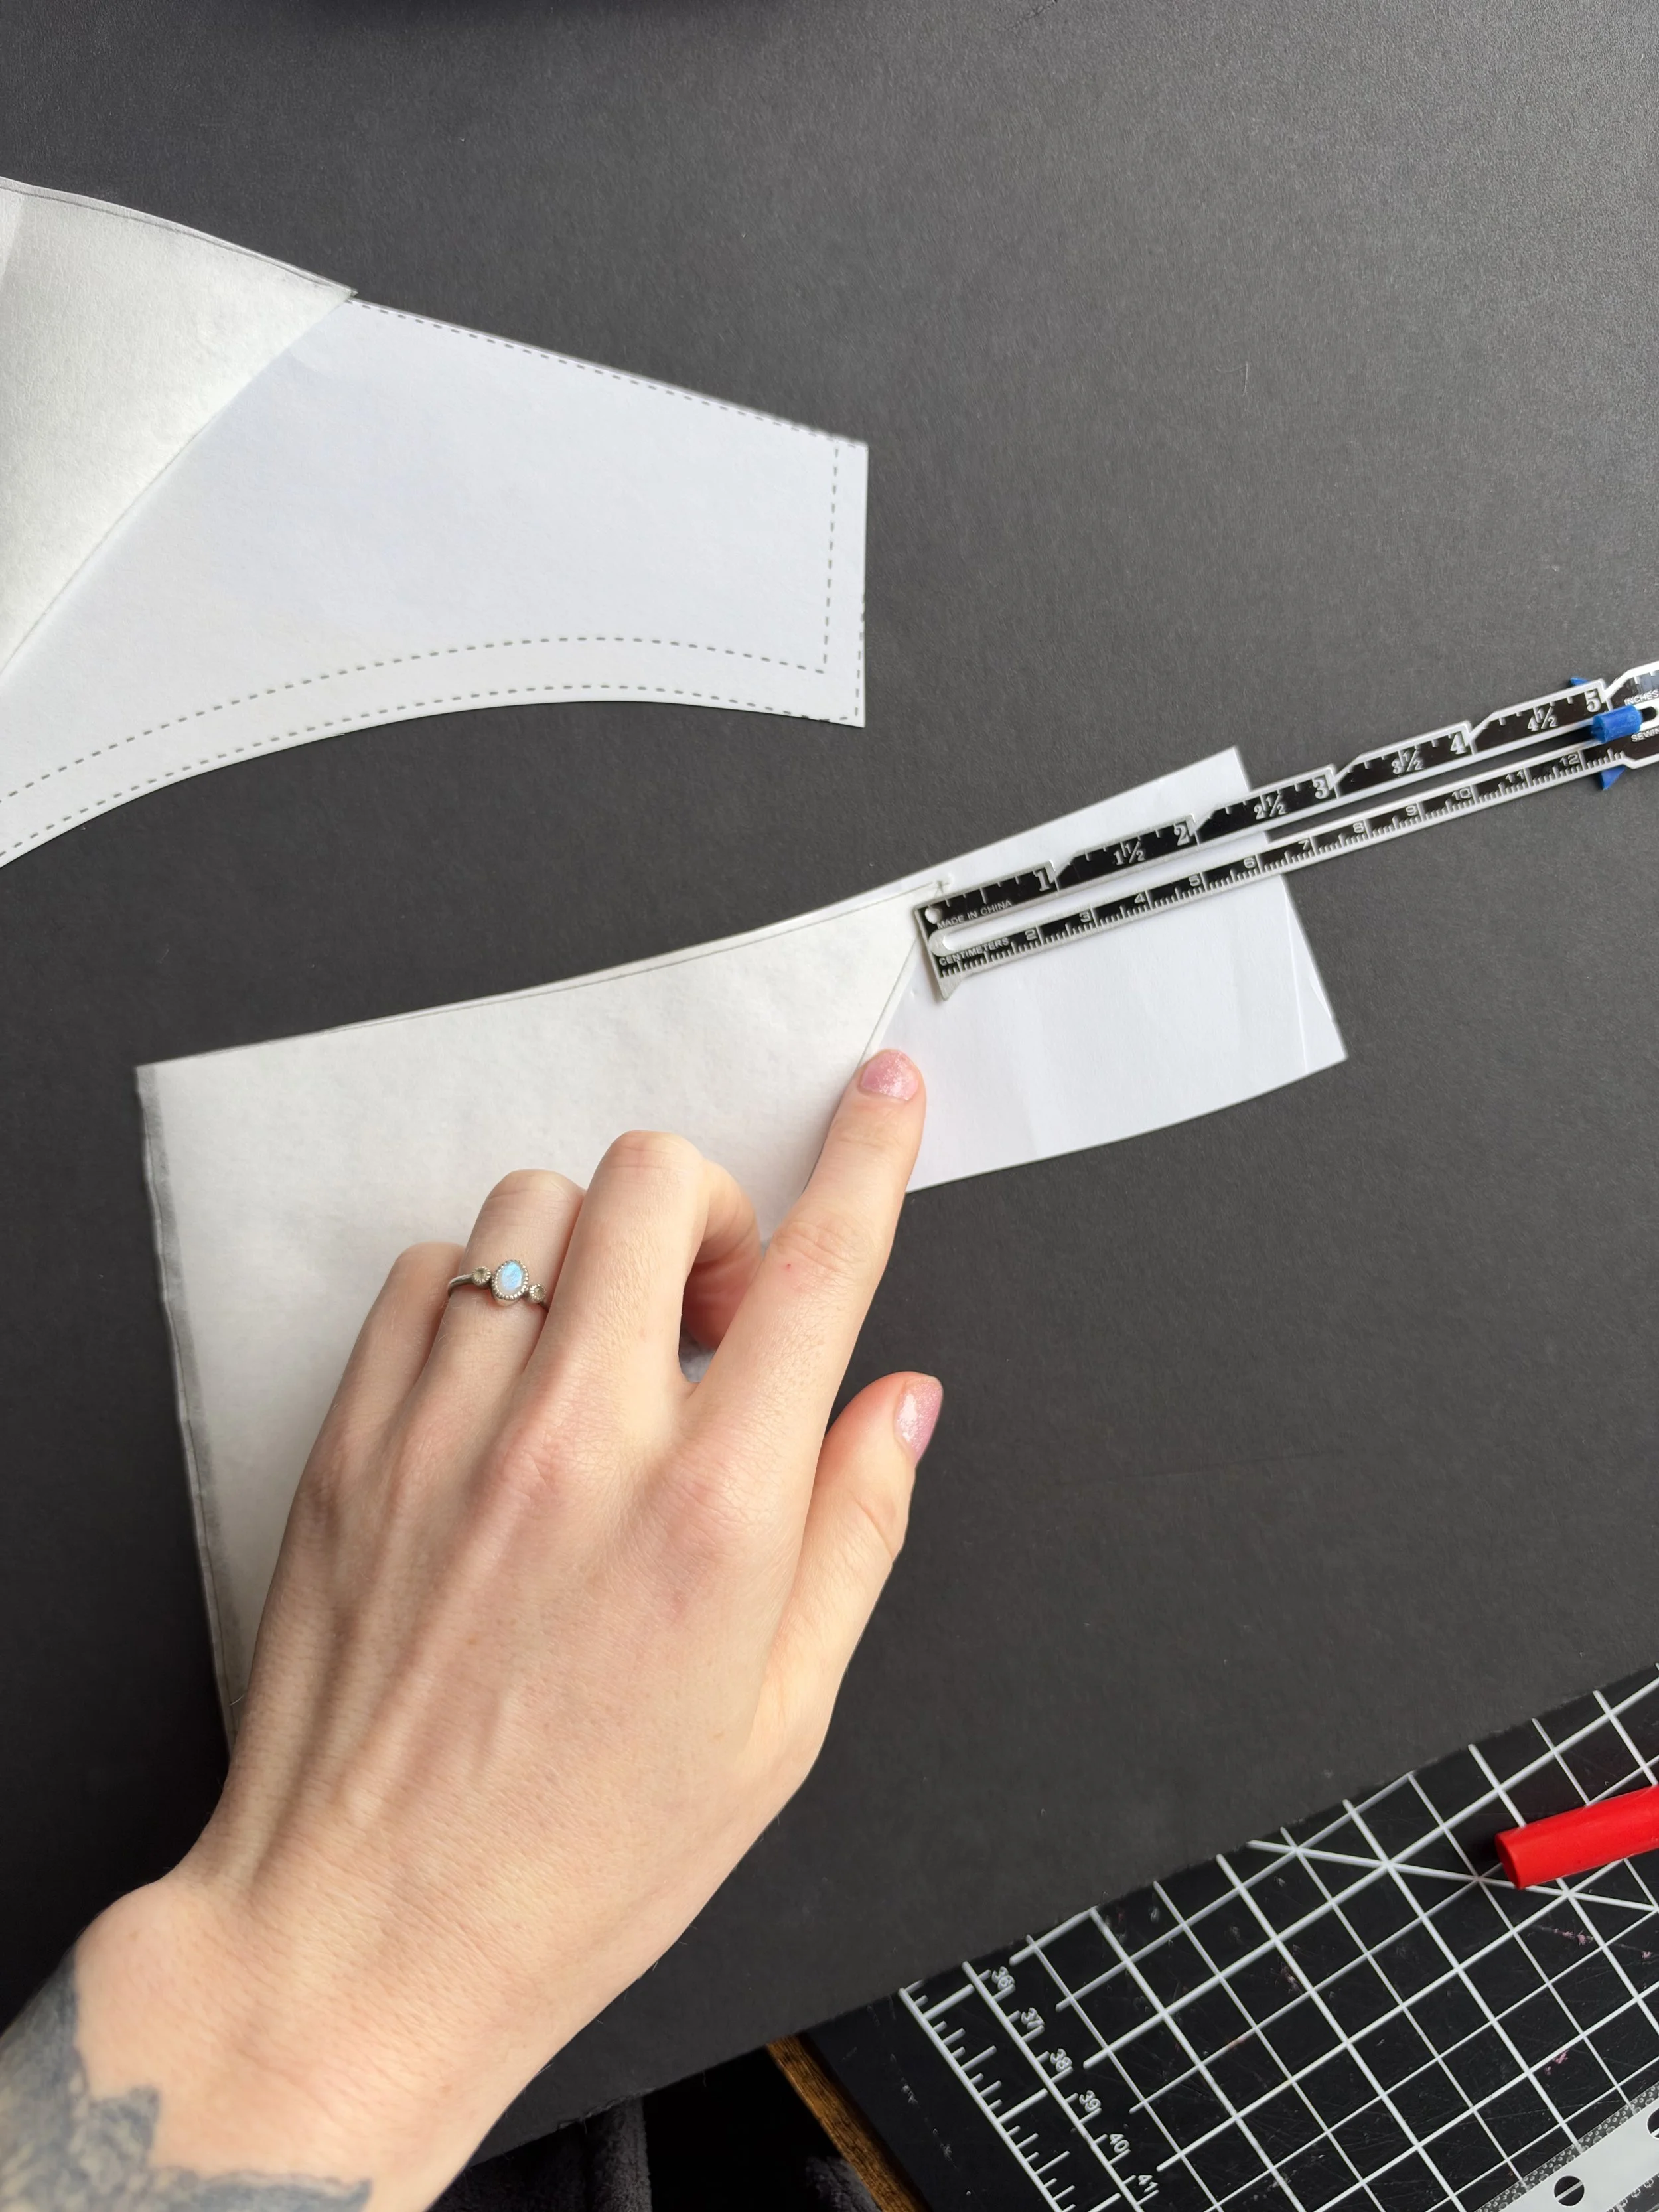
Step 9. Figure out your elastic length.
Lay your cut pieces over the originals and measure how much you removed. In my sample I removed about 8" of length, so I cut two 8" pieces of elastic. There's room to adjust, because some of the stable front piece is gone, the elastic makes up for the amount removed. It is helpful to have some elastic on hand to see how much you need, please double check this part yourself.
Part 4: Sew It Up
Step 10. Sew the gusset and front.
Sew these together as in the instruction manual.
Step 11. Join the lace back pieces.
Serge the two mirrored lace pieces together, right sides together.
Step 12. Add the cheeky elastic.
Sew a narrow clear or thin, delicate elastic to the inside of the serged seam. You can sew it to the seam allowance only or open the back piece with right side facing down and the serged seam pushed to one side. Use a zigzag stitch at 3.5 width and 2.5-3 length with slight tension. Pull the elastic just enough that the seam gathers. The elastic should hug the center so you get a nice cheeky look when worn.
Next, sandwich the back piece in between the gusset pieces just like in the instruction manual.
Step 13. Add the waist and leg elastics.
I sew the waistband elastics on first, then the leg holes. Stop right where the gusset seam allowance meets the back piece, pivot, and bartack. Trim the elastic ends very close to the bar tack.
Step 14. Add the hardware.
Sew on your rings, put the sliders on the straps, and attach the straps to your panty.
Tada! Now you’ve made the CUTEST cheeky fully rigid lace panty for yourself! A super cute, strappy, cheeky tanga with no mesh at all. Let me know if you try this hack! Happy sewing! xo