The Dora Larsen Bralette Dupe
I LOOVVVEEE the Dora Larsen collections with all the beautiful complimentary colors and fun embroideries! Here in this blog I will show how I took a pattern already available for purchase and turned it into this lovely rigid lace bralette with adjustable back straps. I won’t go into depth how i sewed the back because you can choose to make the back any way you wish. The important part is how to modify the pattern pieces.
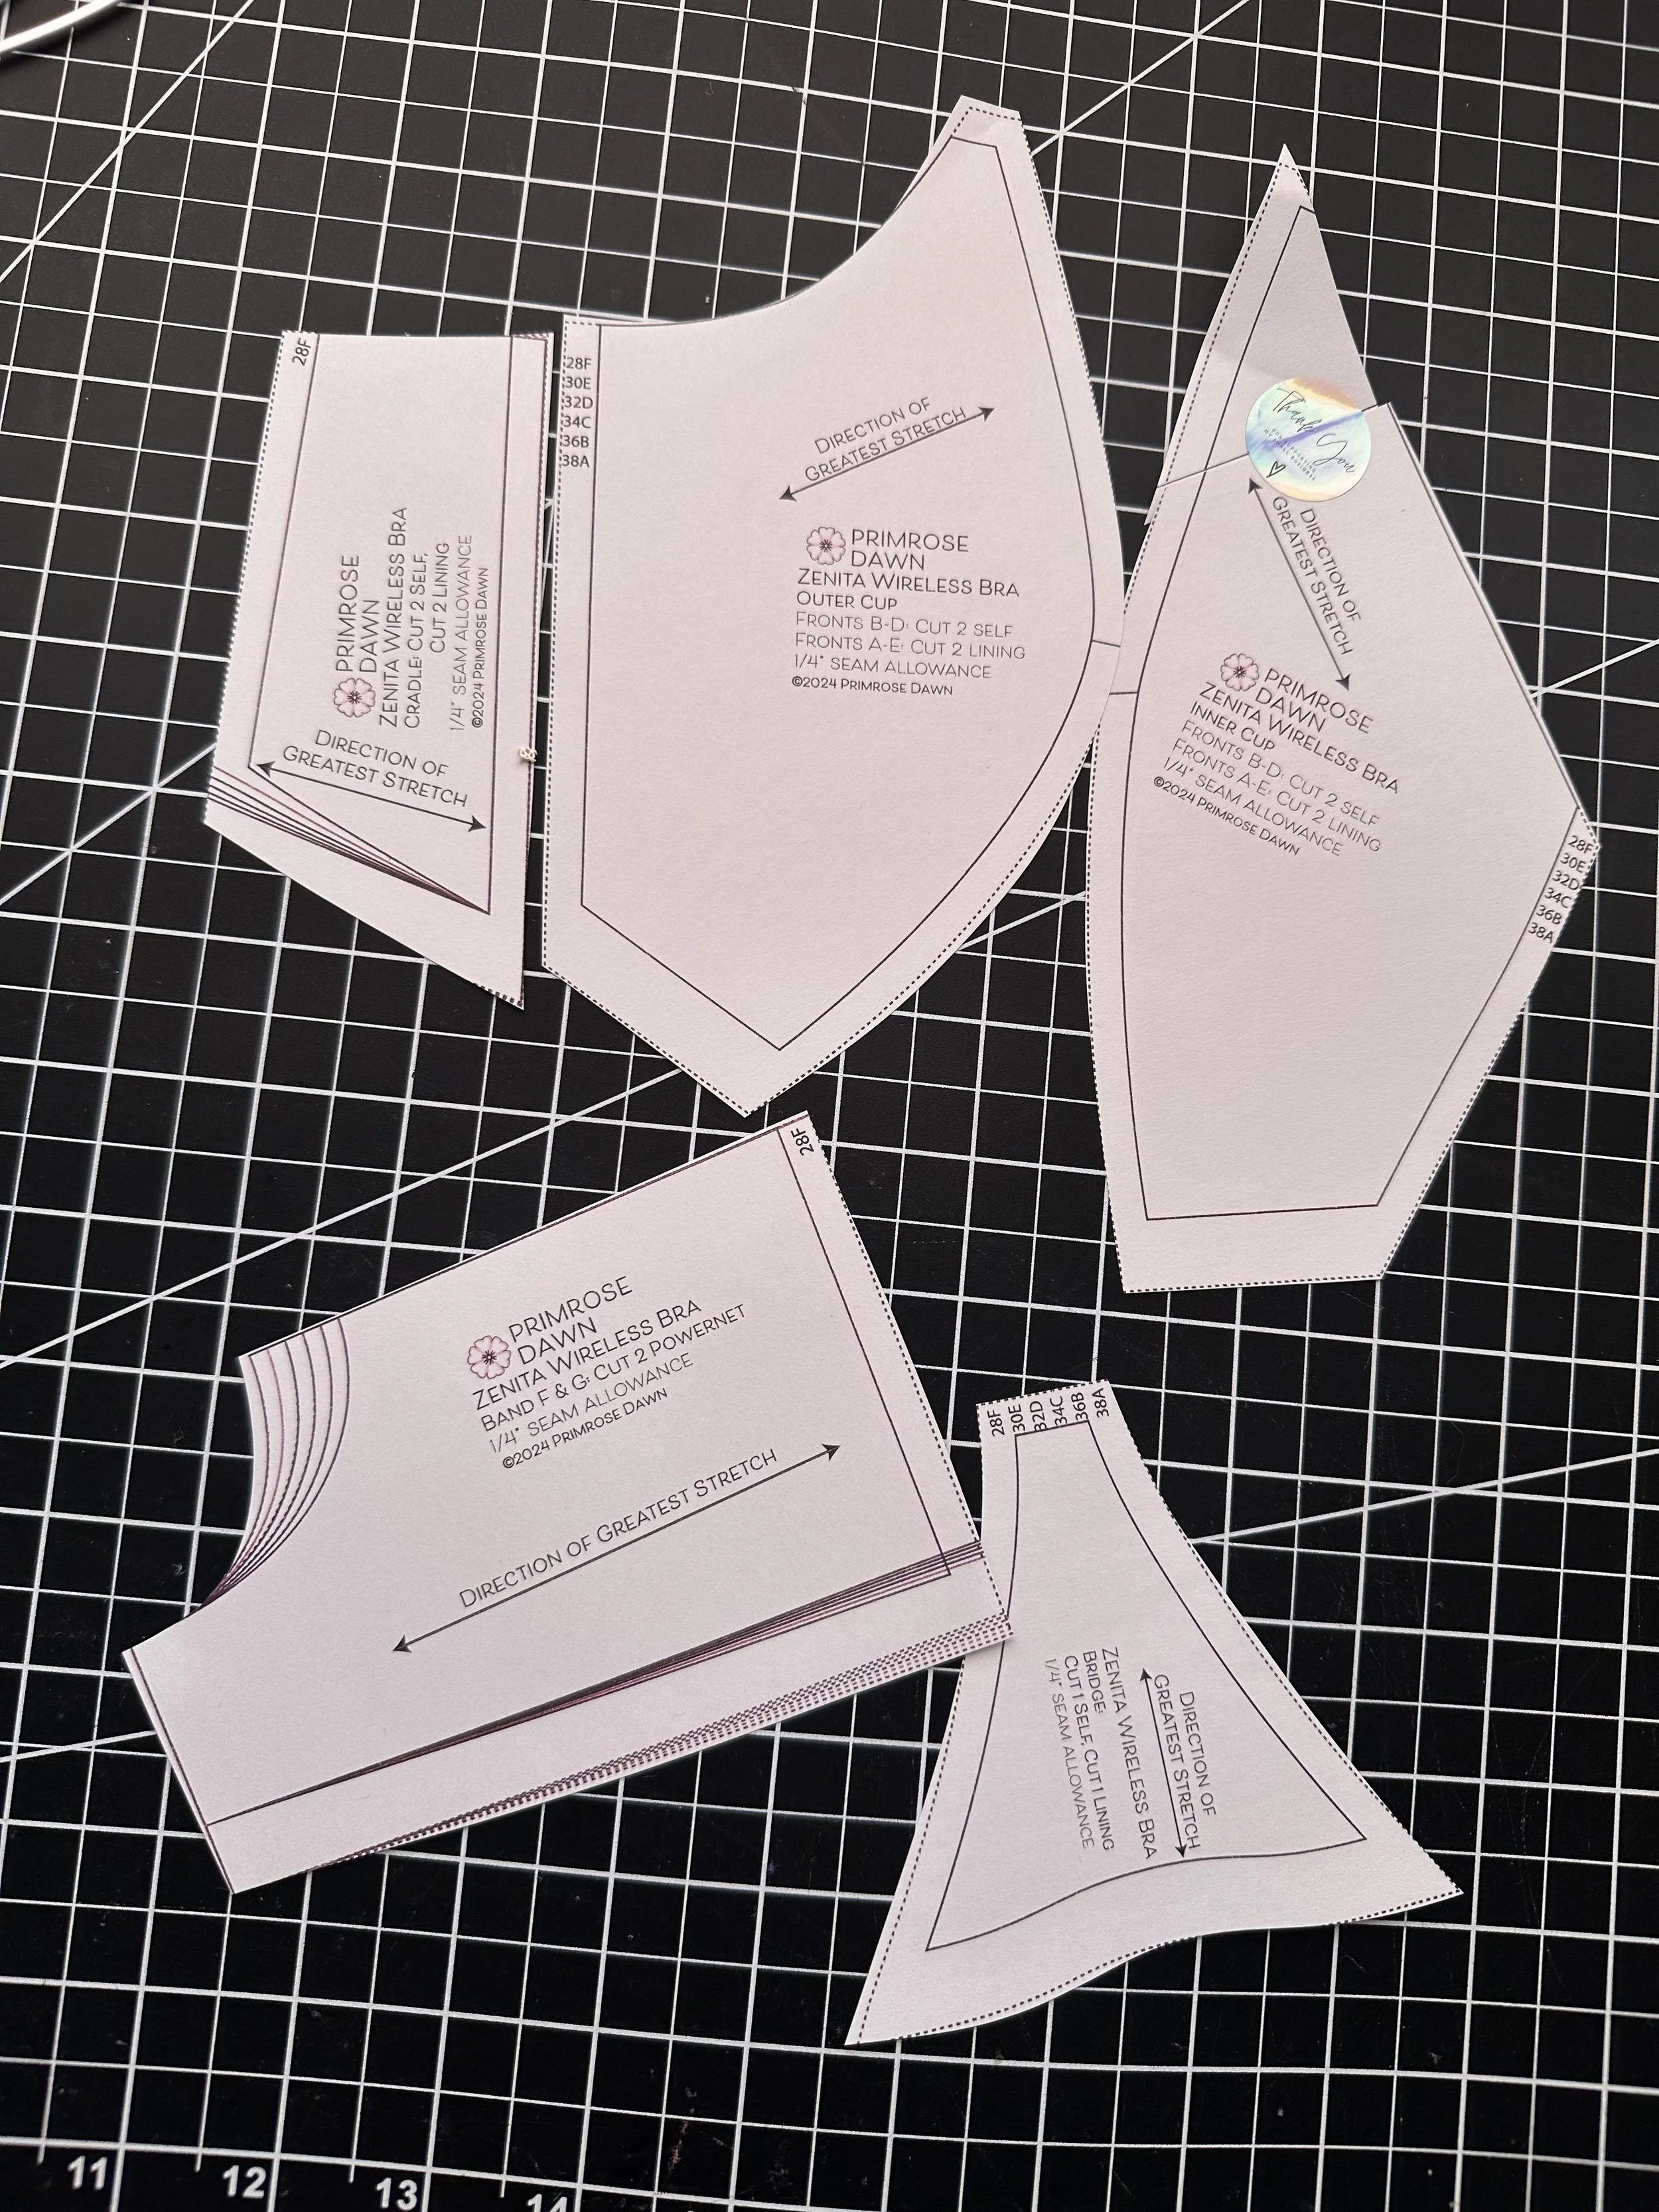

Step 1 — Building Your Cup Pattern
Start by purchasing the Zenita Bralette pattern by Primrose Dawn, which will serve as your base. Print your size and tape the two cup pieces together at the notches to create a darted cup. Next, fold the center cradle piece in half and tape it to the center side cup at the seamline. Doing this step eliminates the center gore and creates a more seamless and straight cup piece that gives less interuptions to beautiful embroideries
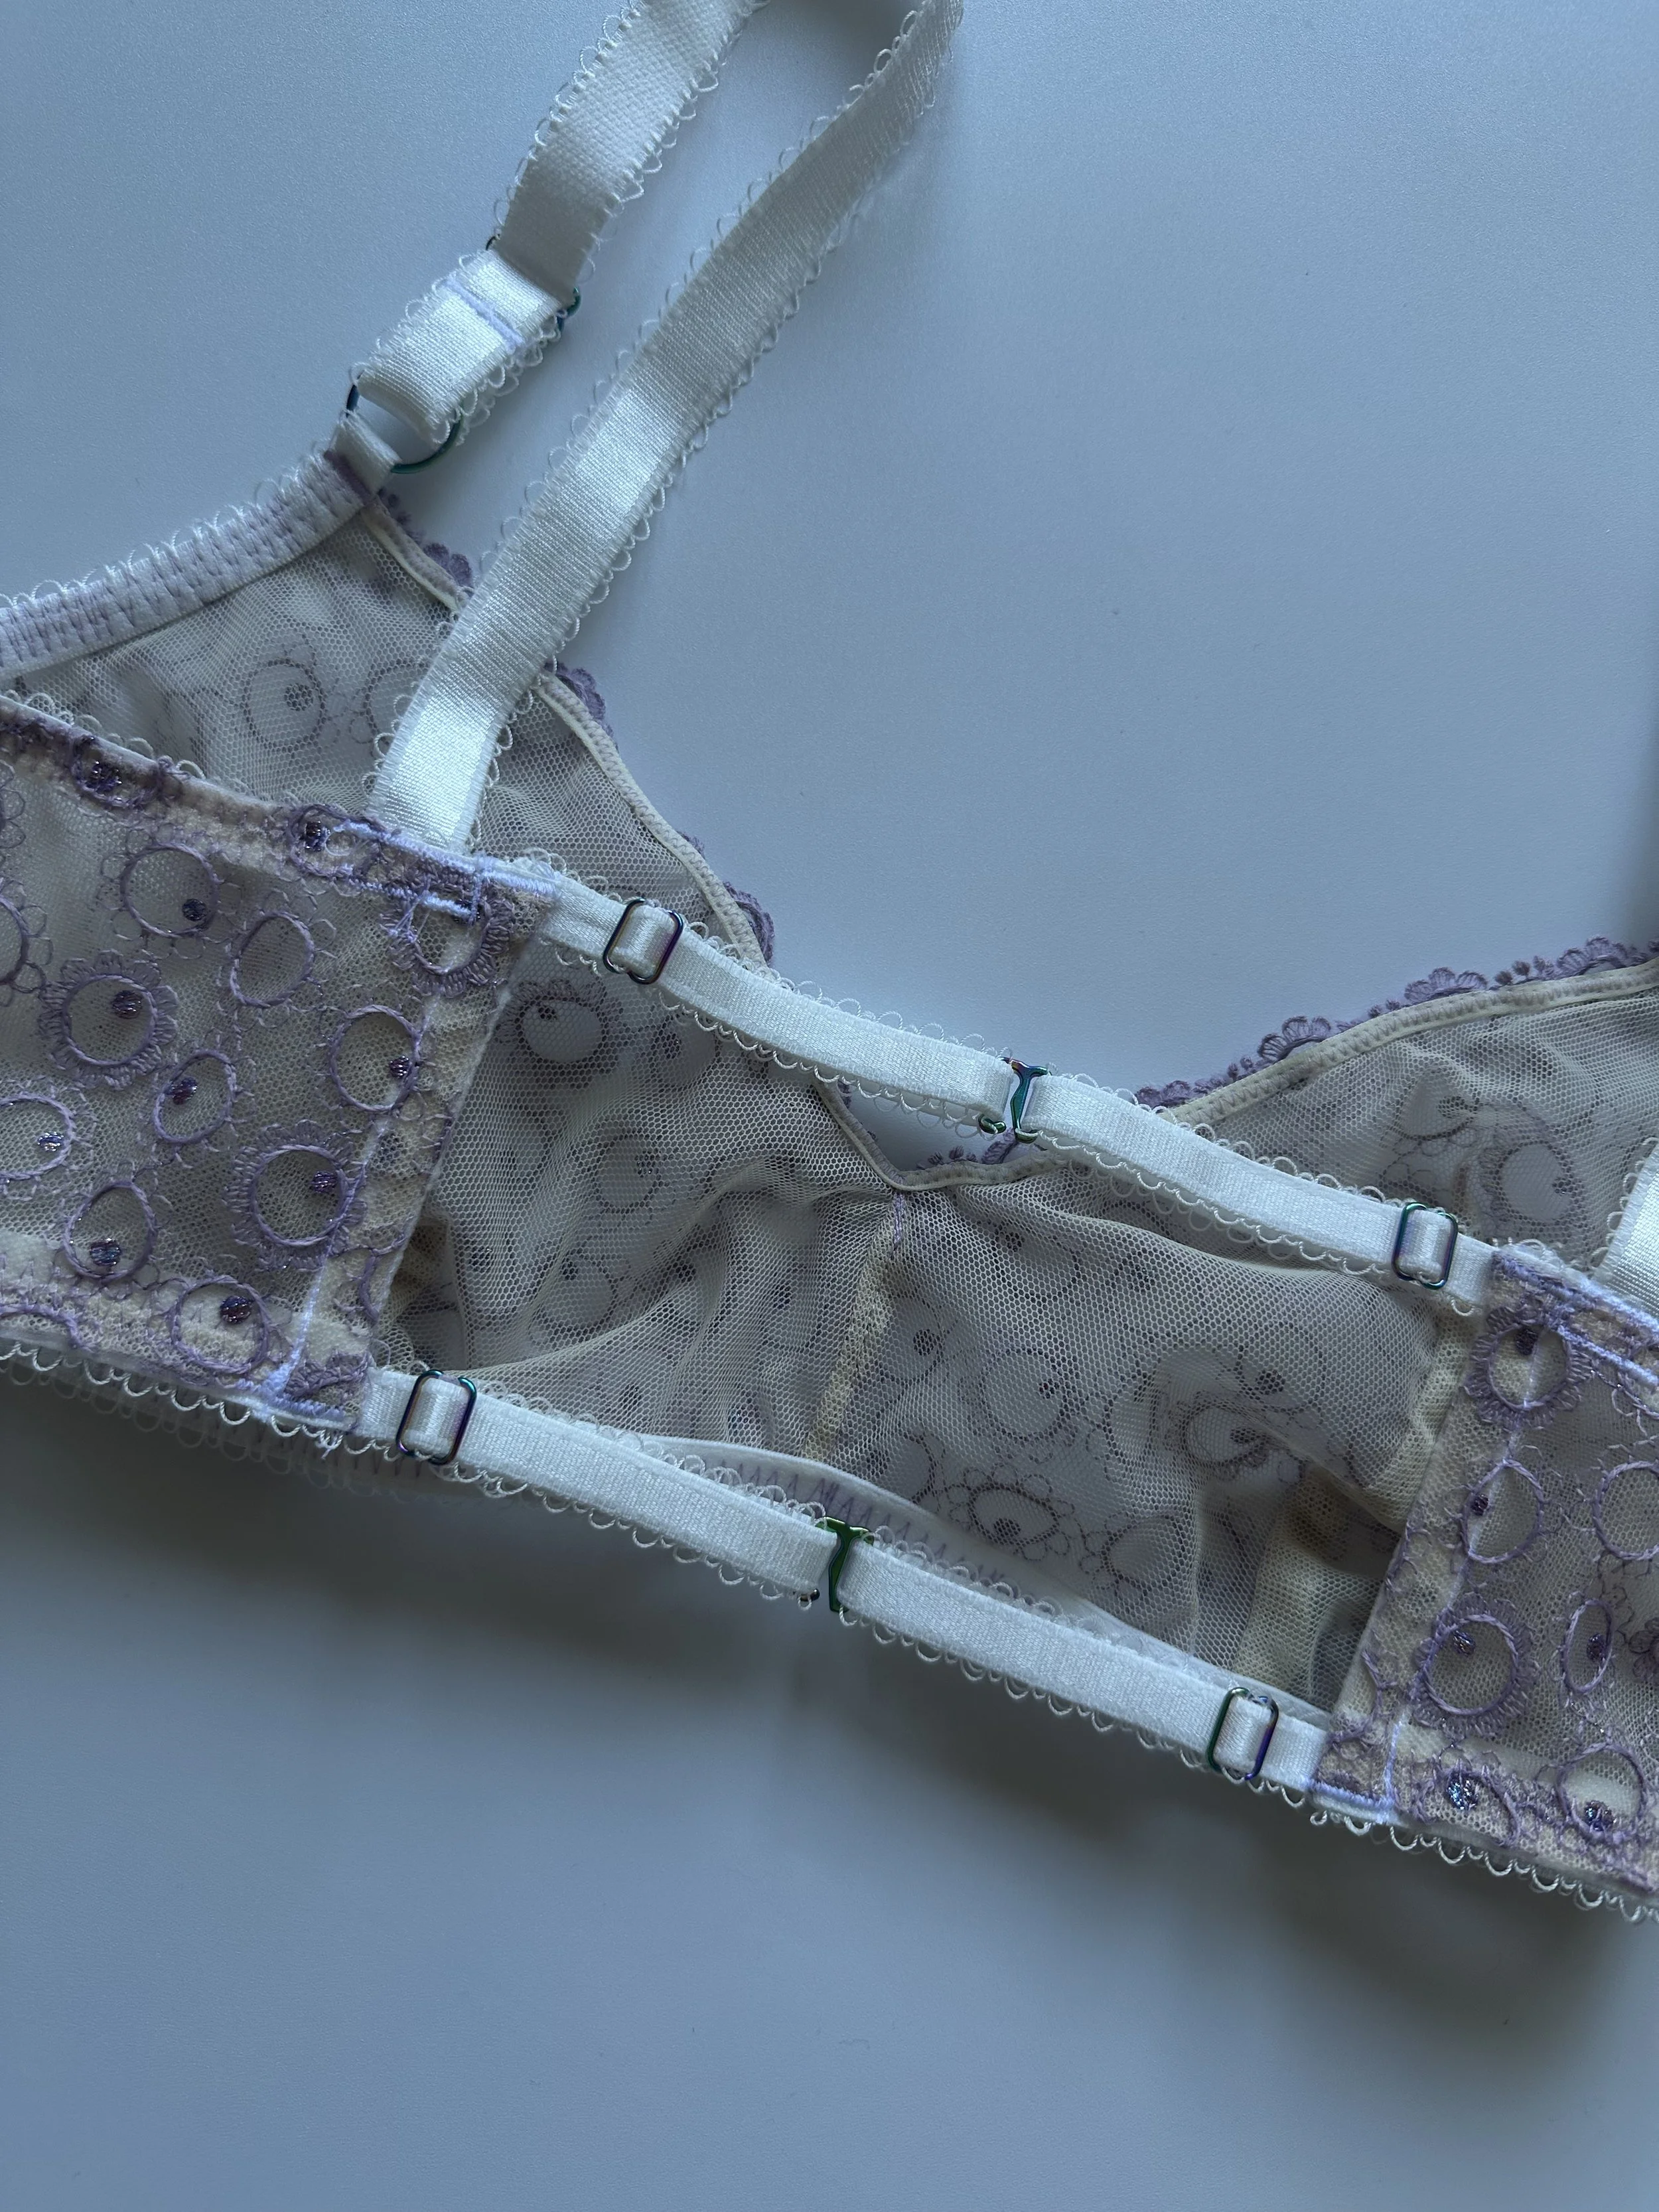
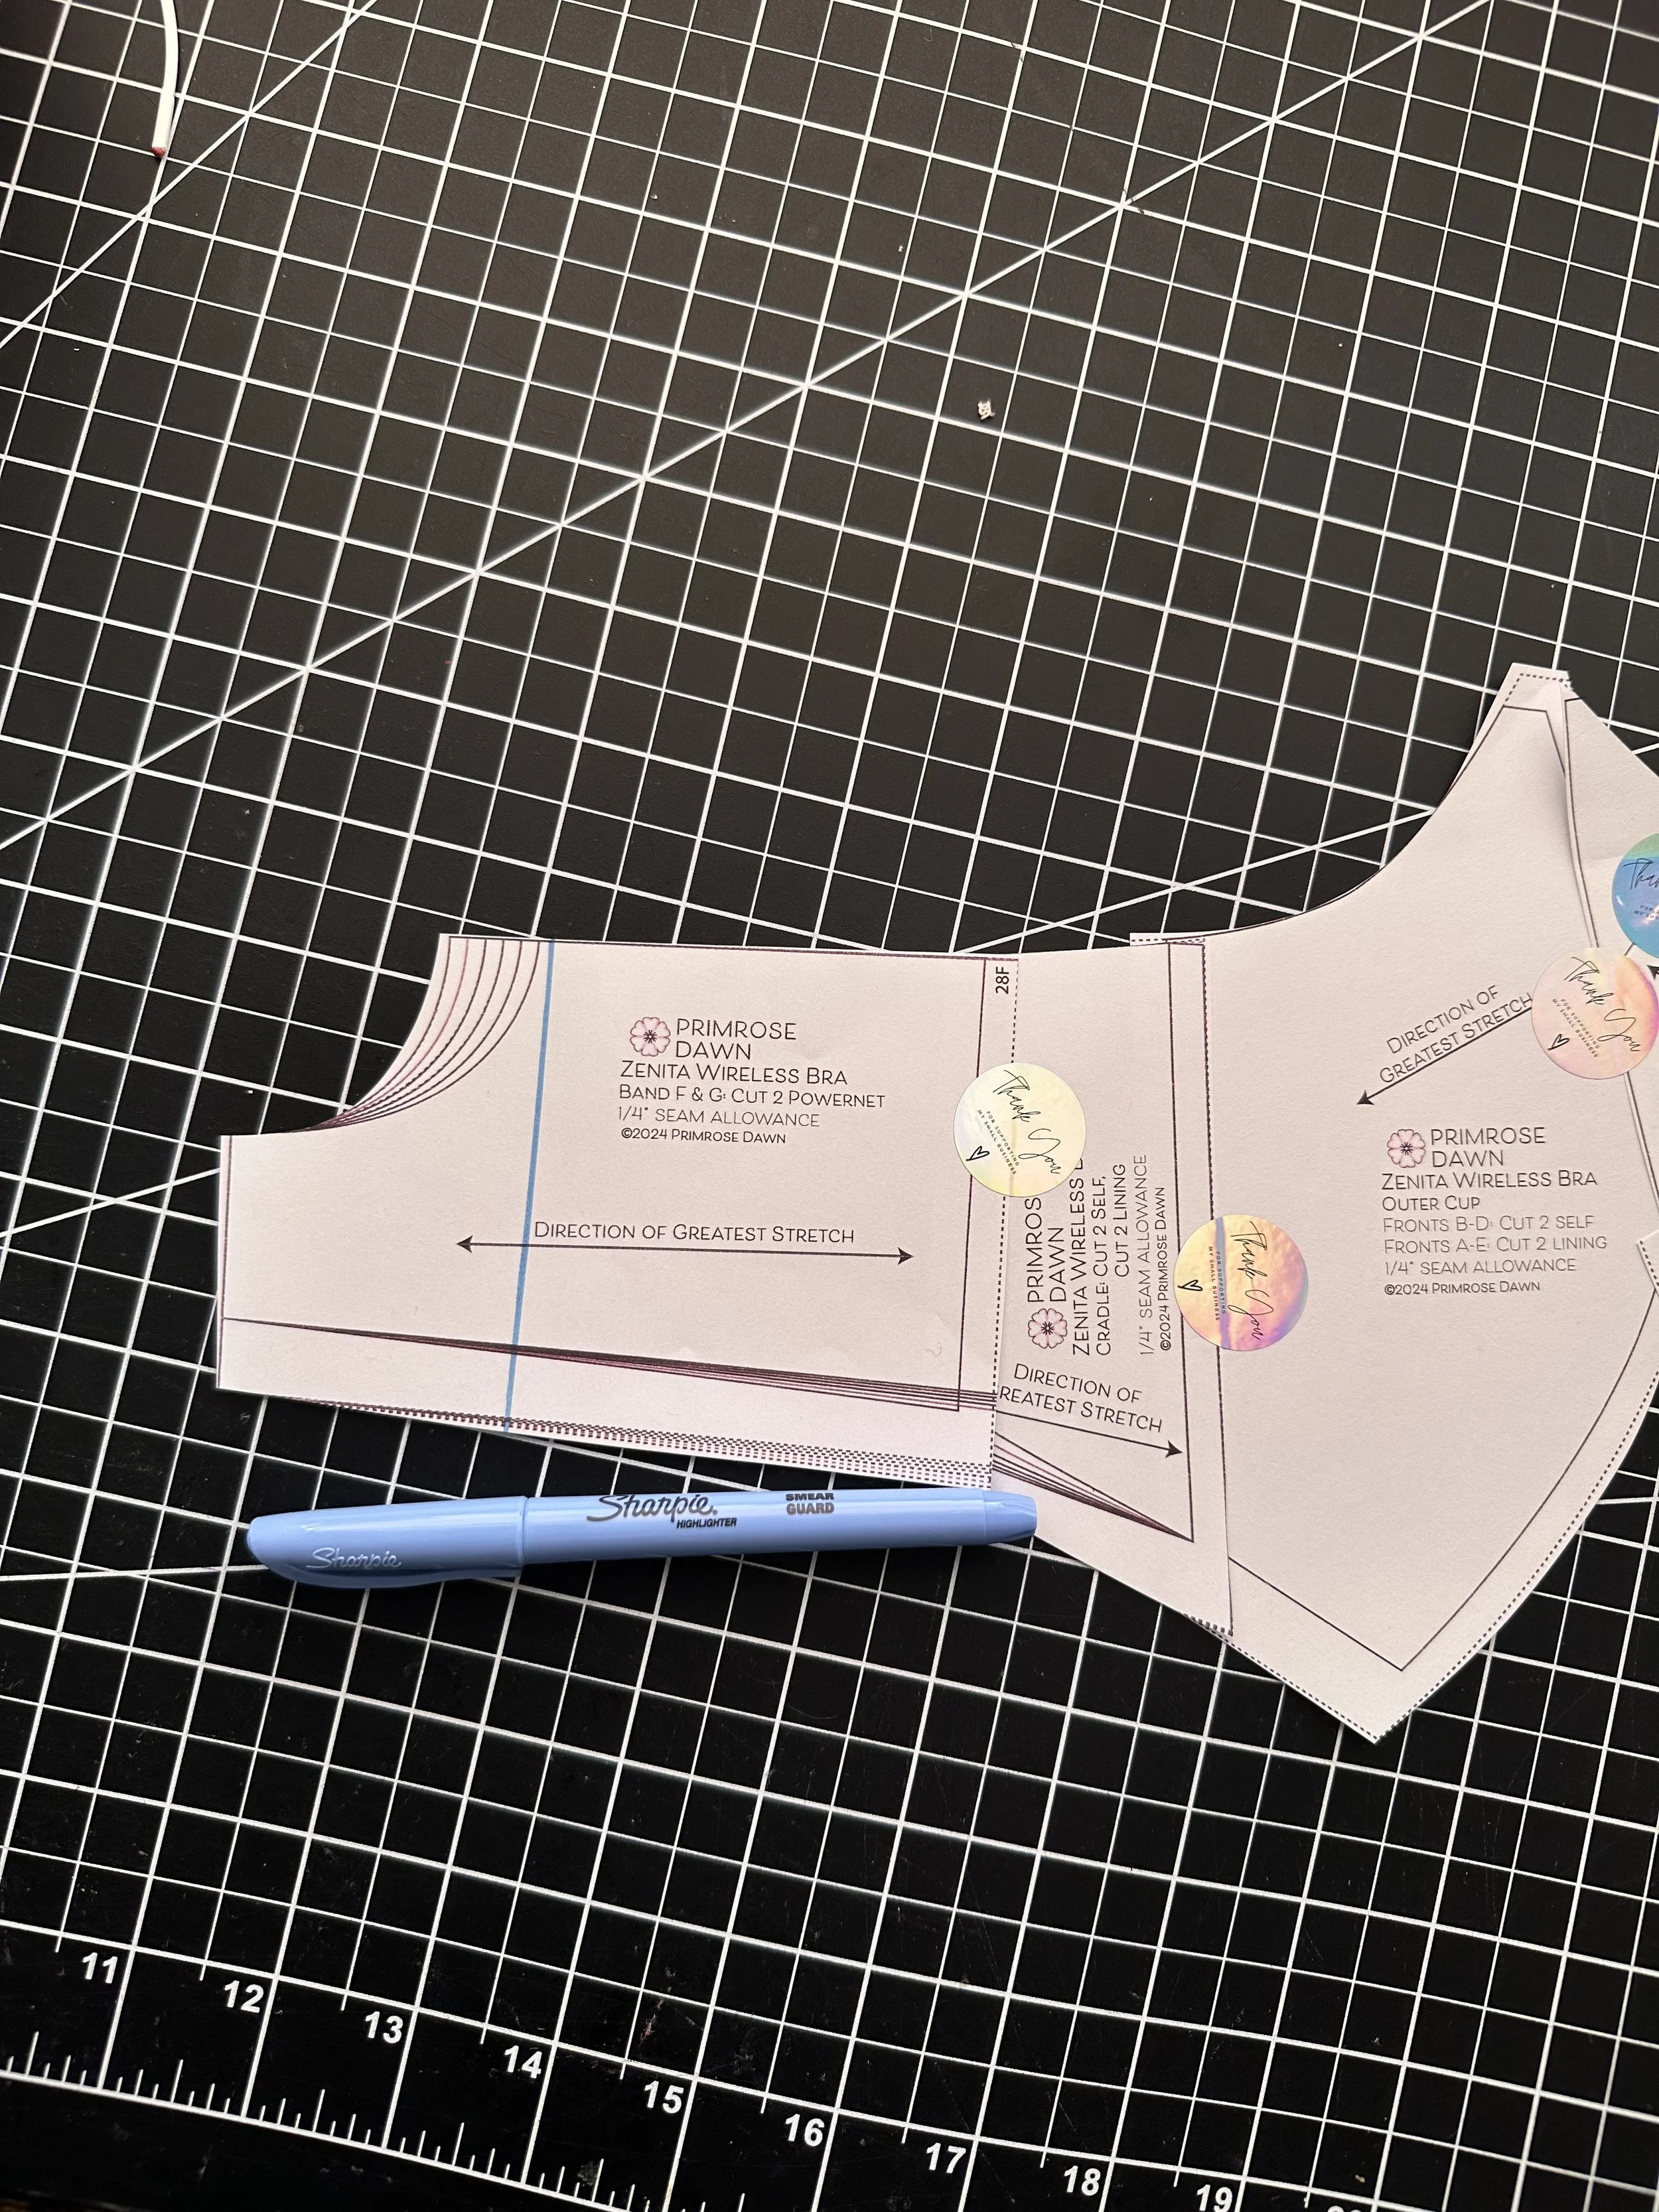
Step 2 — Attaching the Band Pieces
Tape the side cradle piece into place, then attach the back band piece to the side cradle depending on your desired back style. I went this route because I wanted a fully rigid lace construction with a strappy back detail, but you can choose either the power mesh back band or this special strappy detail.
Step 3 — Adjusting the Side Length
If you're working with rigid lace on the sides, mark where you want the side panel to end. I trimmed about 2 inches from the center edge where the hook & eye would normally sit. Just make sure the rigid lace extends far enough around the side for your bra strap to anchor at the back before you cut!
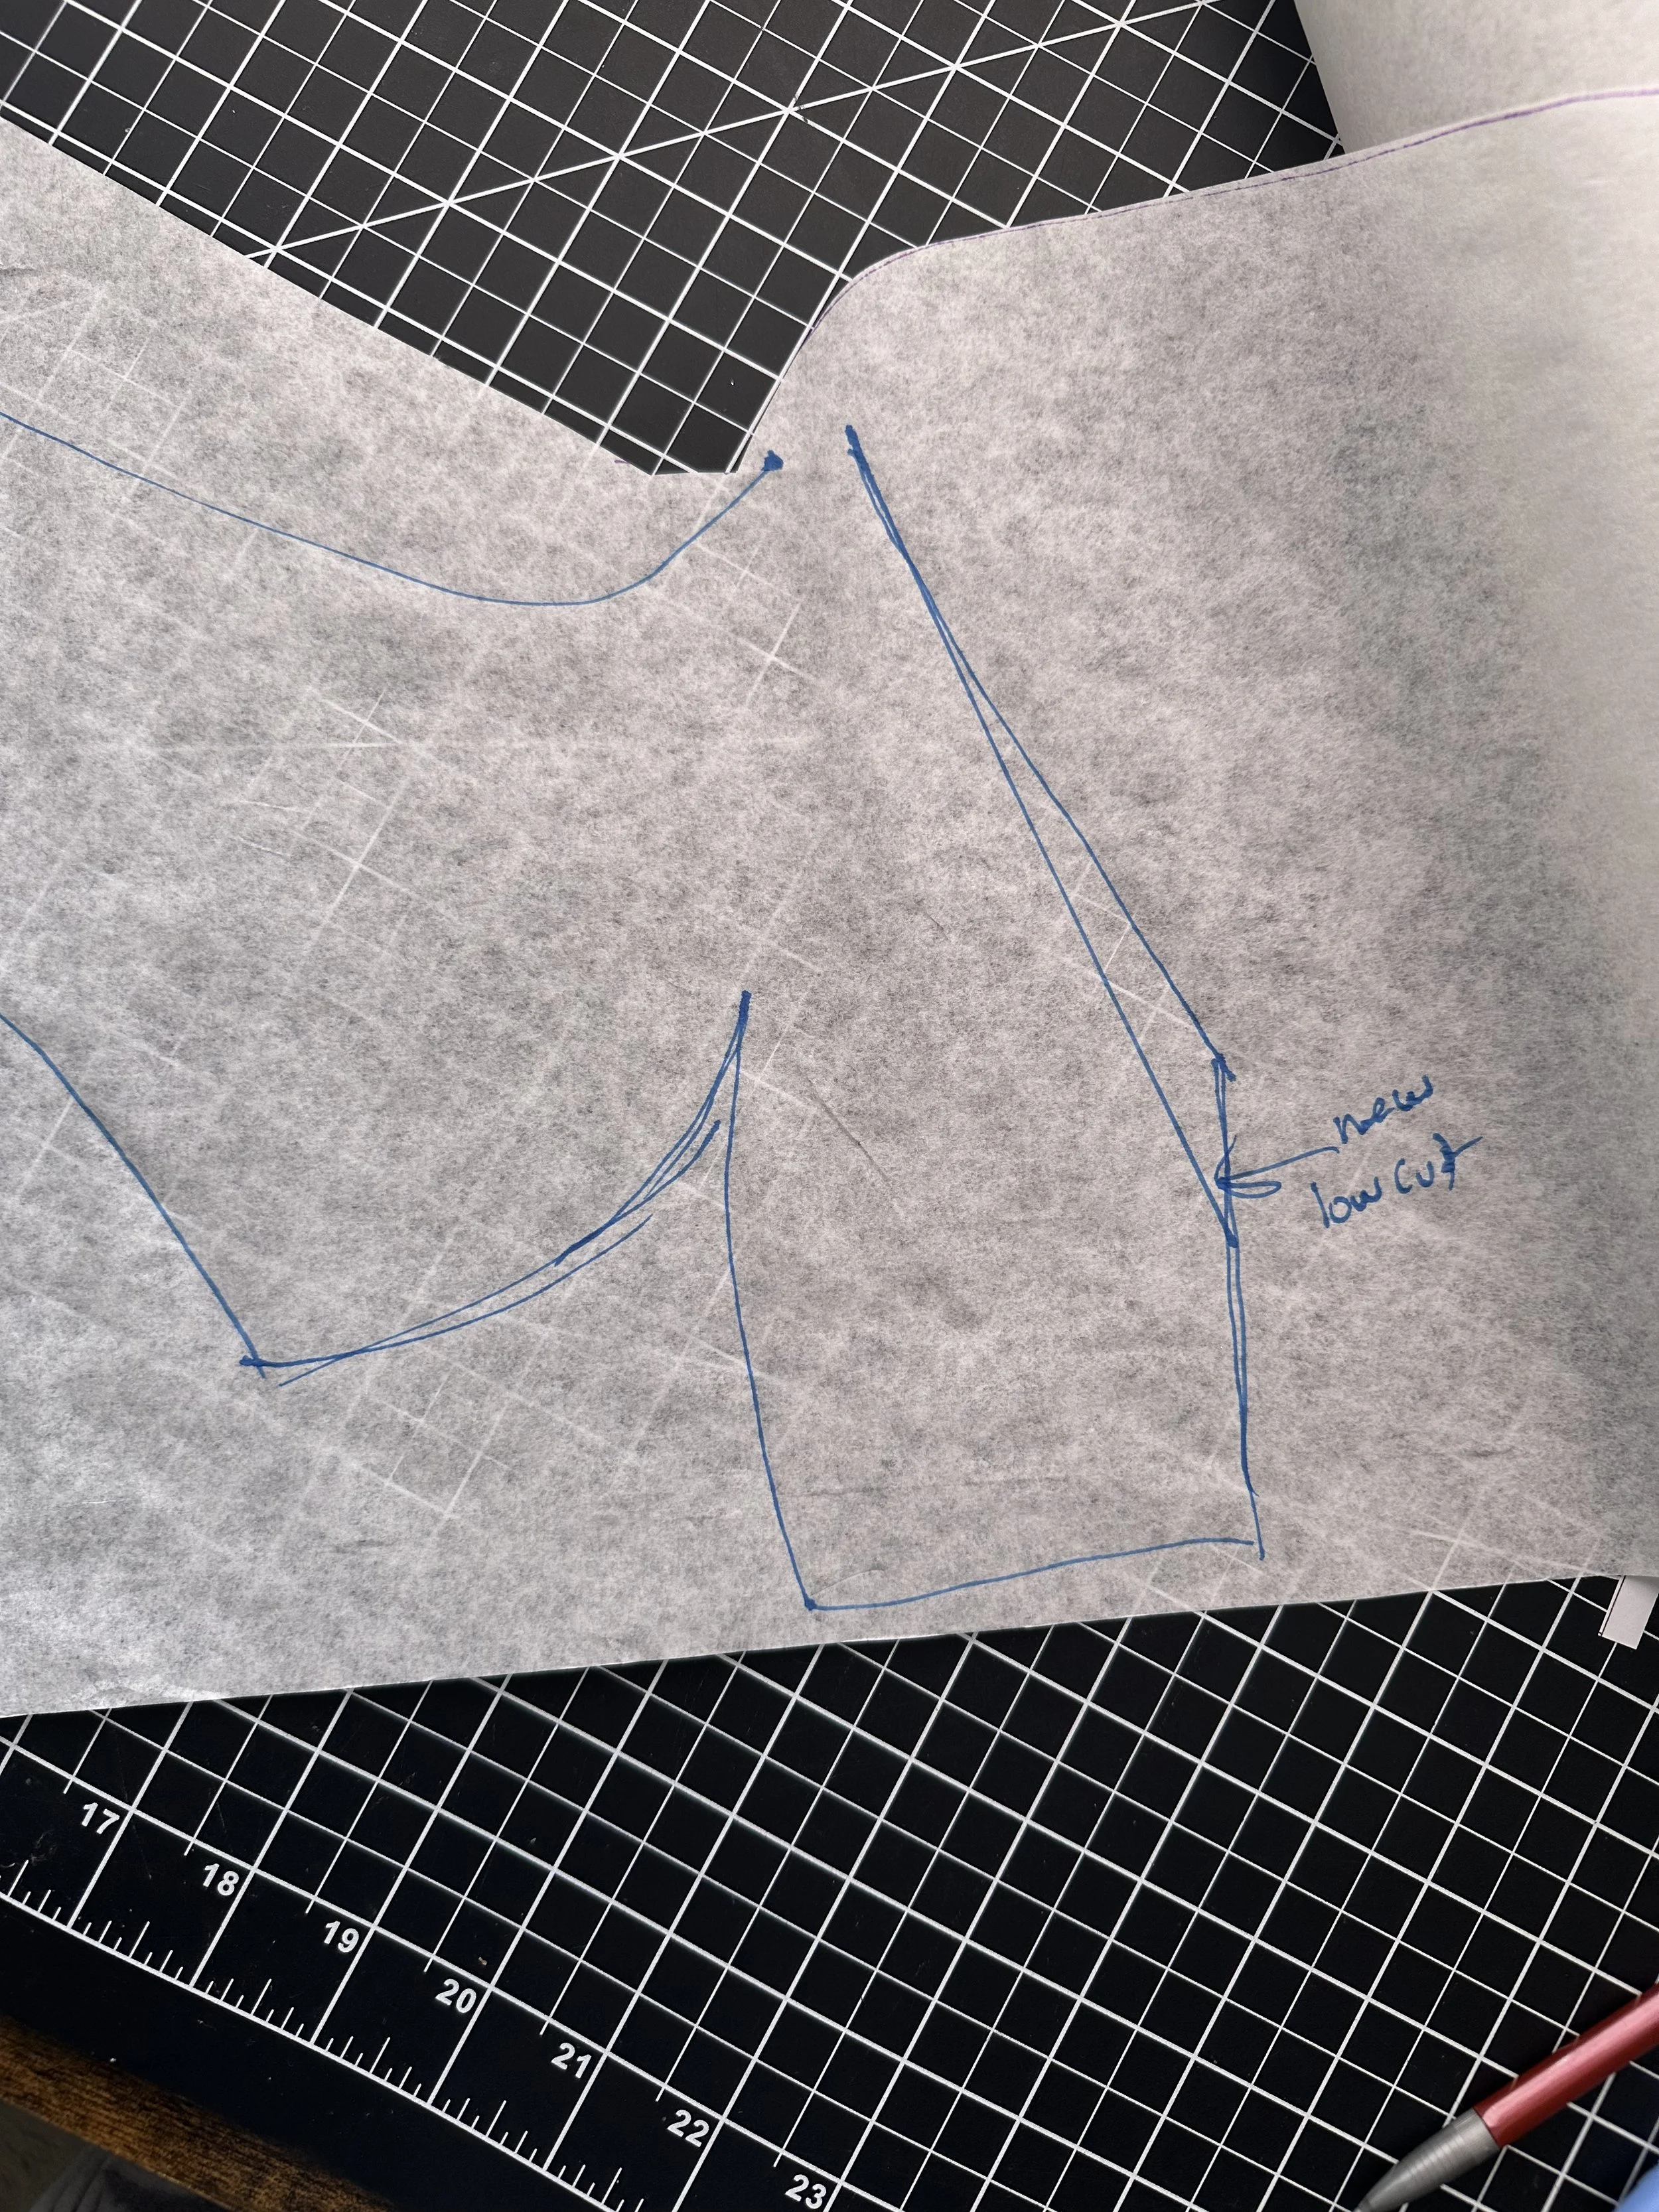
Step 4 — Tracing Your Final Pattern
Grab your tracing paper and trace the entire assembled piece. I love using medical table paper from Amazon as a budget-friendly alternative to traditional tracing paper. This is also your chance to adjust the neckline depth. I lowered mine for a more dramatic V and deeper neckline. I love a plunge look.
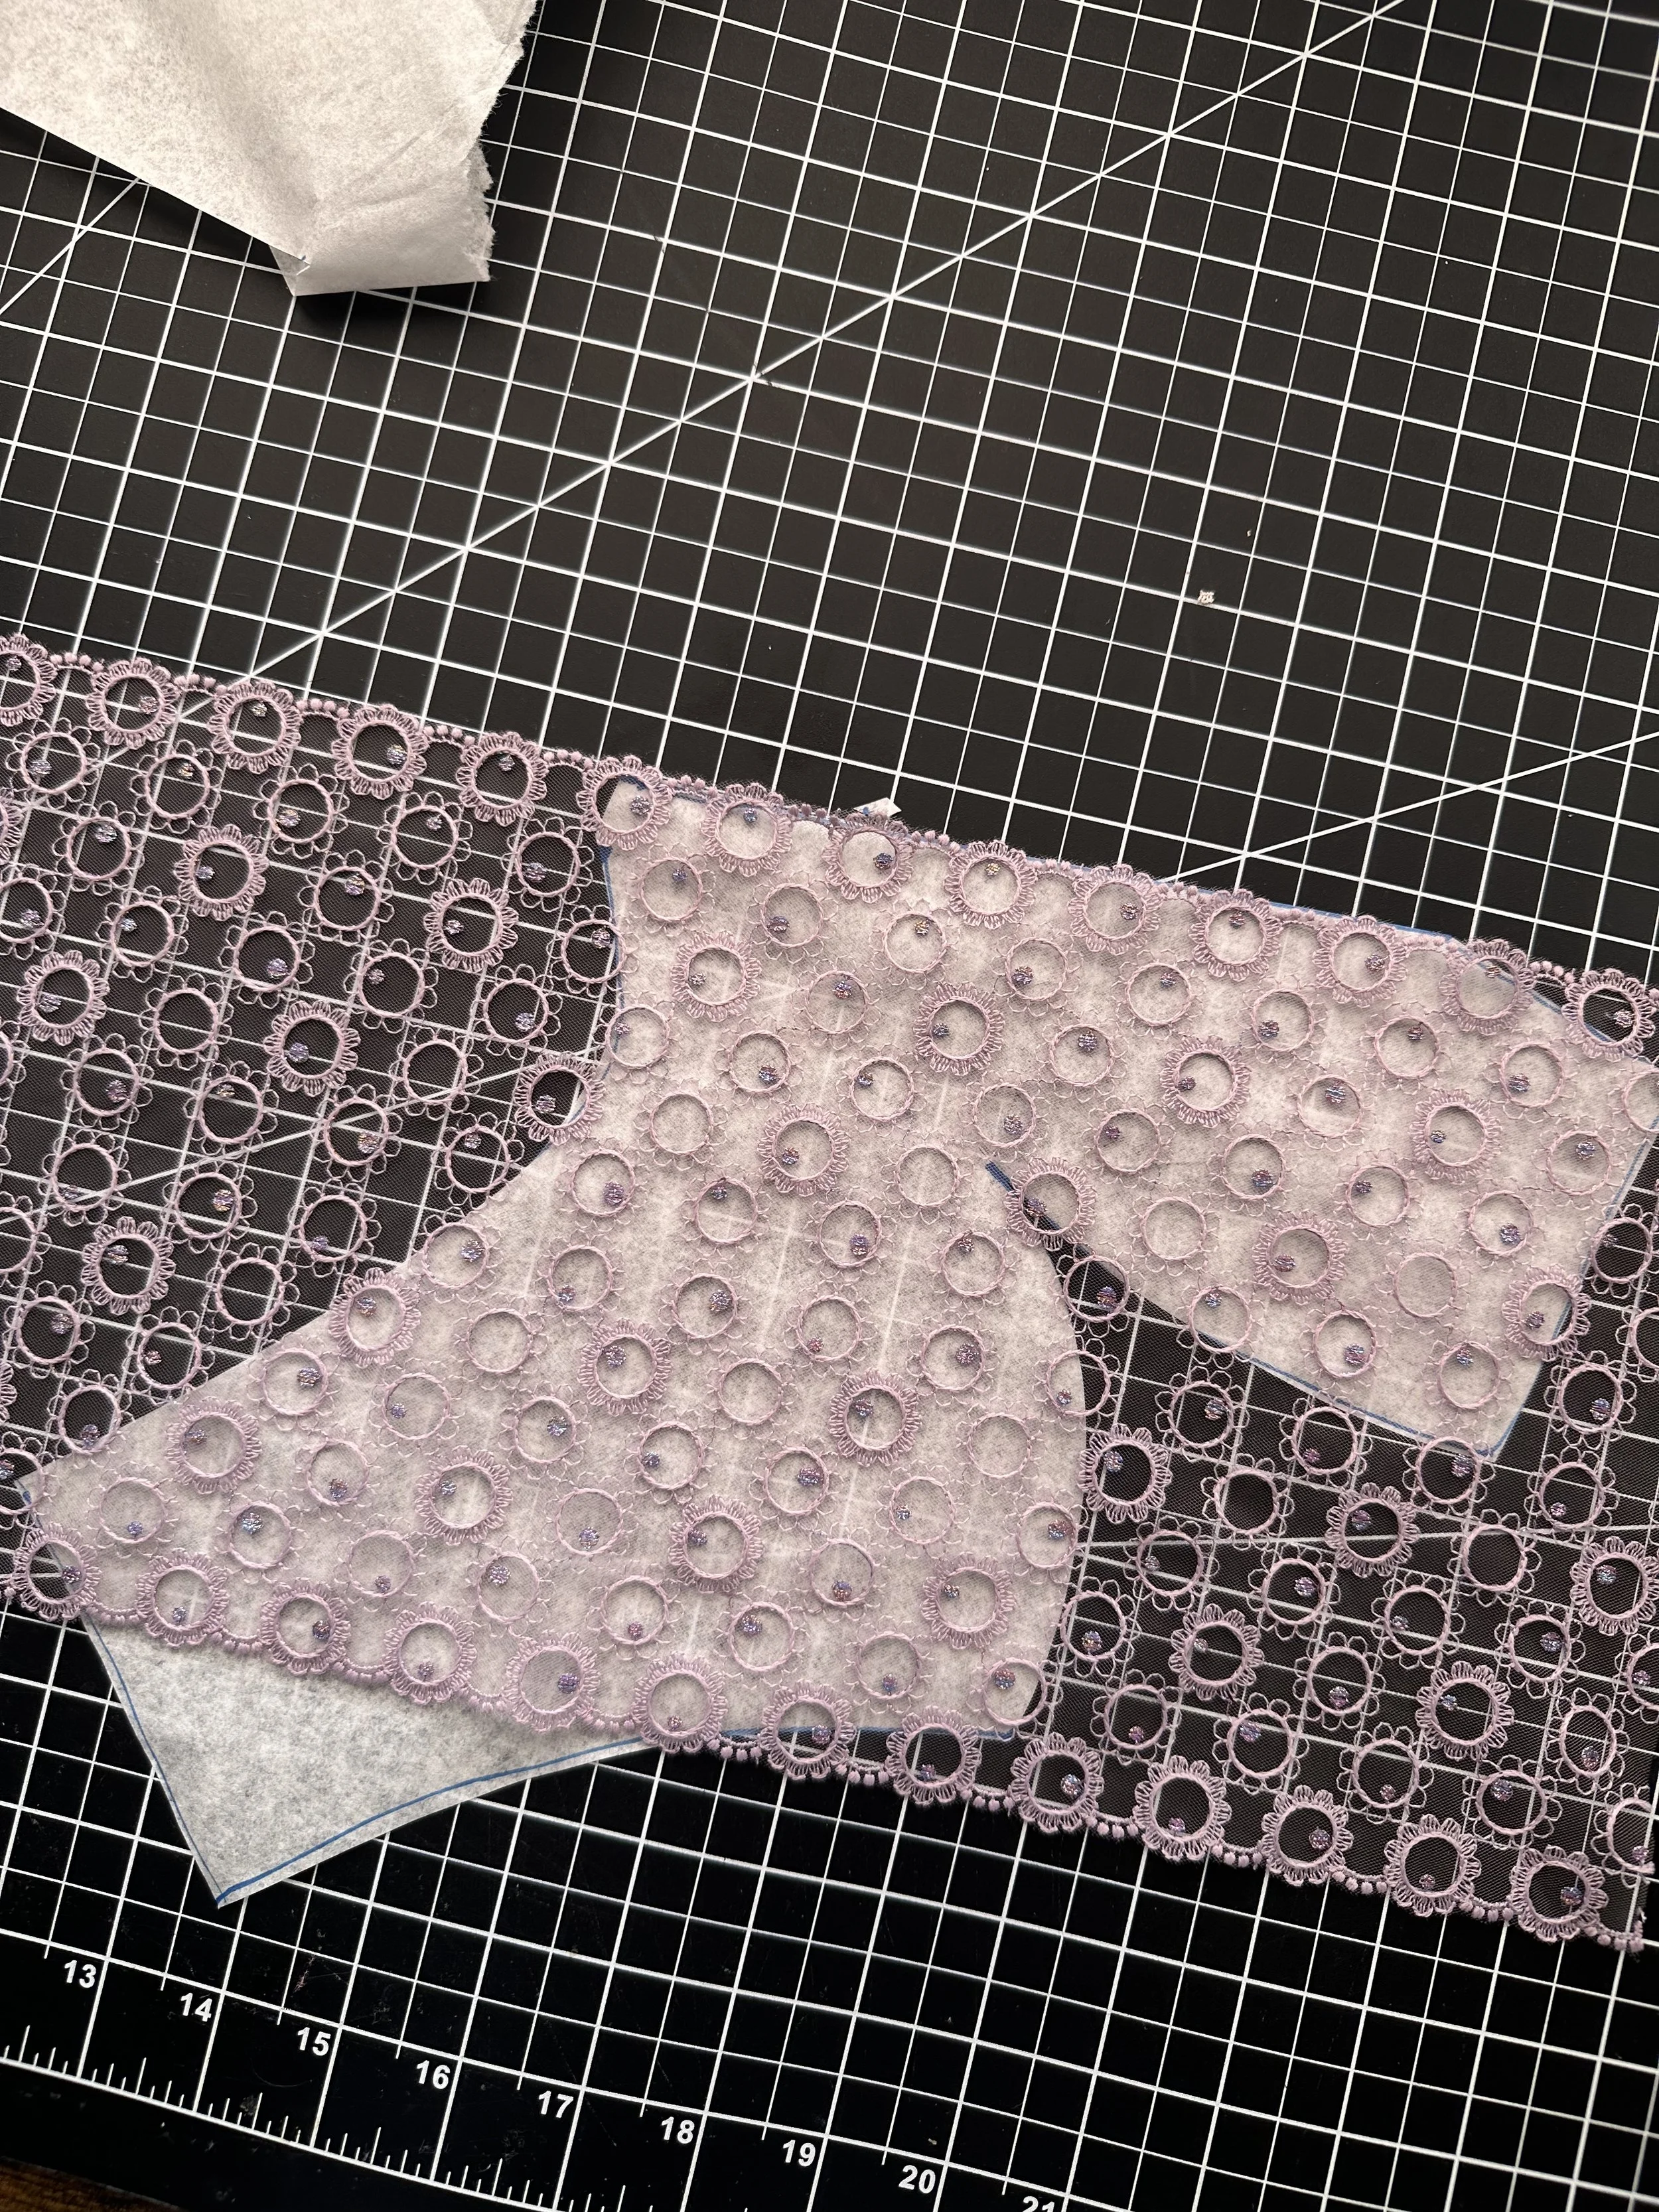
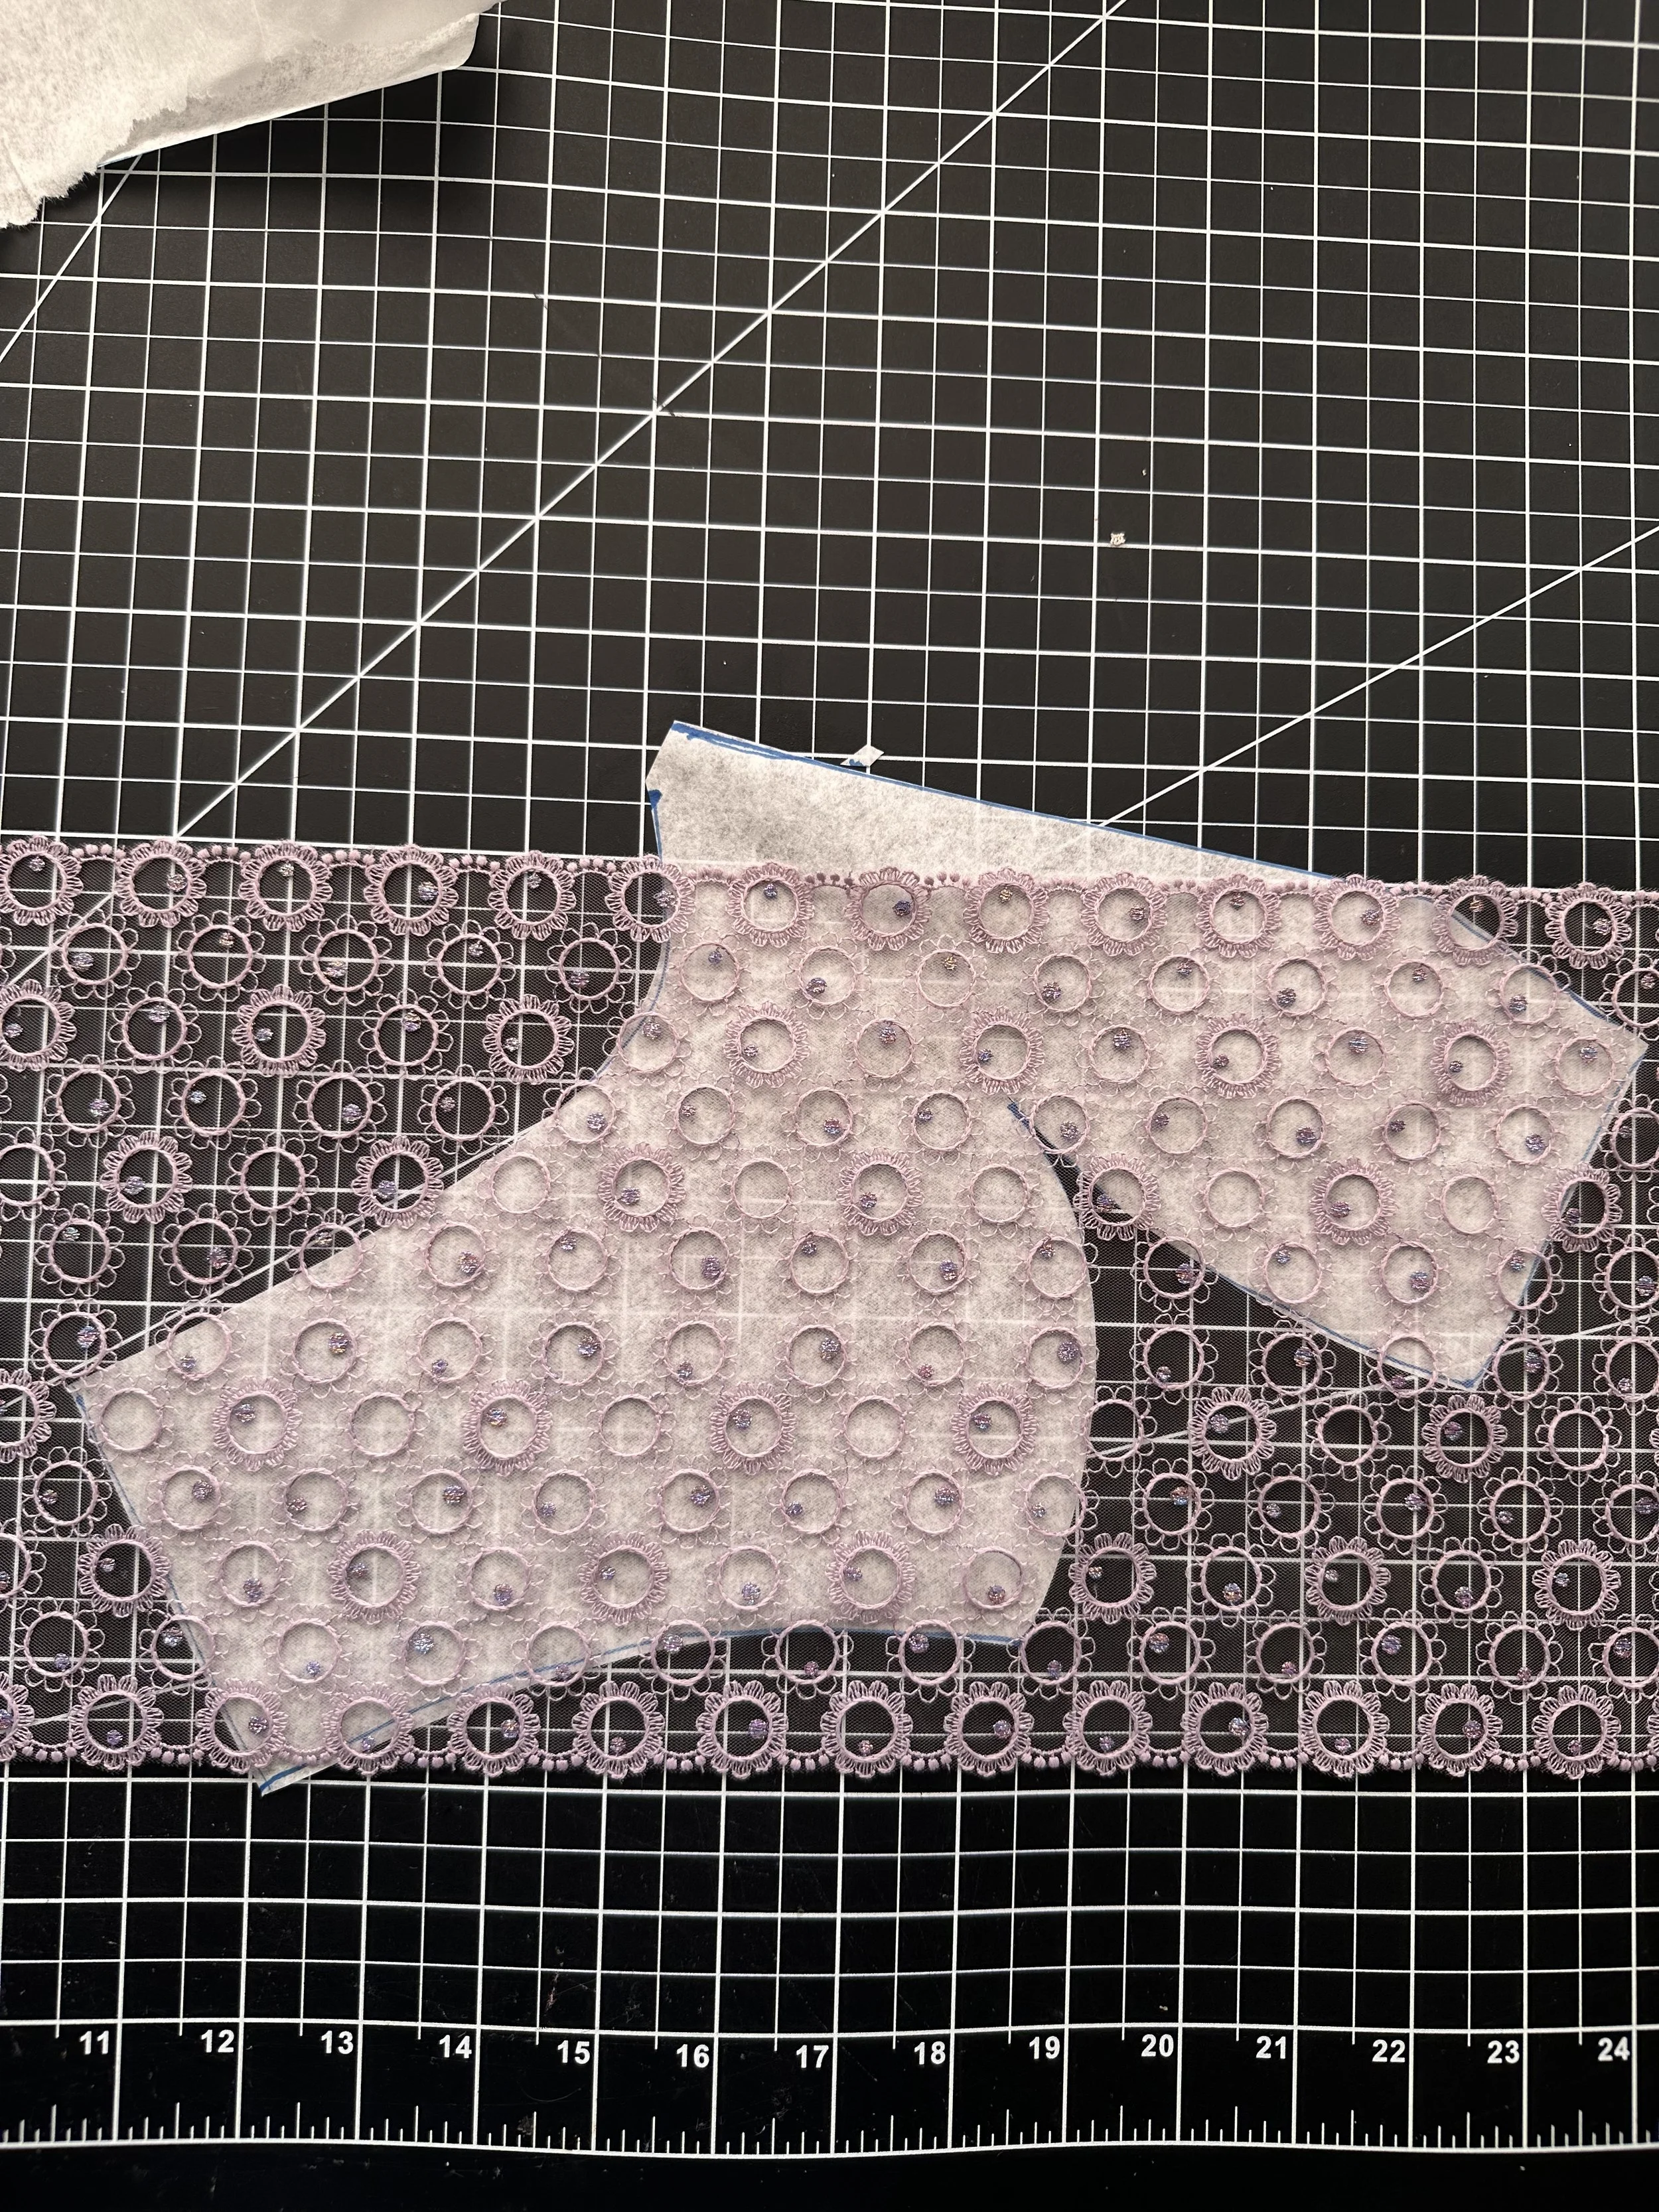
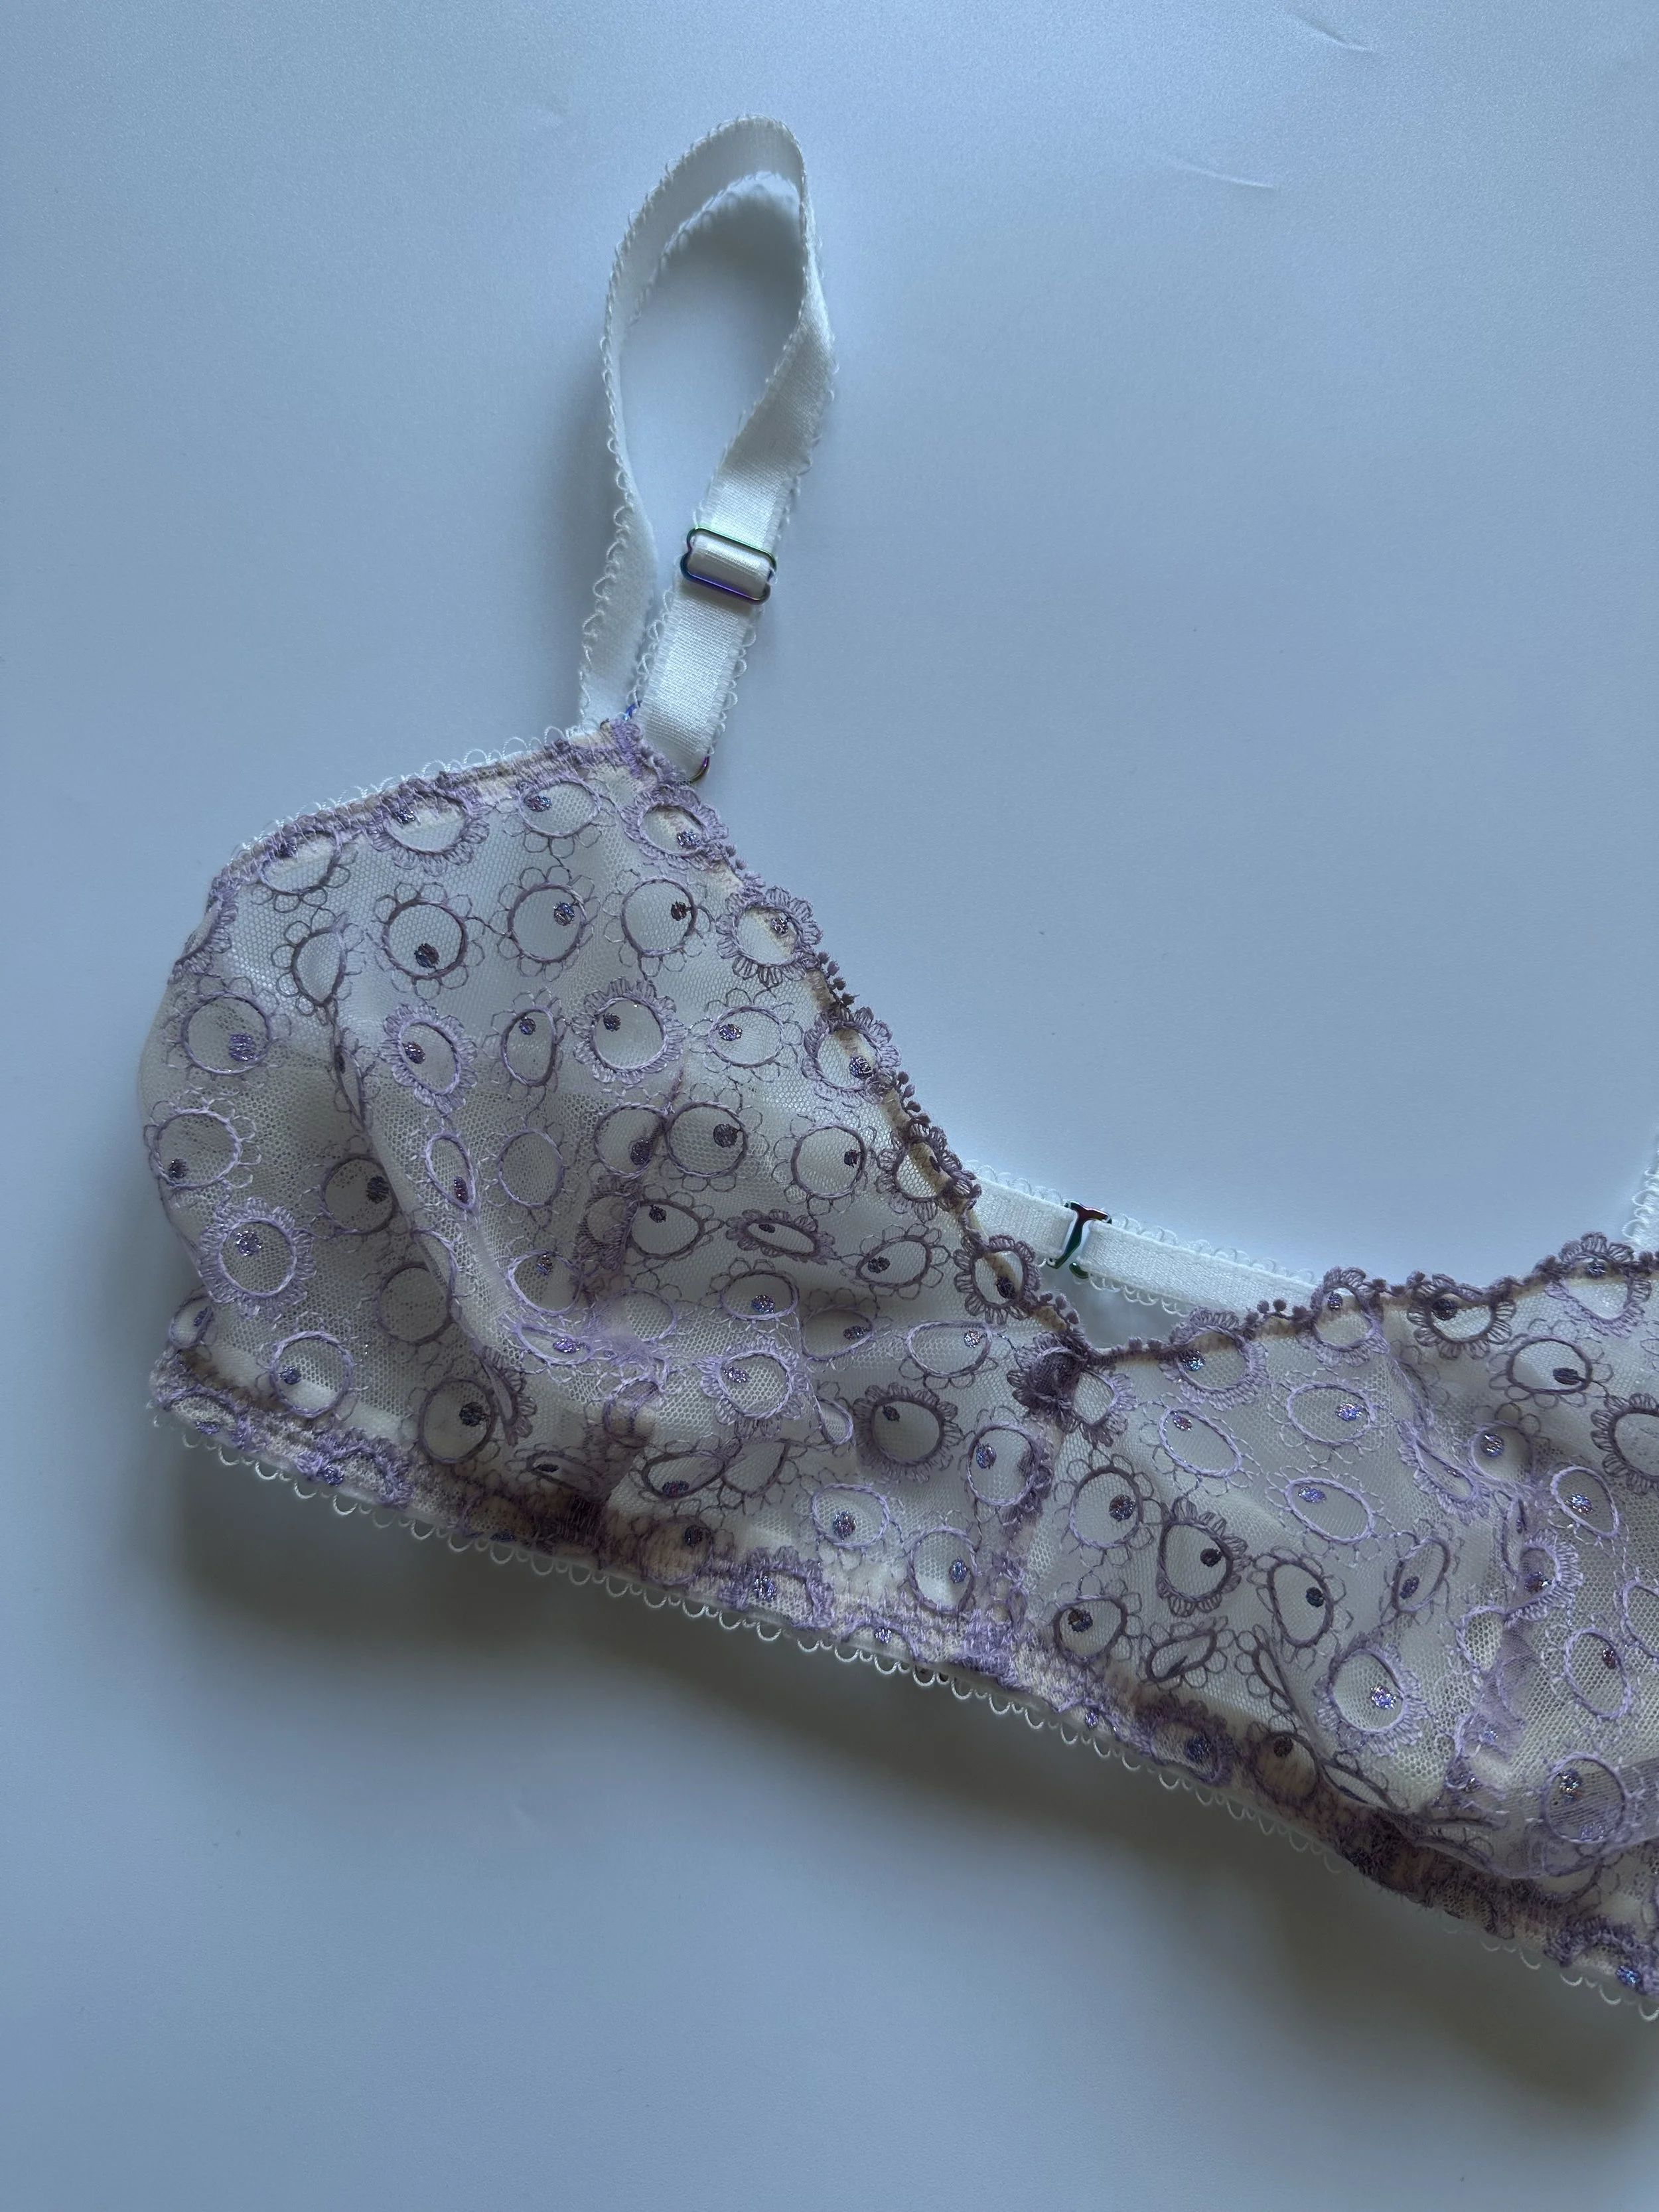
Step 5 — Lining Up Your Lace
Take your new pattern piece and line up the scallop along the neckline. As you can see in my sample, sometimes the lace isn't quite wide enough to cover the full area, and that's totally okay! You have the option to add lace wherever it's falling short. My personal recommendation is to add any extra lace to the bottom back band rather than the top neckline. Adding it at the neckline tends to create a visible seam that disrupts the flow of the design.
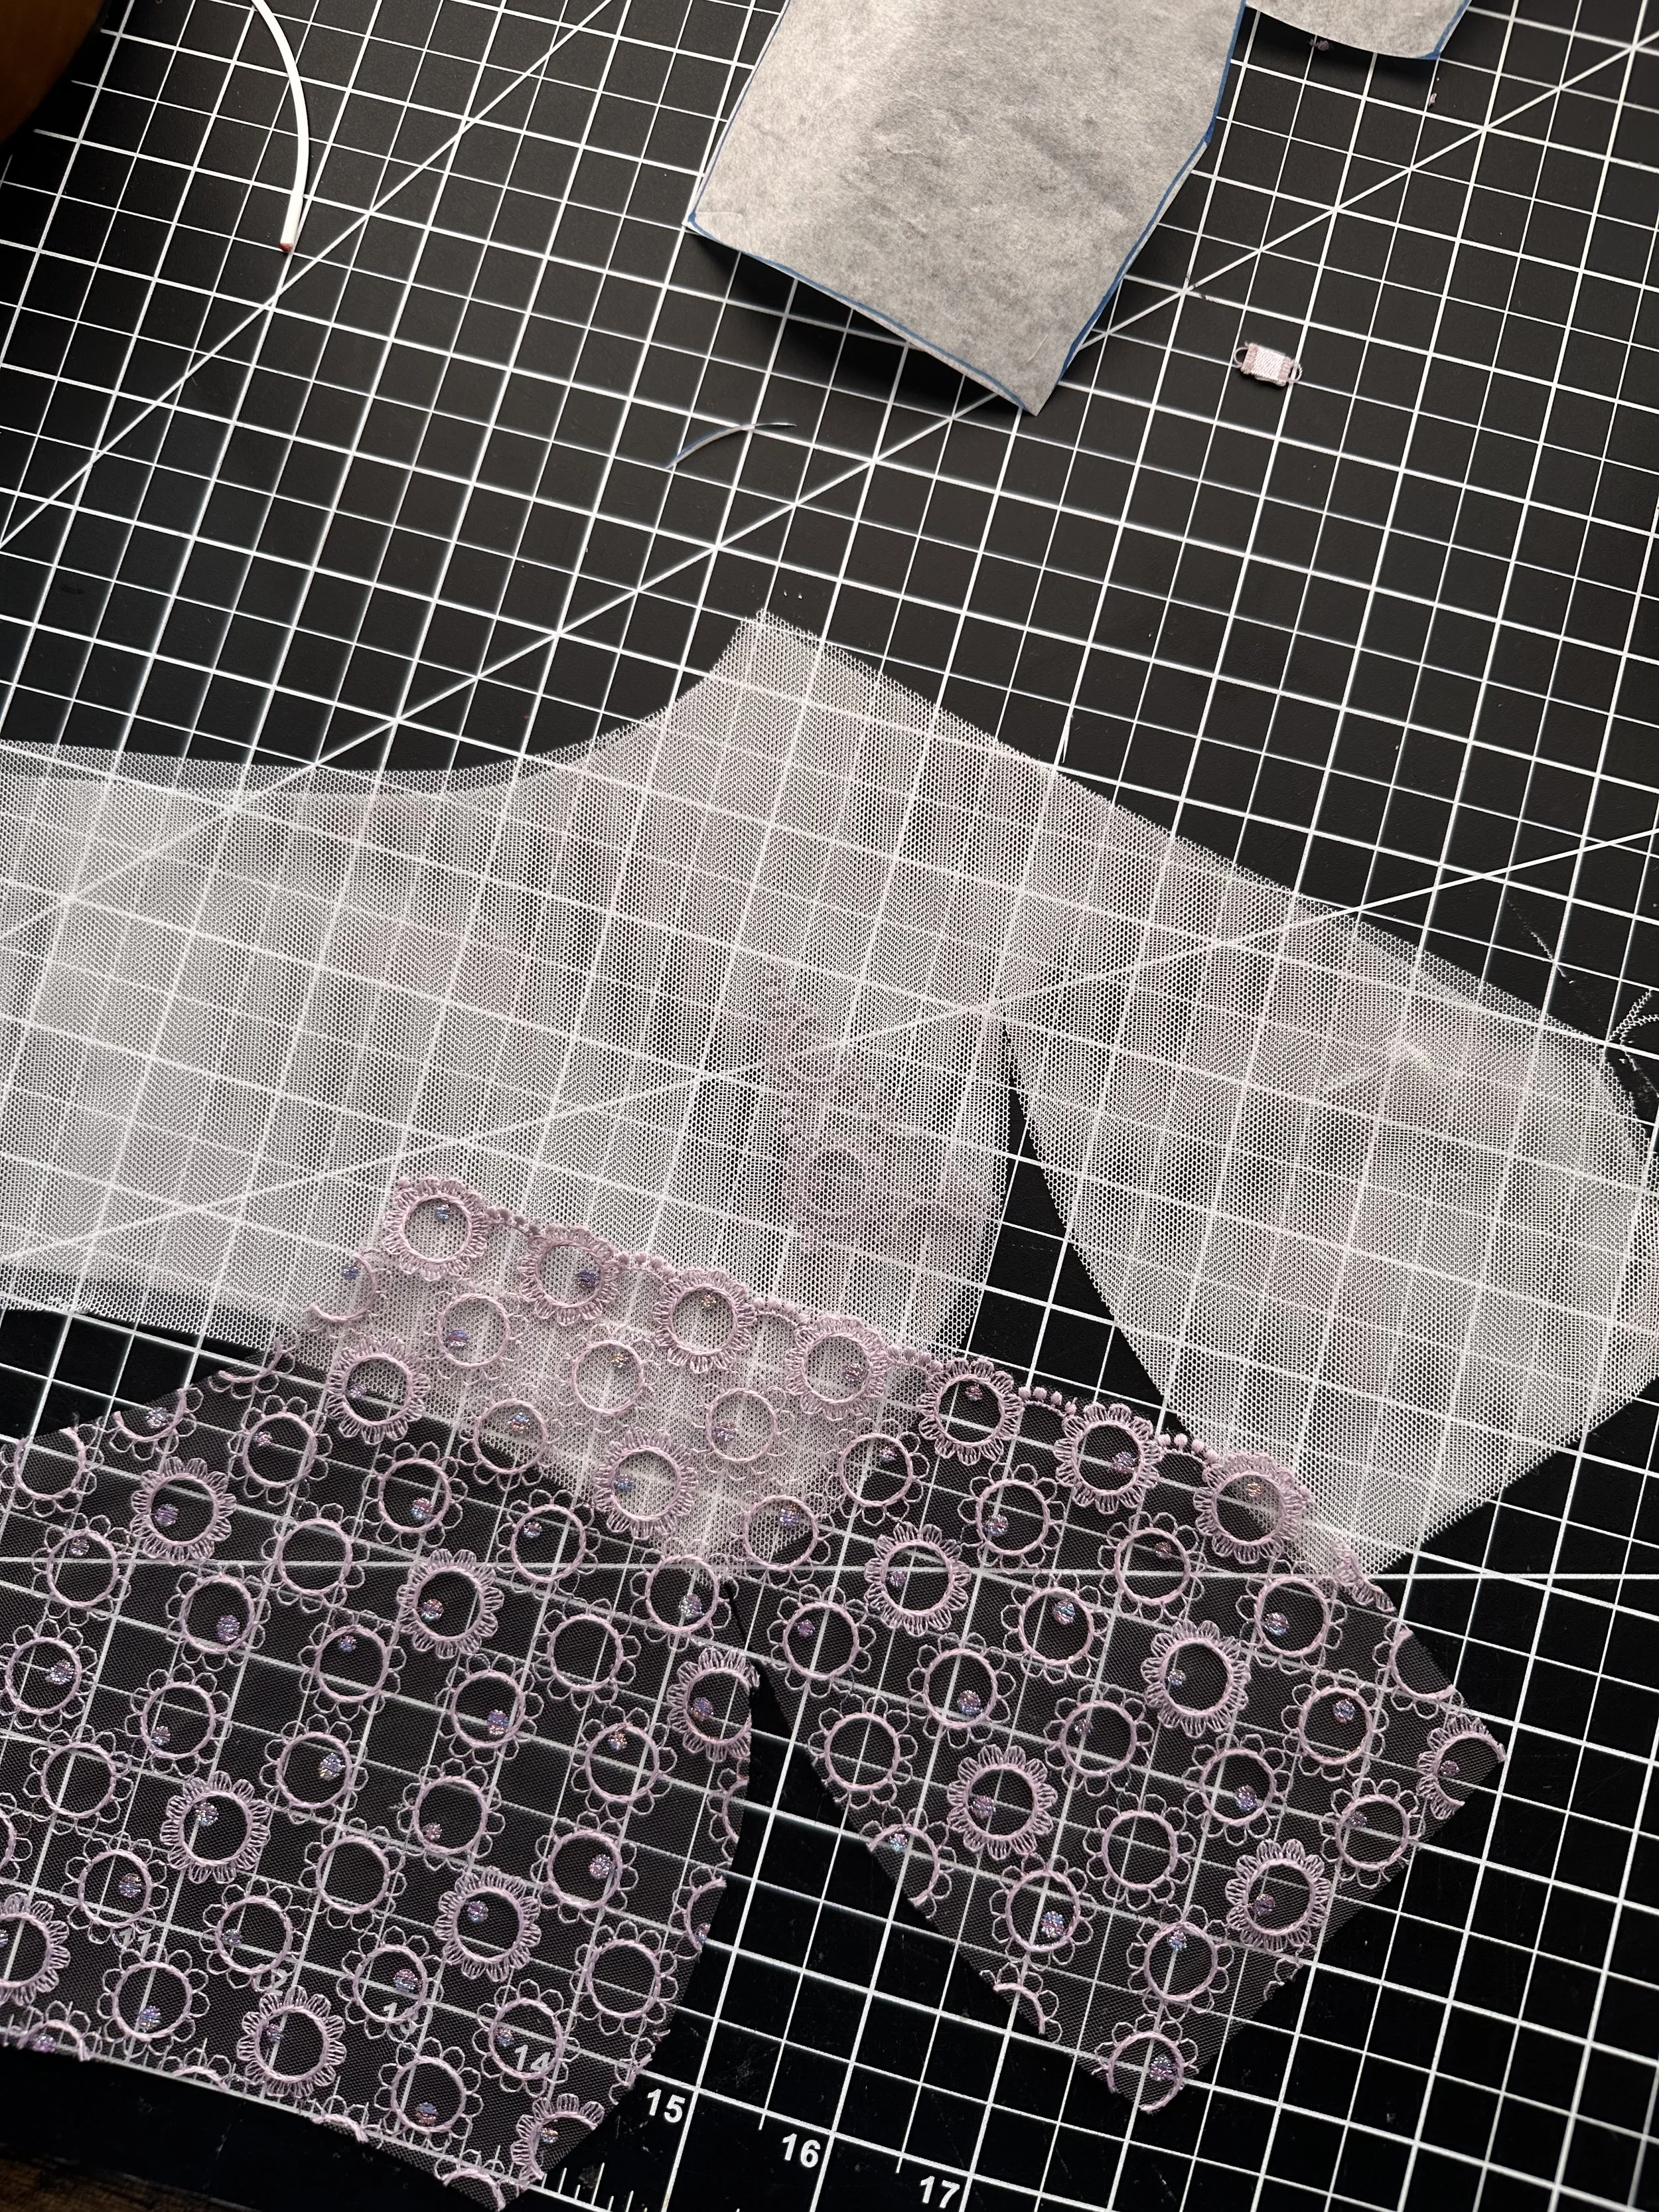
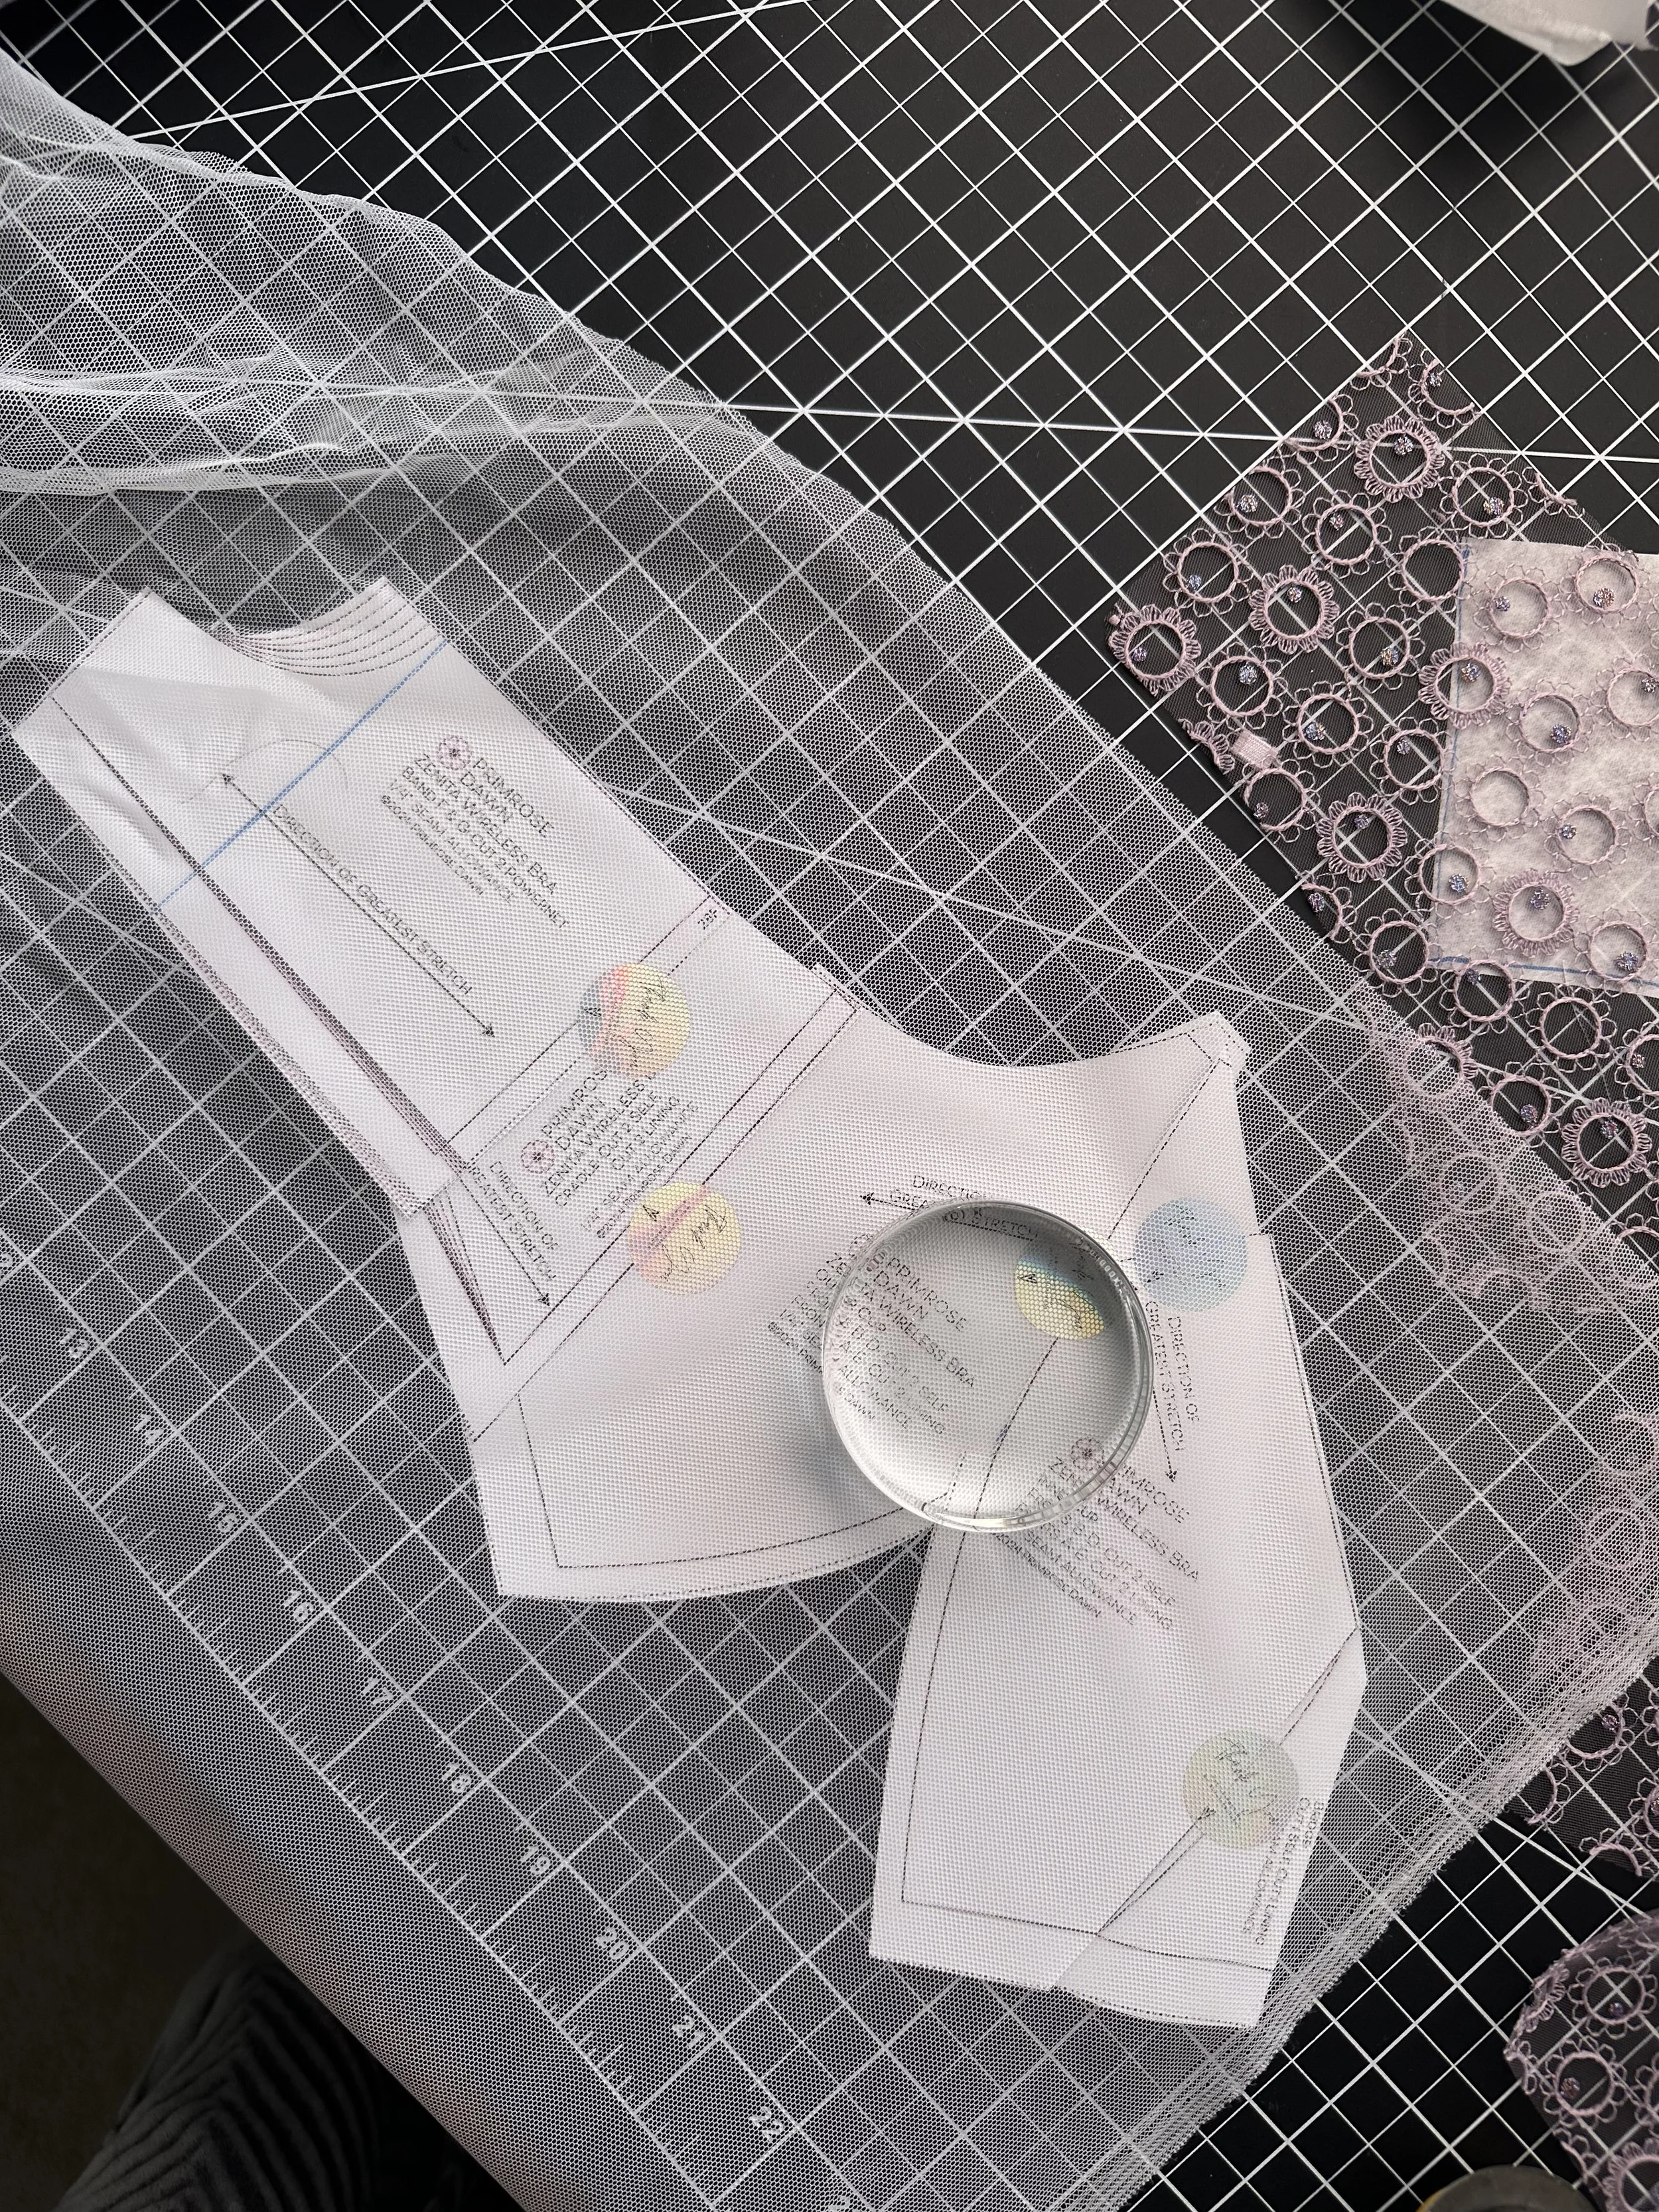
Step 6 — Cutting Your Lining
Cut a lining for the piece so that all your seams are neatly enclosed and the lace sits comfortably away from your skin. When placing your lining, orient the non-stretch direction vertically, running straight up and down. You want just a little bit of horizontal give across the cup for the best fit.
Step 7 — Sew It All Together
Sew all your pieces together and congratulations, you just made a Dora Larsen dupe! I am obsessed with the shape and comfort of this style and I think you will be too. If you decide to make this, please let me know! I would love to see how yours turns out. :)